Hi, Thanks for visiting my website. My name is Will and if you have questions
or would like to
contribute projects or ideas you can contact me
Modern Meets Medieval: The Solenoid catapult
This is an extremely easy to make catapult. And how it operates is very clever.
I call it modern meets medieval because it has a modern bit of electrical device (a solenoid) and uses it as the power source for the medieval catapult.
I also have a youtube video of this catapult you can watch at the bottom of the page ↓
Here is the exact solenoid I bought on amazon for this project. If you want to make the same project: 12-Volt 4.5 newton solenoid It cost me 7.59. It makes a small catapult and you can scale this up by getting a bigger and more powerful solenoid.
Here is a larger solenoid with about ten times more power and a little bit bigger: 12-V 45 newton solenoid
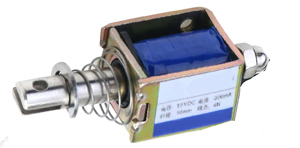
What is a solenoid?
It is a very simple device. It is a coil of wire wrapped around an iron pin. When electricity is applied to the coil it creates a magnetic field that pushes the iron pin. When the electricity is removed a spring returns the iron pin back to it's original position.
Have you ever gone to a building or office where somebody had to buzz you in the door? That buzzing sound is the sound of a solenoid unlocking the door.
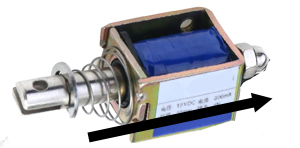
Here is the solenoid I use in this project:
When electricity is applied to it the silver bar moves in the direction shown by the arrow.
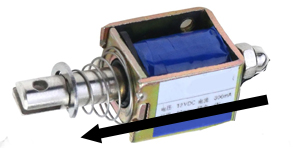
And when the electricity stops the spring on the bar returns the bar to it's original position.
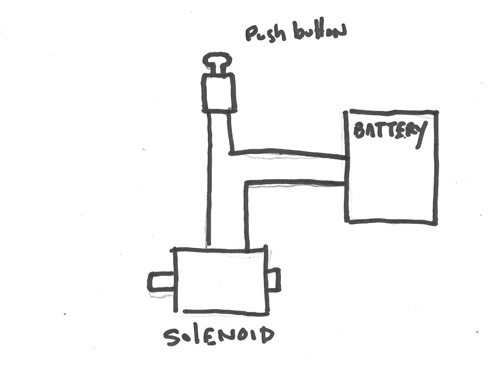
It is a very simple process to wire it up. You need the solenoid, a push button switch and some kind of power supply.
The push button switch is important because you only want to temporarily move the bar. A solenoid shouldn't have electricity applied to it for more than about two seconds. It is made to just be a temporary action. And this is perfect for a catapult.
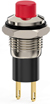
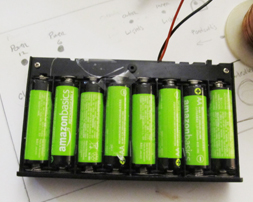
I use a push button switch I salvaged from an electronic device and a 12 volt battery pack which is just 8 AA batteries.
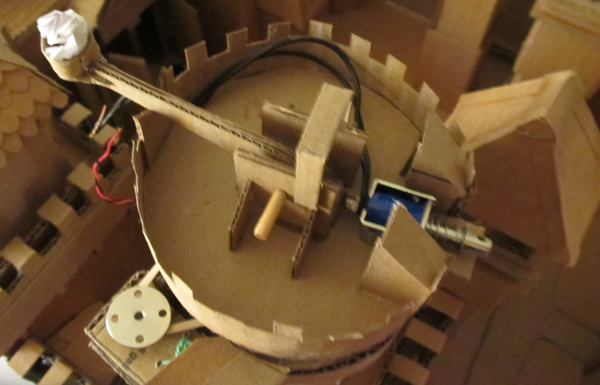
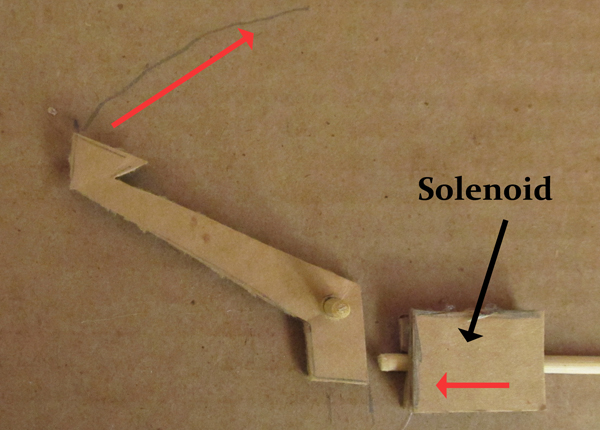
LEt's take a look at how the catapult works.
The rectangular shape is our solenoid. The wooden dowel is the pin. When electricity is applied the pin moves in the direction shown by the red arrow. This pushes the catapult arm, firing the projectile.
Really quite simple. But there are a couple of things for you to know so your catapult will be a success. Let me explain a bit more.
Don't physically connect the solenoid pin to the catapult arm. This is important.
You are transferring linear motion (of the pin) to an arcing circular motion of the catapult arm. If the two are physically connected the mechanism will jam up. The pin should simply press up against the arm and push it.
Secondly, you can get a more powerful catapult by having a longer catapult arm. Let me explain.
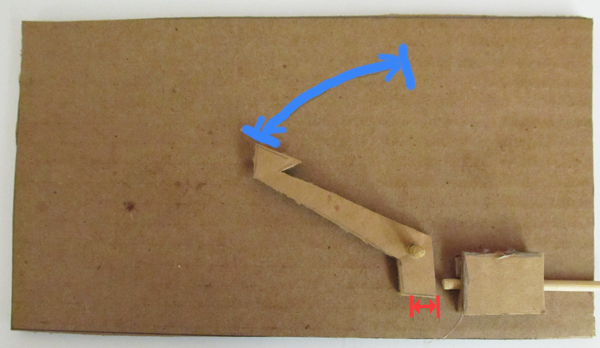
The bottom part of the catapult arm travels a short distance in a set period of time. Shown by the red lines.
The upper end of the catapult travels a much longer distance in that same amount of time. Shown by the blue lines. This gives us speed. To fire the catapult.
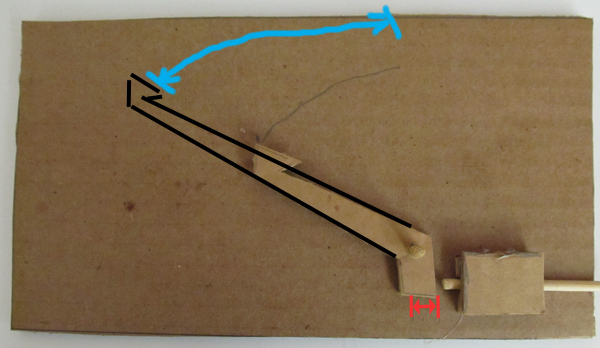
You can get more speed, and a longer catapult firing range by increasing the length of the catapult arm. You can see that the end of the catapult now travels a further distance in the same amount of time which means it travels faster. And that will fire your projectile faster/further.
One more thing for you to know in order to make your catapult a success.
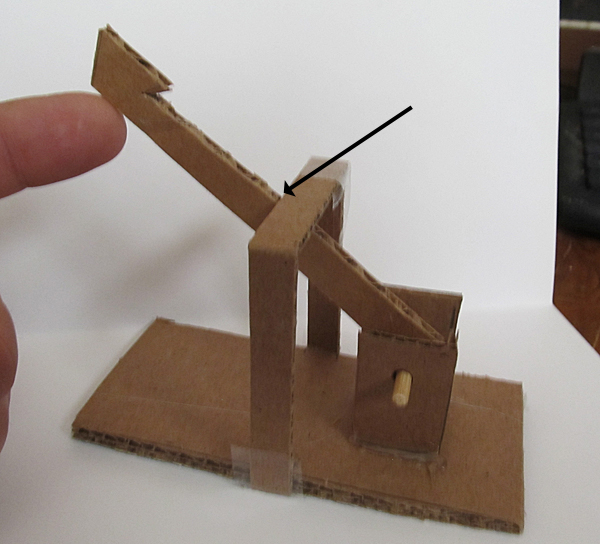
You need to put in a little bit of something to stop the catapult arm at the end of desired motion. It should travel about 45 degrees and be stopped. When it stops, the projectile in the little bucket is launched.
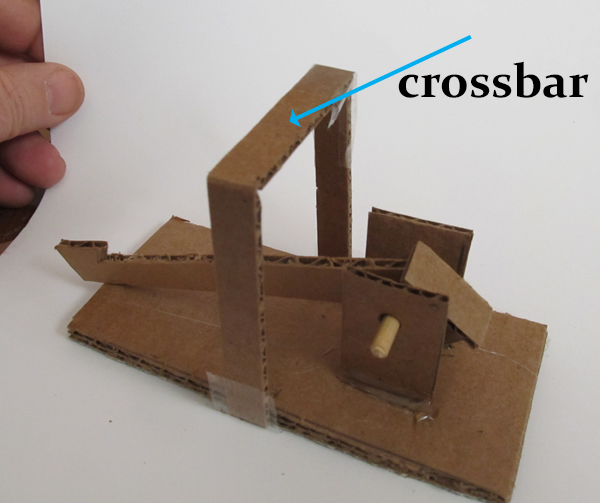
This next picture shows the catapult arm as it would stop against the crossbar. Set this at approximately 45 degrees.
And you can have an affect on the distance the catapult shoots by changing the height of this crossbar. That changes the angle of release.
If you would like to see this catapult in action I have a youtube video you can watch without leaving this webpage. It is right down below ↓