Make a handy dandy wire coiling jig (aka the HDWCJ) or making wire coils to make ring for chainmaille: 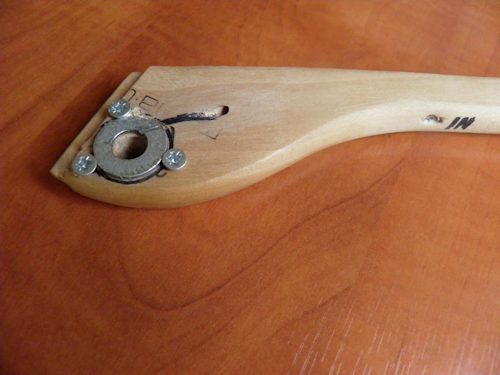
Here is some copper chain that Sander made using this jig. The copper wire is just a test run of the jig. Standard fencing wire will be used for the final projects! 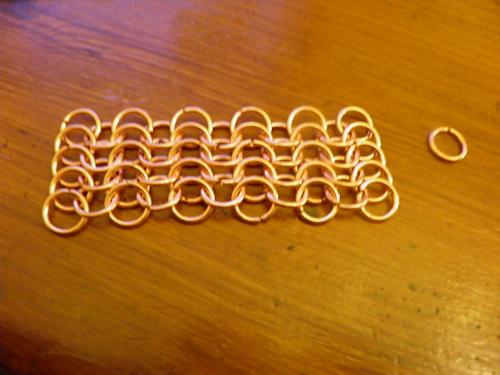
General idea behind the HDWCJ thingy:
The device is ment to help with spinning out coils in a convinient and safe way.
Little risk of pinched fingers with this device.
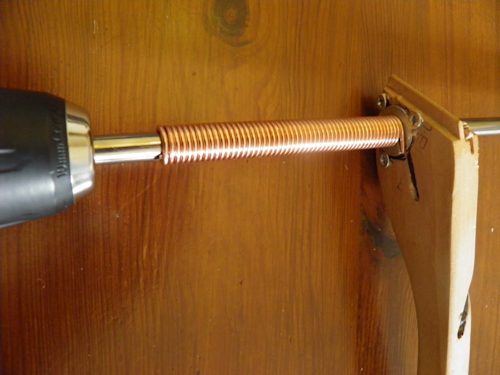
Tension in the to be wound wire is provided by two drilled holes through which the wire is passed. The two holes are at an angle to each other of about 40 degrees to provide enough friction to make the tension in the wire to make sure the coils are wound correctly, tight and straight. The device can be used with a power drill (or hand power) to rotate the mandril rod. Just hold the jig, apply a little pressure against the previous winding on the advancing coil and rotate the rod.
What do you need:
-
Your thingy body:
a dense piece of (hard)wood, about 6 inches long, minimum of ¾ inch thick and about 1.5 inches high.
(I used a piece of a broken coat hanger for my very functional prototype)
-
Your ring madril:
a (steel) rod of about 12-15 inches (depending on your preferred coil length)
(I used a paper transportation axle from a broken inkjet printer.)
-
Your wire coiling guide:
a fender washer with of about ¾ inch outside diameter and an internal diameter which is slightly larger than the rod you are using as a mandril.
-
3 small woodscrews.
-
Various tools:
a hacksaw, a set of pliers, a metal and wood file, some sandpaper, a power drill or hand drill, a couple of drilbits for wood and metal.
What you do:
a. Drill a hole in your wooden handle to fit your rod through. The hole should be snug but not tight.
b. Stick your mandril rod into the drilled hole and put the fender washer over the rod.
c. Center the washer the best you can and draw a line around it onto the wood.
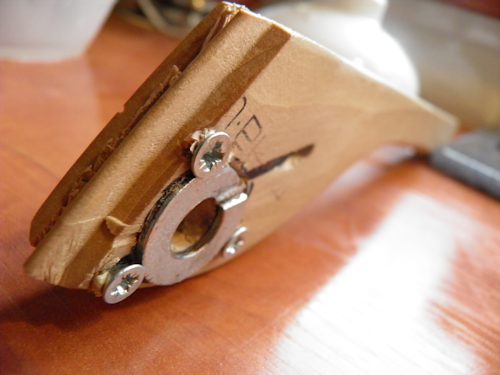
d. Saw open the washer (see picture) and bend the washer into a single thread which is the same as your wire gauge.
e. Using a chisel cut away some of the wood around the hole to have the twisted washer lie into.
The washer should be flush where the wire will wind onto the rod and stick up from the wood about the wire thickness. The washer is a coiling guide and will make sure the coils are wound correctly and without any double ups.
f. Drill 3 small holes around the washer and fasten with 3 little woodscrews (see picture)
g. Drill two holes slightly larger then your wire thickness: one of the holes should exit the wood very near the place it should go onto the rod (in the picture you see the exit of this hole in black)
h. drill a second hole at an angle of 30-45 degrees exiting near (about ¾ inch back from the entrance of previous hole) these two holes make up the wire tensioning.
How to use:
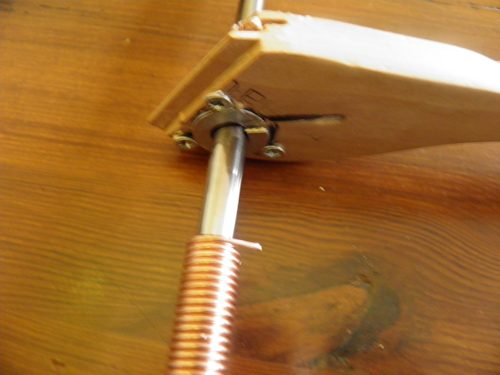
1. Insert the wire into the first hole and make a loop before you stick the wire into the second hole.
2. Line up the rod and the hole drilled into it and push the wire throught the hole towards the hole in the rod and pass it through just shy of the other side of the rod.
3. Turn the rod 90 degrees and make sure the wire is seated firmly into the hole in the rod.
4. Pull any slack from the wire and start turning the coil.
The coil will form and the wire will feed automatically, the tension is provided by friction in the two holes and the angle between them.
5. You only need to make sure the thingy is pushed against the coil to prevent a loose bit in your coil.

Prefer to buy pre-made rings?
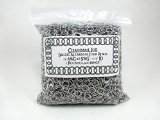
Chainmail Joe Bright Aluminum 1 Pound Chainmail Jump Rings, 18SWG 1/4"ID
You are looking at one pound of quality Bright Aluminum jump rings for making outstanding jewelery or mail armor. These rings are saw cut by an extremely precise jewelers saw (0.008" thick) to make perfect closings for your projects. They are made of Aluminum Alloy 5356, which has 5% Magnesium and makes for a much brighter finish than regular aluminum and doesn't oxidize(no blackness ruboff). They have been cleaned and polished and are ready to use! |


