Diorama Making Banner

Home

Home

Youtube graphic
I have a youtube channel with over 1000 Videos!


Become a Patron

Wills Pinterest !


Tutorials

Will's Big Dioramas

Fast Tutorials

Types of Dioramas

Diorama Themes

Time Periods

More

Tools/Supplies

More Stuff


Will
Hi, Thanks for visiting my website. My name is Will and if you have questions
or would like to
contribute projects or ideas you can contact me Will

Medieval Village 13 - Walls, water, cobblestones and terrain textures

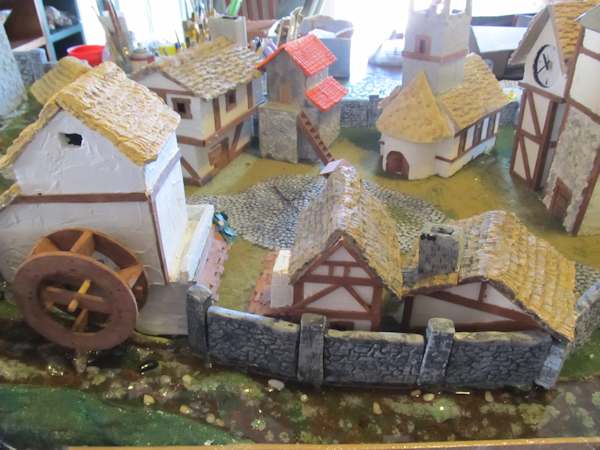
The Medieval Village is getting close to done. In this part I wire in the control panel, add the walls around the village, pour the river and add some of the terrain textures.

I also have a video that shows all of this.


The Medieval Village Diorama


Here is the video showing how to do al this stuff:


Making the cobblestone road

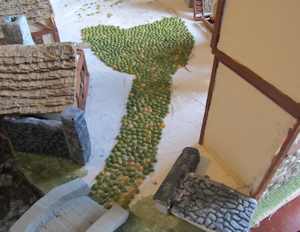
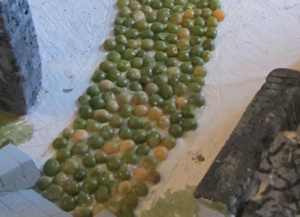
Before the painting and terrain textures go in we laid in the cobblestone center of the village. We tried a bunch of different things and finally found split peas. Yup, each split pea was glued down.


The cobblestone road

Here is a closer look at the split pea cobblestones.


Glue in the wall pieces

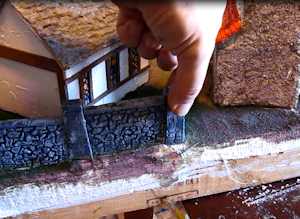
I glued pieces of wall segment all the way around the village.

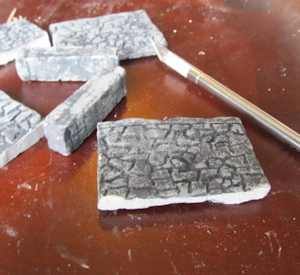
These walls are cast in plaster of paris. It is a fun process where I made original walls in clay, made rubber molds then cast lots of copies. I will be doing a tutorial on this process. How to cast the plaster walls


The plaster walls

Here is a quick look at some of the walls.


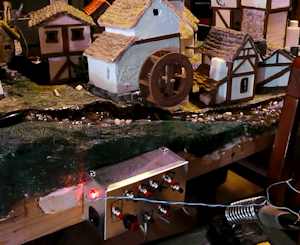
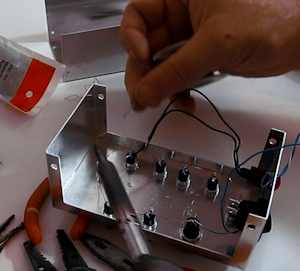
The control panel is mounted onto the side of the diorama. It is a small project box that I bought from Radio Shack. Easy to do. You drill holes in the faceplate of the box so you can mount the switches.


soldering the project box

This picture shows the wiring of the box. It is a pretty simple wiring plan because it is all switches and one power on lamp.

At this point of the building all that is needed is the wiring and addition of this box. The actual diorama was wired earlier in the process where I ran all the various wires to the buildings. You can see how that pre-wiring was done right here: Wiring the diorama


APPLYING THE TERRAIN TEXTURES


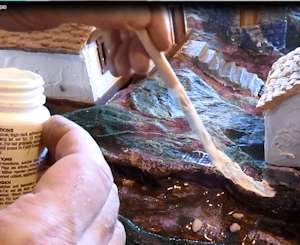
Brush on glue for the terrain

Now I am starting to add the textured materials to the shell of the diorama. This is the various shades of grasses.

First you paint the shell of the terrain various colors like greens and browns.

Once the paint is dry you brush on a thin layer of clear drying glue. You can dilute the glue with a little bit of water to thin it out.


Adding terrain textures

Then I shake on the terrain materials so it forms a nice even coat on the glue. On rough terrain like this part I use two different terrain colors. I do a darker green to get into the low parts and a lighter green or yellowish to do the higher points.


POURING THE RIVER


Easy Cast

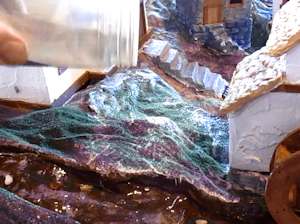
The river took a little bit of preparation work and I will cover some of that.

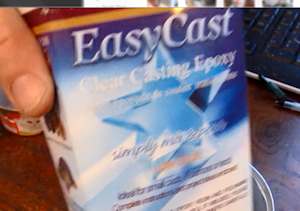
For the actual water I use a product called EasyCast. It is a pretty easy two part epoxy. You mix two liquids together then pour them into your area. It dries hard like a clear plastic.


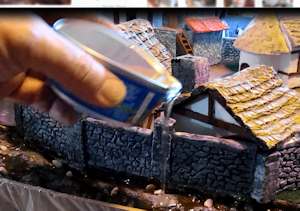
Pouring the acrylic water

Here I am pouring the easycast into the river bed.


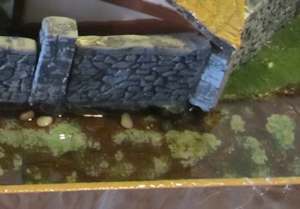
A look at the river

Here is a look at the river after it has been poured. It now just has to dry.


Adding a border to contain the water

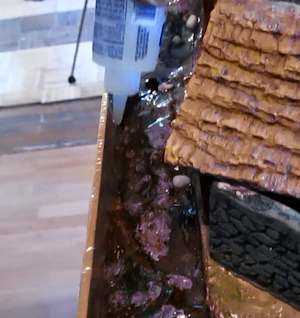
One quick note about the River. It along the side of the diorama so one half of the river is open. Can't just pour the easy cast on that! So I put a board up against the side of the diorama and nailed it temporarily in place. Then I glued that edge so it would have a good seal. Now our river is a self contained area like a little pool. The easy cast can be poured right into it.


This next picture gives you a good sense of how the river was done. It has been poured and it just needs to dry. Then I can remove the board.

The River


Let's continue with the tutorial and finish it all off


Environmental Technology 8-Ounce Kit Casting' Craft Casting Epoxy, Clear


Beacon 3-In-1 Advanced Craft Glue, 4-Ounce

This is the glue I use for a whole lot of this project. It has great tack, dries fast and is nice and clear.


Sign up for my newsletter!

Do you like making projects and exploring a variety of hobbies?

Sign up for my free newsletter. I give you regular updates on hobbies and projects you can make. it is totally free and I don't share your email with anybody.