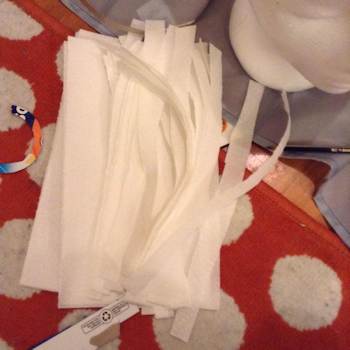
• Now, we're ready to paper mache. In preparation for this, grab your paper towels and begin cutting them into strips. It's better to have too many then too few when your hands are covered in the mixture.
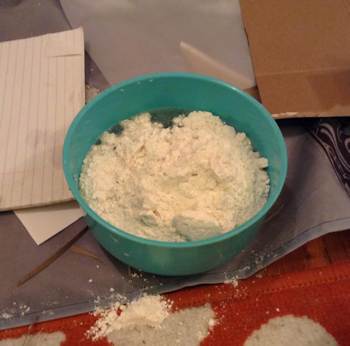
• The paper mache mix can be added to your empty bowl as follows: 2 cups water, 2 cups flour, 1 tsp salt, blended until no chunks remain and mixture is very viscous.
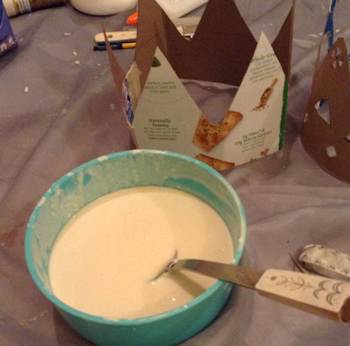
Here is what it will end up looking like.
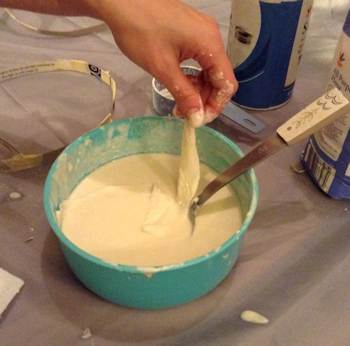
• Once mixed, begin by dipping strips of paper towel into mixture. Making sure the strip is fully saturated in paper mache, squeeze off any excess fluid into the bowl.
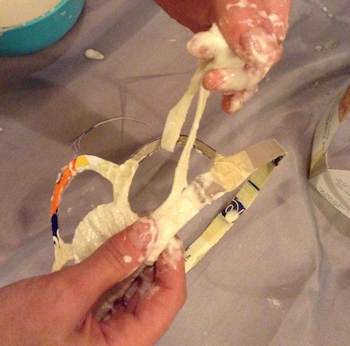
• Next, take that strip and apply it to your cardboard frame. You can lay it down flat, or twist-wrap it for extra support. There is no wrong way to do this. Repeat until entire crown is covered.
(Note: This picture shows a tiara being paper mached. We made one of these along with the crown. Send me an email if you want to see a tutorial on making a tiara!)
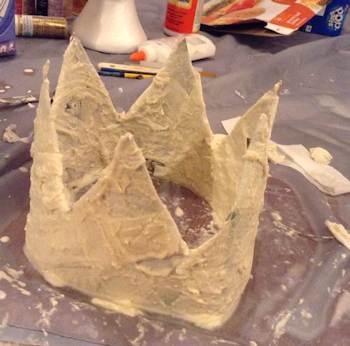
The crown is paper mached! Nice work!!
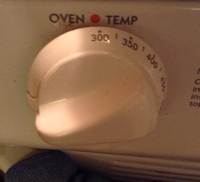
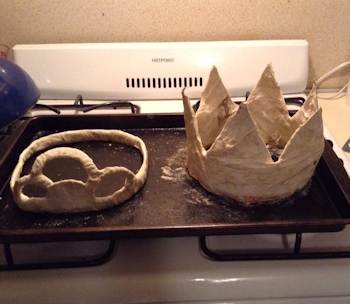
• I used an oven, which is optional. I set the temperature to about 300 degrees because of how heavy the many layers of paper mache were and allowed for it to preheat.
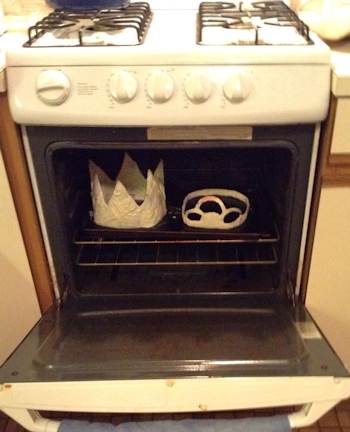
When ready, the crowns were placed on a baking sheet and popped into the oven for approx. 1hr-1.5hrs. You can check up on your crown repeatedly and adjust its shape as it dries if needed. When it's dry it will be stiff and rigid.
• Remove from oven and let baking sheet cool for about 15-20 minutes.
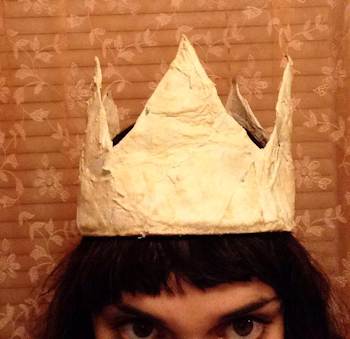
• When cooled down, I tried on the crown and made sure I didn't lose too much space. When paper mache dries, it shrinks slightly. Try to account for that if you can when measuring. So, 21.5" becomes 22".
 Okay, We are almost done. Let's finish the crown Okay, We are almost done. Let's finish the crown
 Where the Wild Things Are Where the Wild Things Are
Where the Wild Things Are is fifty years old! Let the wild rumpus with Max and all the wild things continue as this classic comes to life as never before with new reproductions of Maurice Sendak's artwork. Astonishing state-of-the-art technology faithfully captures the color and detail of the original illustrations. Sendak himself enthusiastically endorsed this impressive new interpretation of his art before his death in May 2012. Winner of the 1964 Caldecott Medal for the Most Distinguished Picture Book of the Year, Where the Wild Things Are became an iconic book that has inspired a movie, an opera, and the imagination of generations. It continues to be one of the best loved books of all time the world over, by the one and only Maurice Sendak.

Do you like making projects and exploring a variety of hobbies?
Sign up for my free newsletter. I give you regular updates on hobbies and projects you can make. it is totally free and I don't share your email with anybody. |


