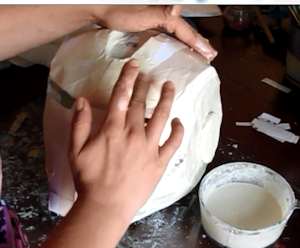
Ok, once you have the template pieces all in place very nicely and it is all taped down nicely you can go ahead and apply another layer of paper mache. Take your time with this layer. You want it to be nice and smooth like metal. You can't get it perfectly like metal but you can make it pretty smooth.
You should also do a layer of paper mache on the inside of the helmet. This will make it much stronger. And if you want to wear it a lot you really should make it stronger!
I recommend you let this whole layer dry and then do one more layer of paper mache over the whole thing!
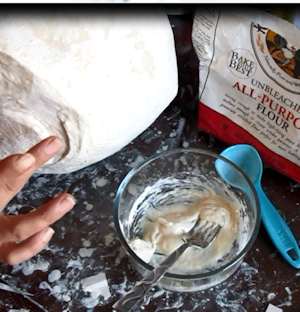
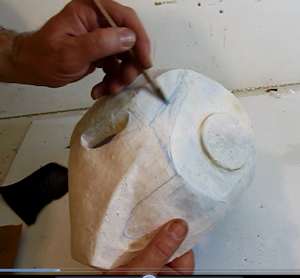
Now we can do some really nice detail work on this helmet. Mix up a small batch of paper mache but make this batch pretty thick. Its almost like a paste. You can add this to the helmet as if it were clay and do some shaping of the lines and edges of the helmet. It makes nice crisp lines and edges.
Now let's paint this helmet! Draw lines on the helmet so you know where the paint changes from gold to red.
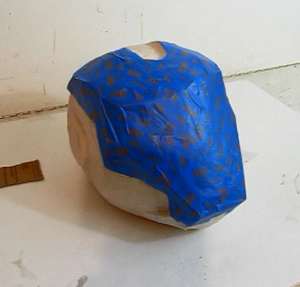
Mask off the face of the helmet with masking tape. I use painters tape because it is perfect for this. When you remove painters tape it won't damage the paper mache.
I spray painted the helmet Cherry Red. Note that if you use brush on paint you really don't have to use the masking tape.
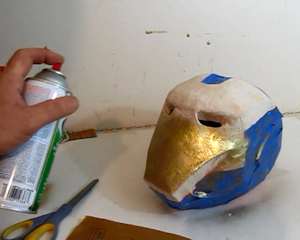
Now let's paint the gold face section. I removed all the blue tape from the face and taped off the red section. Once of course the red was dry. Now I could go ahead and spray paint the gold face section.
Once all of this is dry we can go ahead and spray paint a fixative sealant on it. (optional) But the sealant gives it a shiny metallic feeling. Much nicer.
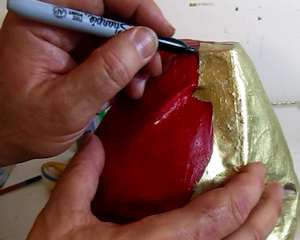
Now we can finish off the helmet by adding the details. You can use black paint or a black marker like I am using. Draw a black line on the helmet right at the border where the gold meets the red. And draw in the lines for the eyes and the visor.
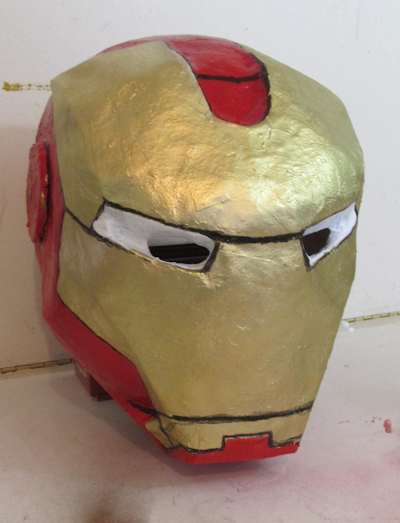
Use this picture to see how you draw or paint on the black lines. Don't forget to add some white at the eye slots. And your helmet is done! Congratulations!
How to Make Big Paper!
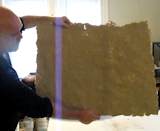
Wouldn't it be great to make a very big sheet of paper? I made one for a fantasy map I am working on. I show you how to do it right here: Make a Big Sheet of home made paper
Make a foam armor Knight's Helmet
I continue in my series of tutorials on how to make armor out of foam. And now we make the helmet. And a neat thing about this helmet is that the visor goes up and down.
Make a Foam Armor Knight's Helmet

Do you like making projects and exploring a variety of hobbies?
Sign up for my free newsletter. I give you regular updates on hobbies and projects you can make. it is totally free and I don't share your email with anybody. |


