Part 2: Making the Rubber Mold
In this part of the project we are doing something called making a two part rubber mold. We cast one half of the dagger in rubber then we cast the other half of the dagger in rubber. The reason why we make it in two halves is so we can get the objects in and out of the mold. I use a product called OOMOO 30 rubber.
Amazon:

Smooth-On Silicone Mold Making Rubber OOMOO 30
This is the stuff. You mix equal parts of the two halves together and pour it. It will then turn into rubber! Pretty easy.
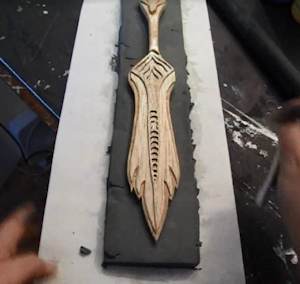
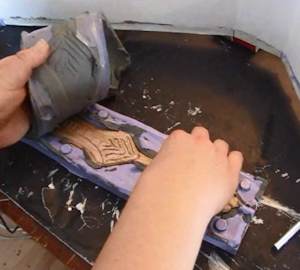
We start out with a lot of clay. You build a rectangular platform of clay and you put the dagger on it. You can push the dagger down into it if possible. Sink it about half way down into the clay.
What we are actually doing here is preparing the top surface of the dagger to be cast in rubber.
We want the clay to form a nice rectangular shape like you see in the picture here. That is because we will build a temporary box around it.
This layer of clay under the dagger should be around one inch thick. It is not a critical thickness.
This picture shows the clay goes up about half way on the dagger. You don't have to push the dagger down into the clay if it is difficult. You can just add small amounts of clay around the dagger.
About the clay. Read the instructions that comes with the OOMOO rubber. Some types of clays or not very compatible with it. For example, sulphur based clays can cause a little bit of not full curing of the rubber. So, check your clay and the instructions with the rubber.
Although, I have found this to not be that serious of a thing. Often times a sulphur based clay will just cause a little bit of wetness in the rubber. Just a little but it can be wiped.
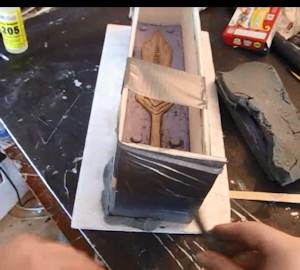
Now use cardboard or foamboard to build a box around the clay. Three or four inches in height is adequate. You can add clay along all the edges of the cardboard inside there so the poured rubber doesn't leak between the foam board and clay. Add clay to all the horizontal and vertical corners.
Now we are creating something called location holes in the clay. These insure a perfect fit between the two halves of the rubber mold. Use a marble for this or the rounded end of a marker. You press an imprint into the clay. Picture a marble being pressed half way into the clay. Then remove the marble. Do about half a dozen of these scattered in parts of the clay.
Now we need a place that we will pour the epoxy resin into eventually. There would be no rubber there, it is a hole. So put a little piece of something at the end of the dagger like this. This is a piece of dowel. And embed it half way into the clay. Leave it in place for now.
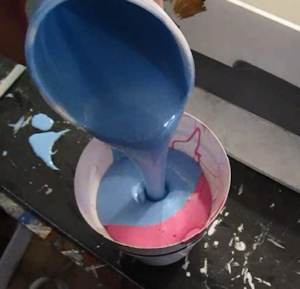
Mix equal parts of the oomoo rubber together. Stir them well until it forms a uniform color.
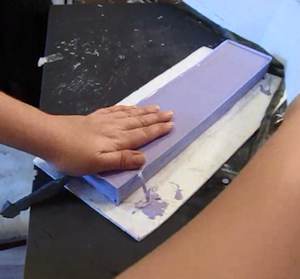
Then slowly and gently pour it into the mold, completely covering that wooden dagger. The whole rubber pouring should be around an inch thick. If you dont' feel there is enough you can always quickly mix up a little more and add it. This stuff takes a few hours to dry.
There are however lots of air bubbles embedded in that rubber and sticking to that dagger.
We remove them by rapping on the table sharply with a fist. Do it lots of times and you will see bubbles rise and pop out of the rubber.
Now we wait for it to dry. Although technically it doesn't "dry". It vulcanizes.
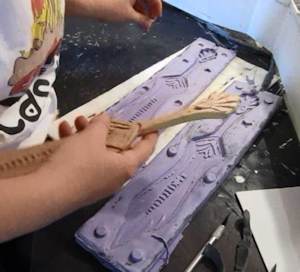
Ok! Once that rubber has finished doing its thing you can take the mold apart. But don't ruin it or throw it out. We will need it again shortly.
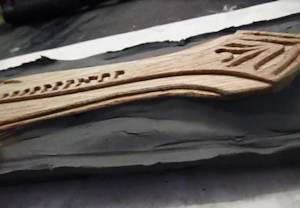
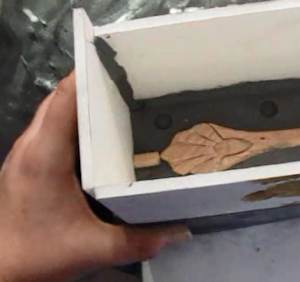
Flip it over and remove all the clay. But leave the dagger embedded in the rubber. We still need to cast the other half of the rubber mold. Use a tool to remove any remaining bits of rubber in the edges. Particulaly on the dagger.
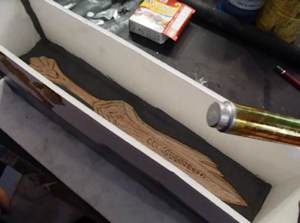
Ok, rebuild your foam board mold around the rubber.
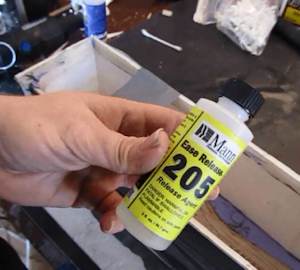
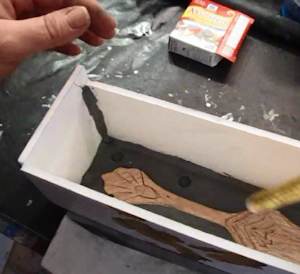
Now, and this is optional but nice, use a mold release agent on the rubber and the dagger. You brush it on with a paintbrush. This makes taking it apart later a bit easier. It is optional but good.
Amazon: Environmental Technology 4-Ounce Castin' Craft Mold Release Conditioner
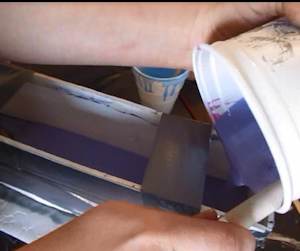
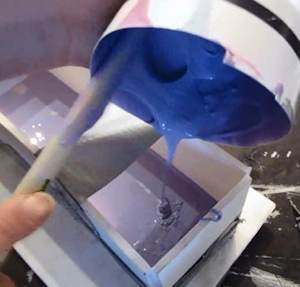
Ok! Mix another batch of the OOMOO Rubber and pour it right on top of it all!
And just like we did the first time be sure to rap on the table sharply a whole lot to get the bubbles out.
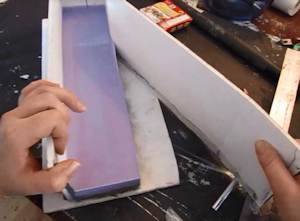
Ok! Once that rubber has vulcanized you can go ahead and remove the foamboard box from it.
There you go! You can take apart the two halves of the mold and now remove the dagger. Voila! You have a two part rubber mold.
 Let's continue with the tutorial and cast the glass dagger!!!! Let's continue with the tutorial and cast the glass dagger!!!!

Do you like making projects and exploring a variety of hobbies?
Sign up for my free newsletter. I give you regular updates on hobbies and projects you can make. it is totally free and I don't share your email with anybody. |


