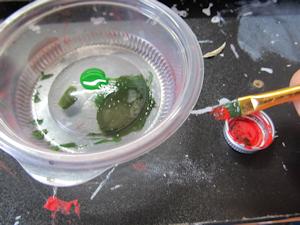
• As with any painting project, set yourself up with your necessary accoutrement. So, if you're using acrylic paint, some old newspapers or magazines to protect your work surface, a cup of water, and a place to put the paint will be needed. If you're using enamel like we did, make sure your paint thinner is handy rather than water. You'll be needing it.
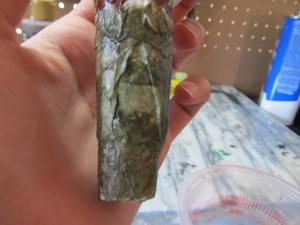
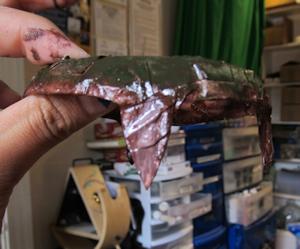
• We're going to start by painting the cone. To do this, take a drop of green paint and a tiny, tiny dot of red paint and mix the two colors together. The end result should be a desaturated, dark forest green. Excellent. Apply that to the entire cone.
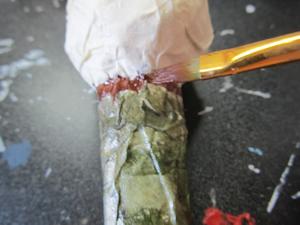
Next, take your brown enamel and paint a line around the base of the ball. Then, thin the paint out substantially and sort of gently coat it over the green paint in a downward spiraling motion. The idea is to have two bands of color: dark green and rusty, watered-down brown. See pictures.
 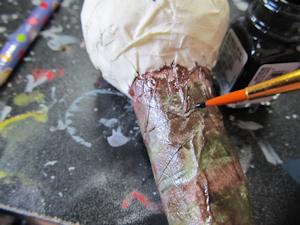
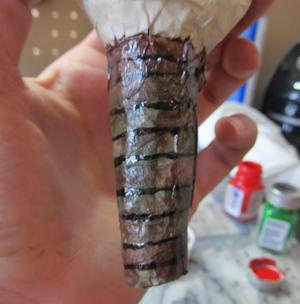
Now, it's time for the black paint. With your fine tip brush, paint a very thin, gently sloped spiraling line in black all around the entire cone. See picture.
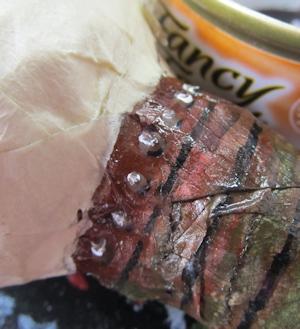 When that's done, accent the base of the ball by adding evenly spaced dots of brown acrylic paint to the surface. Let them dry, then add a tiny dab of white to them, to create the illusion of three-dimensional depth. Put the cone aside to dry for now. When that's done, accent the base of the ball by adding evenly spaced dots of brown acrylic paint to the surface. Let them dry, then add a tiny dab of white to them, to create the illusion of three-dimensional depth. Put the cone aside to dry for now.
• Grab your ring and coat it in thinned-out brown paint. On the base and around the edges, dilute the desaturated green paint and apply it liberally.
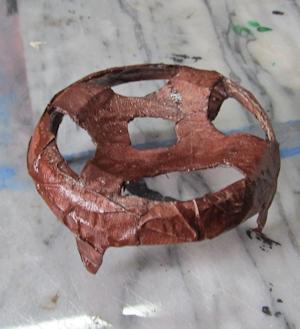 
Use white paint to emphasize the highlights on the plastic spikes, as shown in the picture.
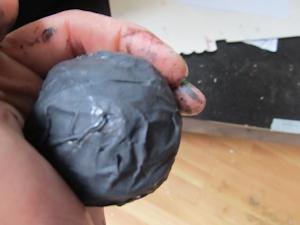 With your flat tip brush, apply gray paint all over the ball of the cone. Be careful not to muck up the paint on the cone! With your flat tip brush, apply gray paint all over the ball of the cone. Be careful not to muck up the paint on the cone!
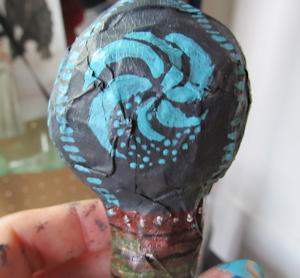
• Divide the ball into four quarters, whether literally with a pencil or mentally. We chose to do it literally. In each quadrant, we used the pencil to draw a spiral. It does not matter what direction the spirals point in. Ours have no pattern. When you're ready, take the turquoise paint and fine tip brush and begin to paint the spirals in the center of the quadrants. It should look a lot like the pictures. If it does not, or if you make a mistake, don't fret- it's acrylic paint- you can layer it over and over and over and over itself! Keep trying until you succeed, then set the cone aside to dry.
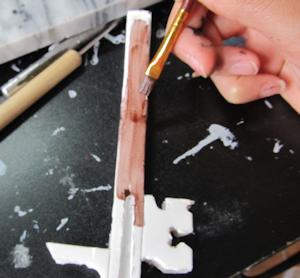
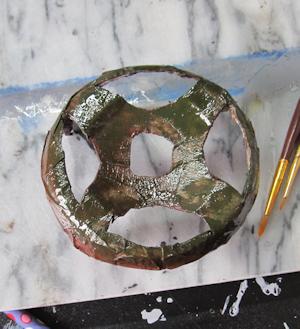
Next, coat the entire key piece liberally with metallic bronze paint. Allow to dry.
At this point, everything should be painted and dried, and ready to assemble! When you're ready, slide the plastic ring up onto the cone. Take your hot glue gun and squirt some glue into the opening of the cone. Finally, slide your key piece in place inside the cone. Allow for the hot glue to dry. Then...
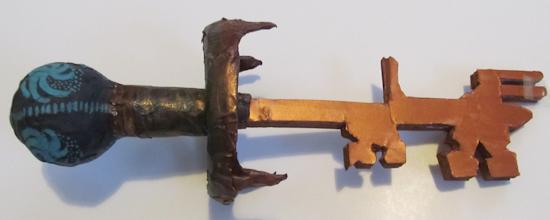
• You're done! You did it! You have your very own Skyrim skeleton key! (And not one bit too shabby if I do say so myself. :) ) Congratulations, you're awesome. Happy crafting; happy gaming!
 Game Poster the Elder Scrolls 5: Skyrim High-quality Posters Prints (20" * 32") Game Poster the Elder Scrolls 5: Skyrim High-quality Posters Prints (20" * 32")
(20" * 32") inches game poster The Elder Scrolls 5: Skyrim posters prints

Do you like making projects and exploring a variety of hobbies?
Sign up for my free newsletter. I give you regular updates on hobbies and projects you can make. it is totally free and I don't share your email with anybody. |


