Hi, Thanks for visiting my website. My name is Will and if you have questions
or would like to
contribute projects or ideas you can contact me
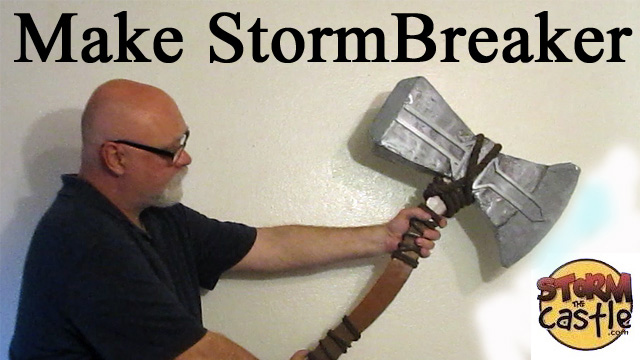
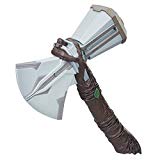
Make Thor's Stormbreaker
For some reason I keep calling this weapon Stormbringer :)
This is a tutorial that show you how to easily make StormBreaker with basic supplies. It comes out really good and it is durable. You can use this as part of a costume for cosplay or for taking to conventions. Or you can just be Thor with it.
In this tutorial I also show you several alternatives for making it even cheaper and easier using various supplies.
And... I have a video tutorial at the bottom of the page.
Will is currently working on this tutorial but the template is ready:
Bookmark this page and check back later today. I am working on this tutorial right now!
Earn a Certificate of Contribution!
If you make this project email me a picture! I will email you a certificate of completion from stormthecastle.com You can print it up and hang it on the wall.
My email:
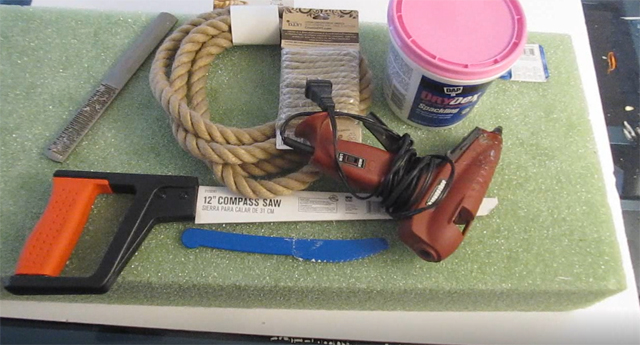
Overview of this Project:
The handle is foamboard or cardboard and the head of the ax/hammer is foam. This is a fun project to make. And it is pretty easy. You get to carve some foam which is not difficult. I show you exactly what to do. And, I give you a bunch of alternatives so you can use what materials you can get or you can keep the cost of the project down. And.... It is a strong weapon that looks good. You can use it for cosplay or conventions.
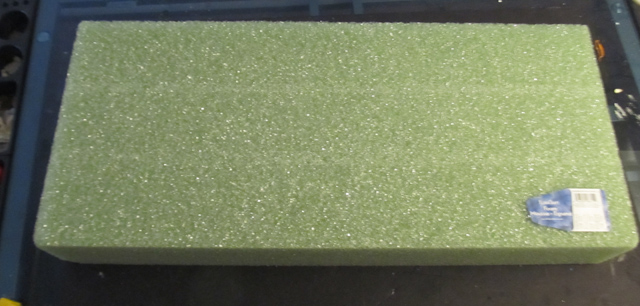
About the block of foam and the head of the weapon.
You need a block that is four inches thick, twelve inches wide and at least twenty inches in length. Here is the block I bought at an arts and crafts store. It was either Michaels or Joann Fabrics. Walmart has foam too.
If you don't get a piece of foam this big that's ok. You have alternatives. For one thing you can simply get some smaller blocks and glue them together to make one big block. Just get the total size to 4 x 12 x 20 inches as a minimum.
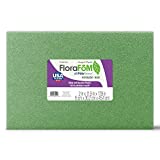
Here is the foam on Amazon. Order two of these to get the four inch thickness:
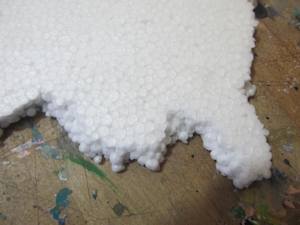
Just don't use the pebbly styrofoam that you often see as packing in boxes. That's the white stuff that is a bunch of little balls all pressed together. That stuff is difficult to carve neatly. It tends to crumble. This next picture shows that type of foam that you shouldn't use for this project. See how it is composed of a whole lot of little balls all pressed together.
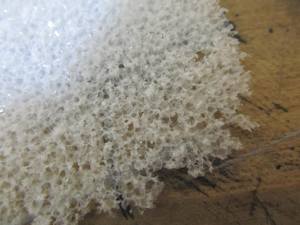
The foam I use is EPS foam. I call it "crunchy foam" because when you press on it or cut it you make a nice crunching sound. This next picture shows the crunchy foam that I use for this project. This particular piece is white but it is identical to the green foam we use. See how it is composed of lots of cells?
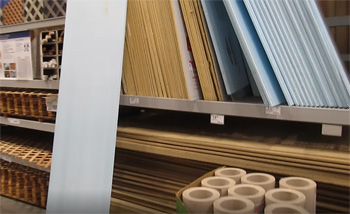
One more thing. You can use a product called XPS (Extruded Polystyrene). This is a terrific foam that is sold in Home Improvement stores.
This next picture shows XPS that I bought at Lowes. It is an enormous eight foot sheet that is two inches thick. And I think it cost me about twelve dollars. This is a great option for this project. You just need to double up and glue two pieces together so you have a four inch thick block.
Spackling and Painting this project. I use spackling. It cost me about seven dollars. And it really makes this project pop. It adds weight and strength to the axe head. But it also gives you, when sanded, a beautiful smooth surface. But.... You can make this project without spackling at all. Just continue on with the project and then paint and mod podge the foam directly.