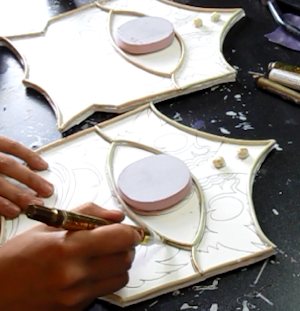
Assuming you have a gold leafing pen or gold metallic paint pen- this next part is a breeze. Just color all the wire gold. Color the iris of the eye gold. Color the very edges of the foam board faceplate gold. Color the diamond-like shape around the two masking tape balls gold as well. See video for reference.
Get out your fine-tip paintbrush and the bronze enamel (or metallic paint). This part takes a lot of patience and a steady hand. If you have a bronze metallic paint marker, that will make things easier if you do not have a steady hand. Here you're basically painting the entire background of the faceplate bronze, being EXTREMELY CAREFUL with our lines. Since Voldo's katars have a beautiful almost paisley-inspired embossed design on them, you want these lines to be as clean and graceful as possible. Your best friend in this process is patience. If you mess up in ANY way, do not worry! Paint is a really forgiving medium, because you can paint over your mistakes. Just keep trying until you're satisfied.
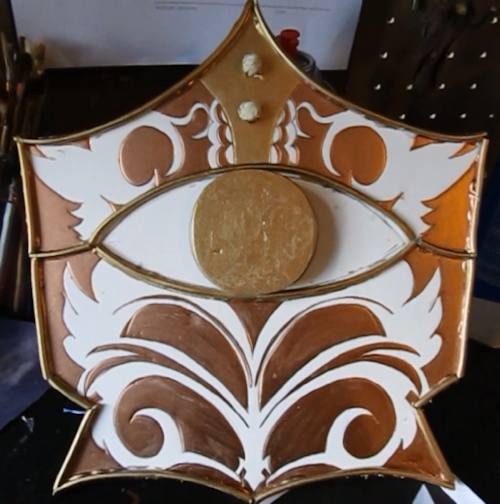
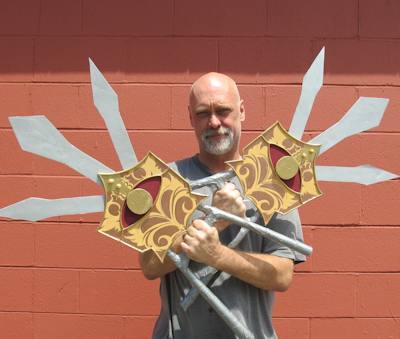
(This picture shows what we have so far, the goldon the wires/eye/top, and the bronze on the background behind the fleur-de-lis. )
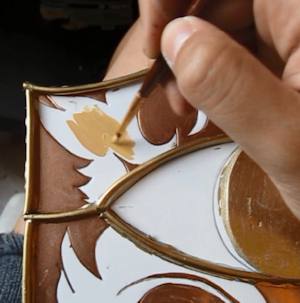
Clean off your fine-tip brush. Using your flat gold acrylic paint, fill in the rest of the design- everything that is white EXCEPT THE INSIDE OF THE EYE. Don't forget to paint the masking tape balls this color!
Take your time here. If you make any mistakes, let the paint dry and paint right over it until you have it the way you want.
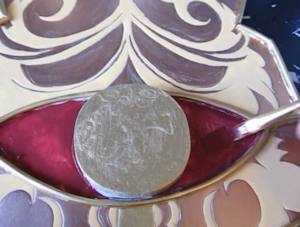
The last step of the painting is the inside of the eyes. Using your flat-tip brush, apply the wine colored paint to the inside. Shown in the tutorial is Apple Barrel acrylic in Tapestry Wine.
*If you want some advice, it's best to paint right over any globs on hot glue that may have squished out from applying the telephone wire to the foam board. Painted over glue is much more attractive than plain plastic.
Now you have the entire faceplates painted as well as their blades. Man, you rule! There are only a few steps left! Let's go!
Find those handles you set aside. Grab your roll of duct tape and cover every square inch of them. It doesn't matter how you decide to execute this, but I decided to wrap them in a diagonal fashion as shown in the video. When finished, trim off any excess tape sticking off the ends.
The last and final steps are to glue everything together!
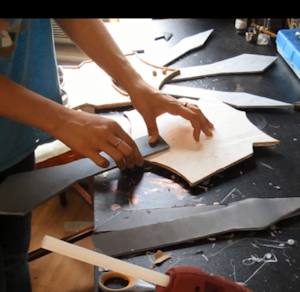
Grab three blades for each katar- two thin and one long. The longest, widest blade is going to stick directly up from the very center of the faceplate. When you glue this down, there should be about 2-3 inches of the blade that are not visible. This is where you'll put the glue. Do this to both katars.
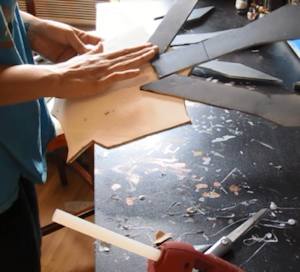
Next, place your thin blades angled out from the wide blade on the back. You want them to be at about a 30 degree angle from the center blade, meeting at the bases to form an apex. Glue down these thin blades to the left and right of the wide blade. Allow to dry. Repeat this step on the other katar.
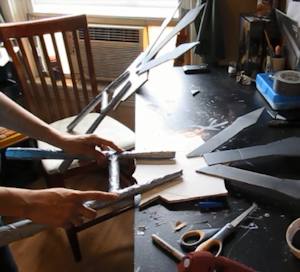
Now the faceplate is completely finished, and it's ready to get glued to the handles. Basically, the idea is to be able to comfortably fit your hand around the handle without hitting the faceplate. Try to glue the handles to the faceplates so that the horizontal bar (where your hand goes) is roughly 2-2.5" from the very bottom of the faceplate. Use hot glue to adhere the top "arms" of these handles to the back of the faceplate.
Now, you're done. You should be holding in your hands two very, very dangerous looking weapons! We've successfully made some very nice-looking replica Manus & Ayus from Soul Calibur 2! Perfect victory, my friends! Great job! Happy crafting, happy gaming!
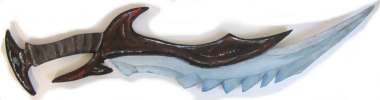
Make a Daedric Sword from Skyrim
Fun and easy project. All you need is a single sheet of foamboard. I have the template you just download and print out. How to make the Daedric Sword
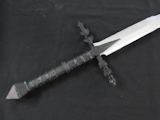
Make the RingWraith Sword from Lord of the Rings
This is a big sword yet pretty strong. I show you a special technique for making a foam board sword that is strong. It involves diamonds but not that kind! Make the Ringwraith sword from LOTR

Do you like making projects and exploring a variety of hobbies?
Sign up for my free newsletter. I give you regular updates on hobbies and projects you can make. it is totally free and I don't share your email with anybody. |


