Home

I have a youtube channel with over 1000 Videos!

Hi, Thanks for visiting my website. My name is Will and if you have questions
or would like to
contribute projects or ideas you can contact me 
How to Make Leather Bracers
|
|
This tutorial on how to make leather bracers was written by Paul Hughes. My thanks go to him for this great contribution.
This tutorial is also available as a pdf right here. Note that this tutorial assumes you have at least a little bit of leatherworking experience. If you need a refresher or want to learn the basics Paul also has a terrific ebook you can download and read for free right here: An Introduction to Leathercraft He tells us a bit:
Initially, this set of gauntlets was for a sub zero cosplay outfit. However
the shape can have any design or colour scheme applied to them for a personal preference.
|
 Note from Will: Looking to get a start in leathercrafting? And want a great beginner project that is easy yet helps you learn the basic skills? This bracer project is perfect. You cut leather, treat the edges, add rivets, add eyelets, dye it and seal it. It as almost everything!
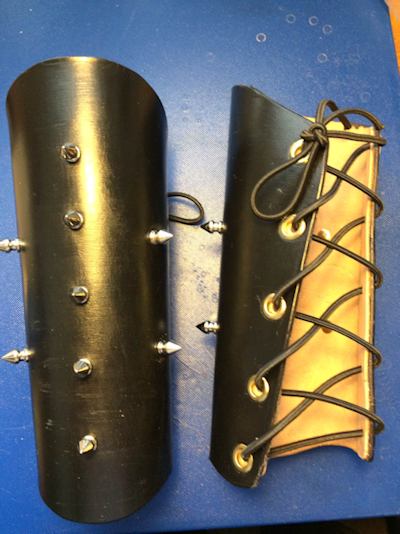
Here are the bracers we make in this tutorial.
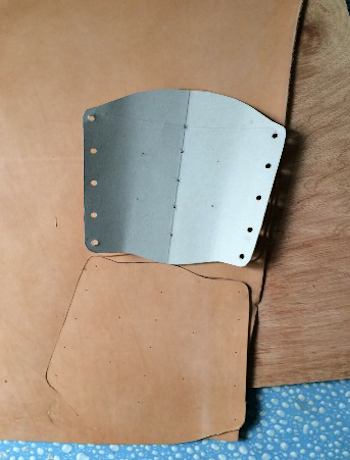
To start any leather work you must have a template of the items you
wish to make.
I happened to find a cereal packet which fit the bill just nicely.
I then cut it out and fitted it to my choice of leather, which happened to
be a 7 - 9 oz piece I happened to have.
It is always a good idea to use a bradawl to score around a template and
to mark positions of holes.
 Need a piece of leather? This piece is large enough to make your pair of bracers. Springfield Leather Company 12"x24" Pre-Cut Hermann Oak Leather Tooling Pieces 7-8oz
Pre-Cut pieces of premium quality Hermann Oak tooling leather with few imperfections or belly area. These pieces can be great to use on projects such as handbags, portraits, clutches, wallets, holsters, knife sheaths, and so much more! Hermann Oak pieces are also available in black and brown.
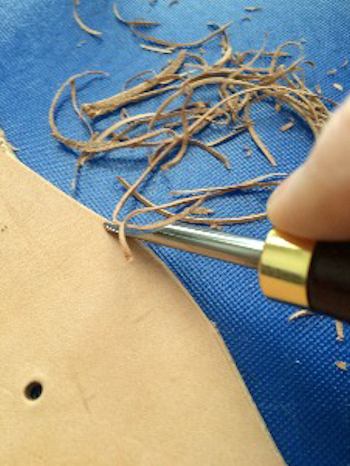
Now is a good time to bevel the edges of the leather on both sides and use the slicker on the bevelled edging.
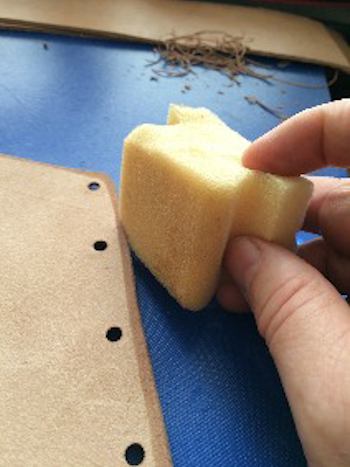
Wetting the edge of leather prior to using a slicker helps to burnish the material and neaten the edge.
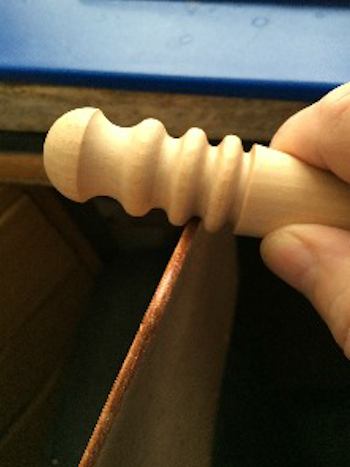
Wooden slicker.
Before and after using the slicker.
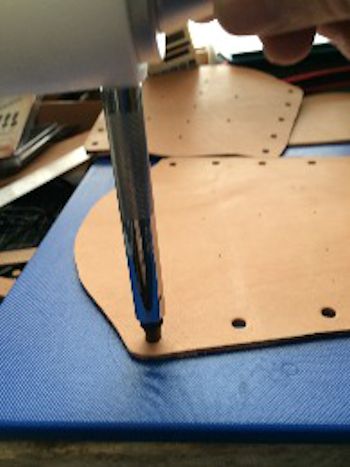
Using punch to set the holes
for eyelets.
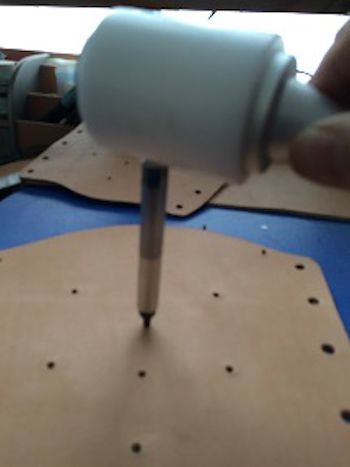
Setting out holes for
spike rivets.
(This example)
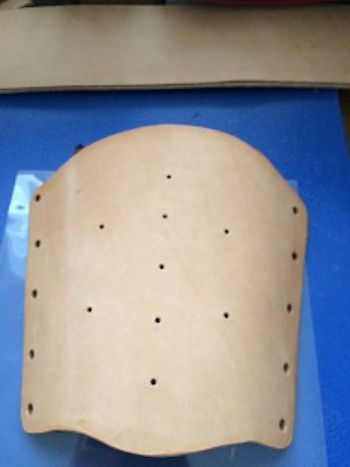
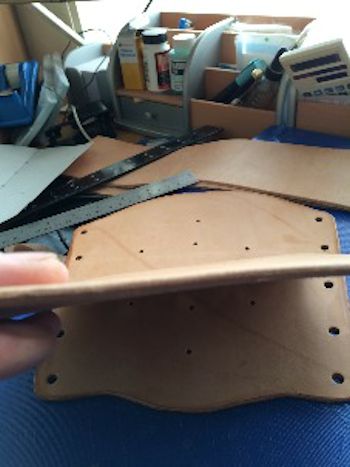
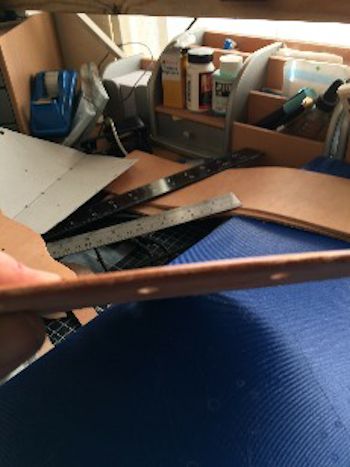
This is what we have so far.
 Let's Continue
The Leatherworking Handbook: A Practical Illustrated Sourcebook of Techniques and Projects
Michael's guide covers basic leatherworking techniques, describes the scientific makeup of an animal skin, explains the tanning process, and depicts an efficient workshop setup. In addition, Michael specifies tools and equipment and lists the materials necessary to sew, dye, glue, and finish each project. Line drawings combined with photographs effectively illustrate methods used to create a variety of boxes, belts, purses, wallets, briefcases, and molded decorative masks. And Michael's step-by-step instructions are concise enough to offer craft enthusiasts of differing skill levels a range of projects to undertake. Color plates depict finished pieces, and sources of supplies are noted. Alice Joyce --This text refers to an out of print or unavailable edition of this title

Do you like making projects and exploring a variety of hobbies?
Sign up for my free newsletter. I give you regular updates on hobbies and projects you can make. it is totally free and I don't share your email with anybody.