You do have options at this stage of sealing the hives. You can use fiberglass resin like we do. Or you can use a polyurethane. The polyurethane is much easier to apply, and less expensive but not as durable. Fiberglass resin is extremely durable and will help preserver your hives for a long period of time. It is a product used on boats to preserve and protect them.
At the beginning of this tutorial I alked about hhow you have a lot of flexibility when building and preparing beehives for your bees. And this part of the tutorial displays this well. You can build all the boxes first if you want, then stain and seal them or paint them. You can see this here because after we built the hives we decided we wanted them to be deeper and richer in their stain color. So we went ahead and applied a second coat of stain to them (Minwax golden pecan).
Standard practice before staining is to lightly sand everything before applying the stain. This is for every coat. So, we went ahead and lightly sanded all the stained parts. Then wiped them down with a damp cloth to remove the sawdust.
Then we applied this second coat of stain. This enriched and deepened the color. 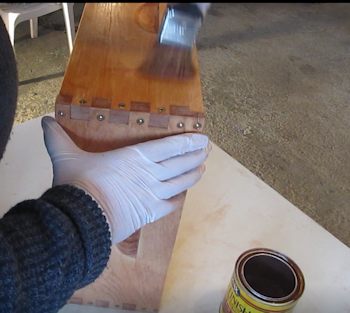
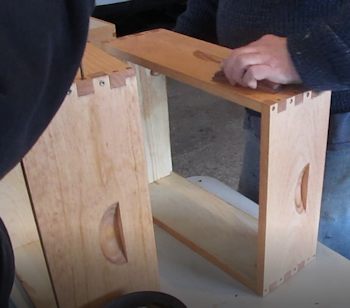
And don't forget to do the edges. It is important because the edges are a weak spot that are vulnerable to weather because of the grain of the wood. And you can see by this next picture that we don't do the insides of the boxes because this comes in contact with the bees. 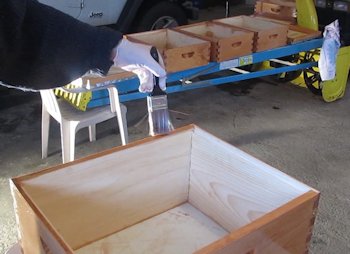
Ok, once that second coat of stain is fully dry (24 hours) we can go ahead and seal the hives with fiberglass resin to finish them off.
A good tip for doing this is to hang them on some kind of a rod or a dowel. This makes them easier to handle and reduces the mess.
Applying the Fiberglass Resin
Fiberglass resin is a thick and viscous fluid that comes in two parts. You get the resin in one container like this. 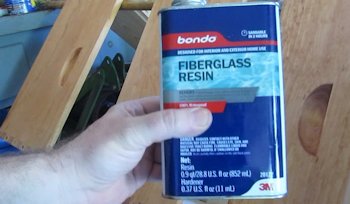
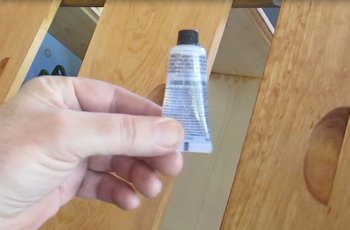
And it comes with a second part. This is the hardener.
It comes with instructions but here is an overview.
You mix up a small amount of resin (about 1/2 cup) with a few drops of hardener. Then you have about ten minutes to paint it onto the hive parts. After ten minutes it starts to harden. This is why you only mix up a small batch.
Once this hardening starts to take affect you simply grab a new brush and mix up another small batch. Continue this small batch process until your hives are completed.
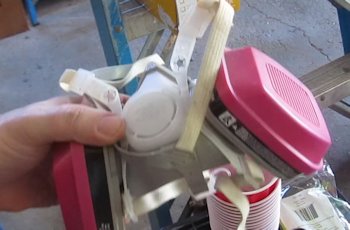
When doing this fiberglass process you should use a respirator. It is recommended by the manufacurer.
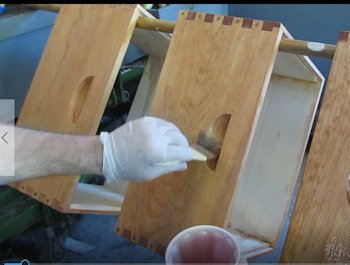
You pour your resin into a disposable cup, add the recommended amount of hardener drops and stir it all up. Work quickly and efficiently so you can get it all on the hives before it hardens. 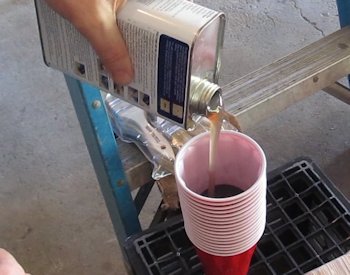
The resin is quite a bit thicker than paint. You will notice this as you work with it. Apply it evenly as possible and keep an eye on it. You will have to frequently go over pieces to remove drips and drops. That is normal.
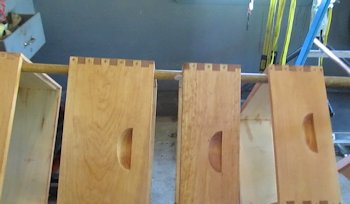
And that's it! Give the parts 24 hours to fully cure. This picture shows one of them after 24 hours. It's a bit difficult to see in a picture but it has a nice rich color and a beautiful finish that is very hard.
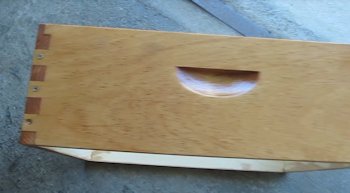
Then you can set them up and add your bees!! Yay!
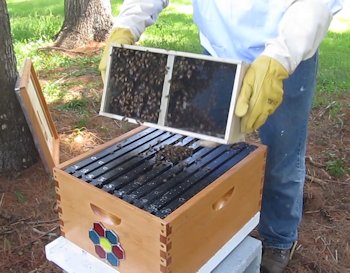

 New: Setting up the beehive - How to install a bee package New: Setting up the beehive - How to install a bee package
Three pounds of bees is around 10,000 bees. How do you get them, and the queen, into the hive? You pour them! Check it out here: How to install a bee package into a hive.
 New: Make Stained Glass Beehive Ornaments New: Make Stained Glass Beehive Ornaments
This is a fun little project. We make stained glass flowers shaped out of hexagons that look like honey comb. I show you how to do stained glass from start to finish. And we mount them on the beehives. How to make Stained Glass Beehive Ornaments
|

 Bee Stuff


