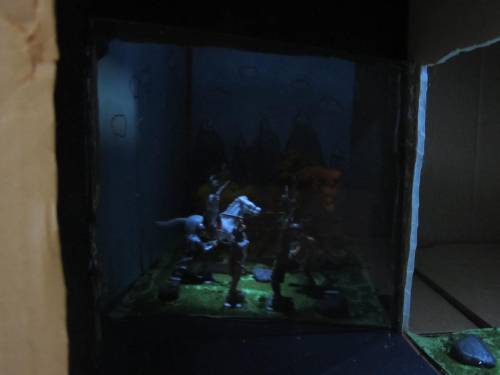
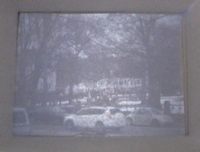
You look in the ghost box and see a scene. It's a bit ghostly and it really isn't there! It's off to the right.
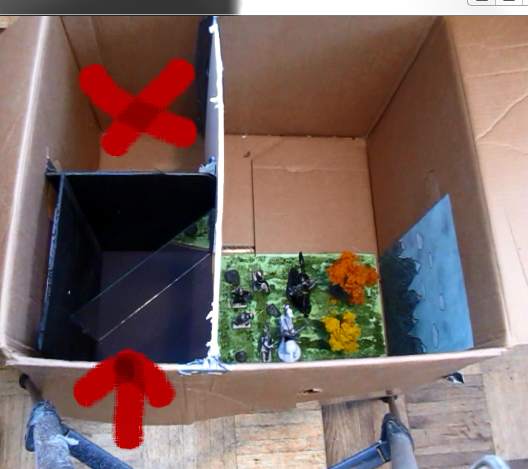
This next picture shows how the illusion works. You look in the hole like the red arrow shows. And the scene appears to be where the red X is. Even though the scene is on the right. The angled piece of glass gives the illusion.
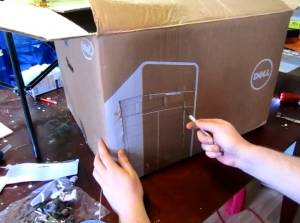
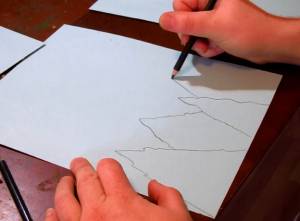
First, start with a regular cardboard box, trace and cut out a viewing window on any side of the box in the general area of the bottom left corner. You want this window to be big enough to view the image you will be projecting.

And for the illusion you are going to need a piece of glass. Taking one out of a picture frame is perfect for this project.
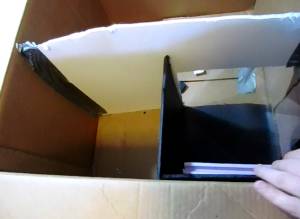
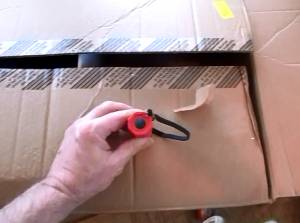
This box will contain several different sections. In the front of viewing window will be a glass pane at a 45 degree angle. Optionally behind this you can put a separate background where the images will be projected. To the right of the glass pane will be the objects or scene you wish to project. At this point cut out some dividers in order to divide the different box sections, and arrange them as shown. For the divider that splits the pane and the diorama remember to cut square big enough so that the light can hit the glass pane. Use duct tape to secure them to the box.
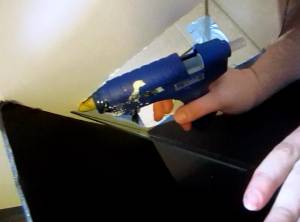
At this point make adjustments so that you fit the pane in front of the viewing window at a 45 degree angle. In our attempts to make this we needed to add a piece of foam in order to place the pane correctly. Use the hot glue to glue the glass pane in place. Remember if you are not careful you can burn yourself so children should not do this without the supervision of an adult. For the glass pane we used the glass front of a picture frame.
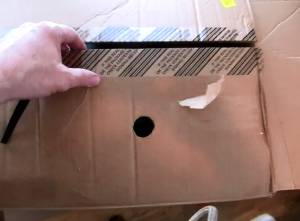
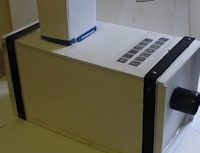
Now, cut a hole in the top above the actual "ghost" or diorama, in order to fit the head of a flash light in. This will be the light which projects the image behind the glass pane.
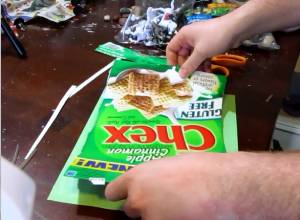
It's time to create the scene or ghost you wish to use. We decided to do a full diorama, however at this point you can use this illusion for pretty much anything that will fit in the front right section of the box. We opted to create the diorama outside of the box and place it in after. To start off we took one side of a cereal box and glued it to a green piece of paper. The green paper is the base for the grass and the cereal box side is for support so that the whole diorama can be lifted and placed inside the box.
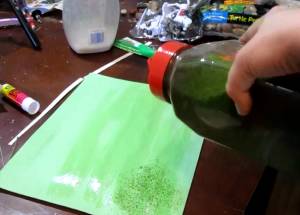
Next, for the grass we used a little watered down glue, spread across the surface of the paper and sprinkled a little Green Terrarium Texture.
(Amazon: Blended Turf Shaker, Green/50 cu. in. ) )
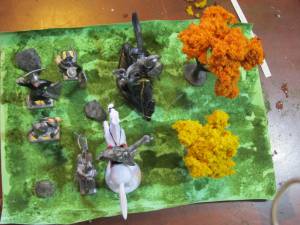
After, brushing off the excess terrain we started adding different objects to the diorama. We used different things we had lying around like miniatures of knights, stones, and even small trees made for dioramas. For this a hot glue gun was used.
Lastly, we used a bit of blue paper, drew a background for the diorama and glued it into place.
All you need to do at this point is take a flashlight and shine it into the hole that you created at the top of the box and you well see your ghost image. Now, you have a great illusion box that you can utilize for any image or diorama.
Make a Camera Obscura
The Camera Obscura is a curious device that goes all the way back to antiquity. And it is a pre-cursor to the camera. Fascinating and easy to make. I have a tutorial right here: How to Make a Camera Obscura
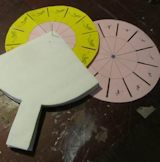
Make a Phenakistoscope!
A-Phena-what-a-scope? A Phenakistoscope is often referred to as a magic disk. The disk has a series of images on it and when you spin it an animation happens! Yup, I give you everything you need to make this early animation device. Just print up the template along with four different magic disks. Make a phenakistoscope.
Blended Turf Shaker, Green/50 cu. in.
This is the best turf. Made by Woodland Scenics.
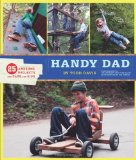
Handy Dad: 25 Awesome Projects for Dads and Kids
Skate ramps, zip lines, go-carts, and more! In this super-fun book, Todd Davisextreme sports athlete and host of HGTV's Over Your Head presents 25 awesome projects for dads to build with their kids. Busy dads can choose projects that range from simple to challenging and take anywhere from five minutes to a full weekend. Readers are given all the directions they need to grab materials that can be found around the house or at the local hardware store and get to work banging up a sweet BMX ramp or half-pipe, building a tree house or tire swing, or throwing together a slip-and-slide or tie-dye station for an afternoon of fun. With plenty of color photographs, easy-to-follow instructions, and detailed illustrations, Handy Dad is chock-full of creative and inexpensive ways to keep kids (and dads) entertained for hours.

Do you like making projects and exploring a variety of hobbies?
Sign up for my free newsletter. I give you regular updates on hobbies and projects you can make. it is totally free and I don't share your email with anybody.
|