Diorama Making Banner

Home

Home

Youtube graphic
I have a youtube channel with over 1000 Videos!


Become a Patron

Wills Pinterest !


Tutorials

Will's Big Dioramas

Fast Tutorials

Types of Dioramas

Diorama Themes

Time Periods

More

Tools/Supplies

More Stuff


Will
Hi, Thanks for visiting my website. My name is Will and if you have questions
or would like to
contribute projects or ideas you can contact me Will

The Smaug Diorama


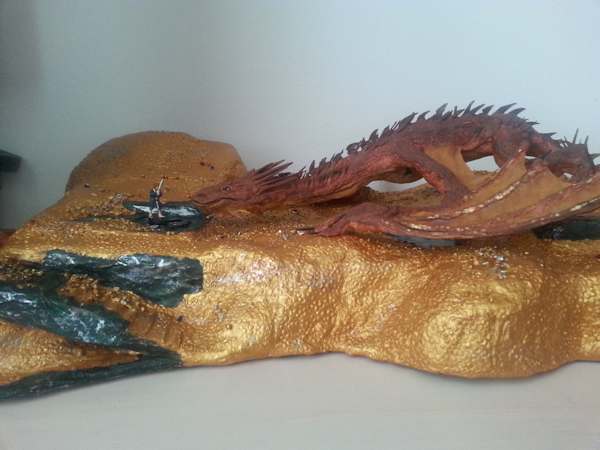
This is a diorama project made by Giorgio Rimbotti. It depicts a scene from the hobbit. If you have watched the movies you know this scene. It is unforgettable.

I have broken this down into two parts. On this page you get a look at the completed diorama and Giorgio tells us how he made the base of the diorama.

In part 2 (Here) You get a look at the Sculpture of Smaug and Giorgio walks us through the steps he took to sculpt it. Quite amazing stuff!


Giorgio tells us how he made this diorama:

Making Smaug:

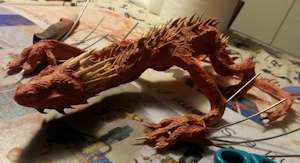
I Drew a lot of different poses, then I Used the wire to make the "skeleton" and I covered it with masking tape. Then I cut the thin cardboard to make the comb on the neck and on the body. I sharpened the chopsticks and the toothpicks to make the horns on the head, the neck and on the body and I glued them with hot glue.I started covering and sculpting it from the head, then covered the body, the legs and the tail. To make the wings I used an old t-shirt drenched in White glue and I Put it on the wire. Then I cut the excess. I Painted it with brown, then red and gold and finally black, red and gold. I varnished the eyes to make them "bright".

Making the Base of the Diorama:

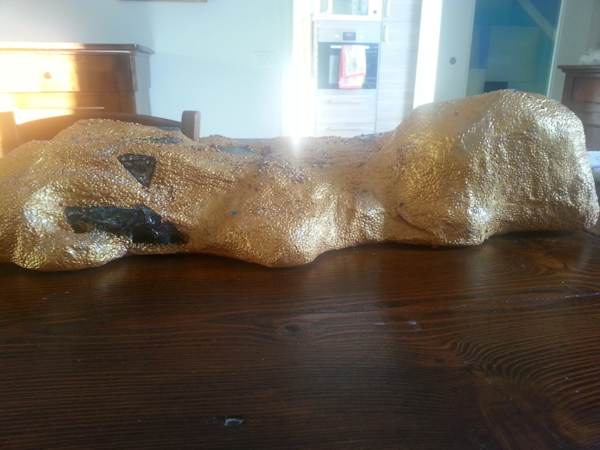
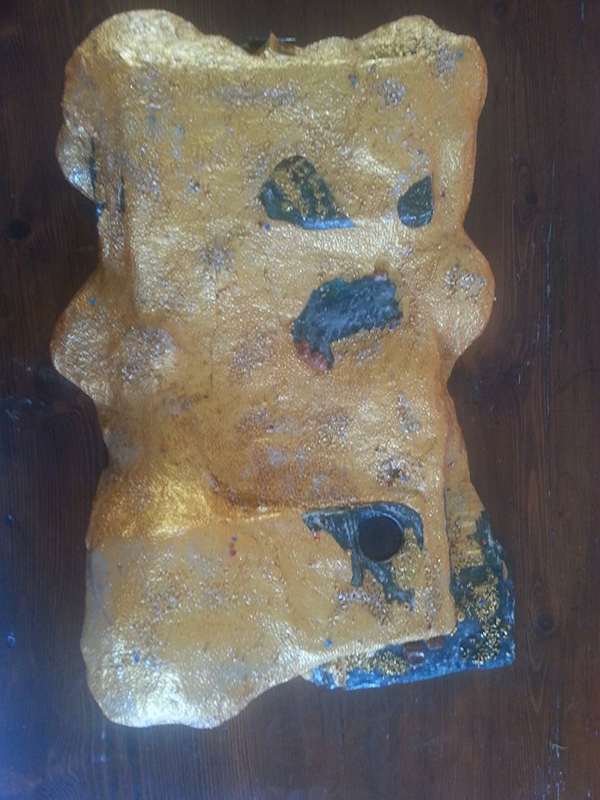
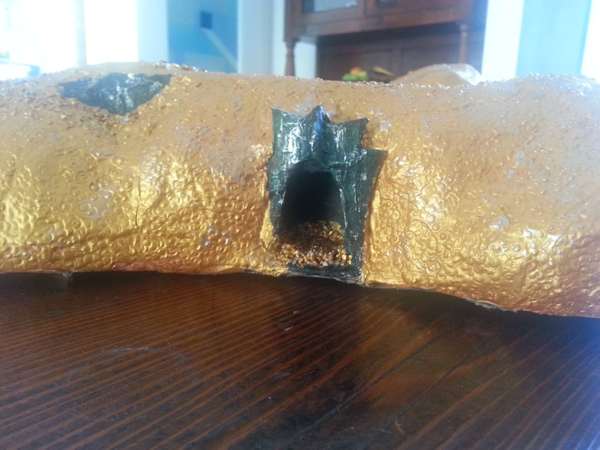
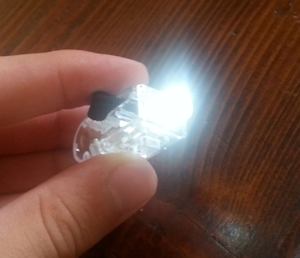
I made the base with corrugated cardboard. I cut the pieces and glued them with hot glue. It was like a box so I added some pieces and details (stairs, columns and a "door"). Then I made some balls with newspaper and made paper mache (Using your recipe!). I covered the "gold" parts with DAS and used a pen to make circles (A lot of circles!) and glued fenugreek and sesame to make the gold more 3D. I Painted gold and black the parts of the floor, then I used bronze, silver, and gold nail varnish in some parts. I brushed the floor with dark and light green paint and silver nail varnish. I also added some paillettes on the gold. To make the arkenston I made a hole in which I put a led. One of the hardest things was Bilbo because it was too small but I found an heroclix figure on ebay. I cut a hole and I put it there. Done!

Side view of the diorama

The diorama

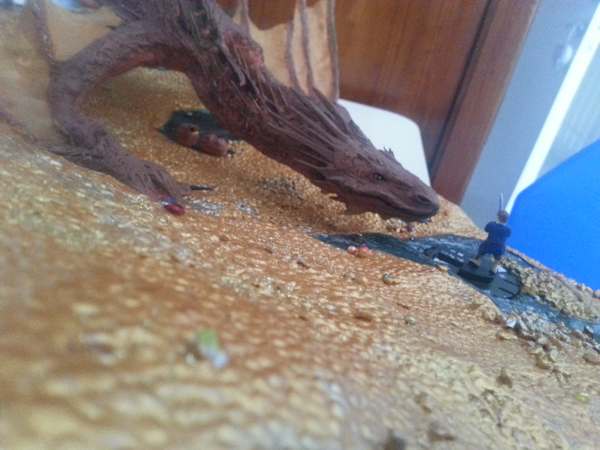
Smaug and Bilbo

Smaug and Bilbo

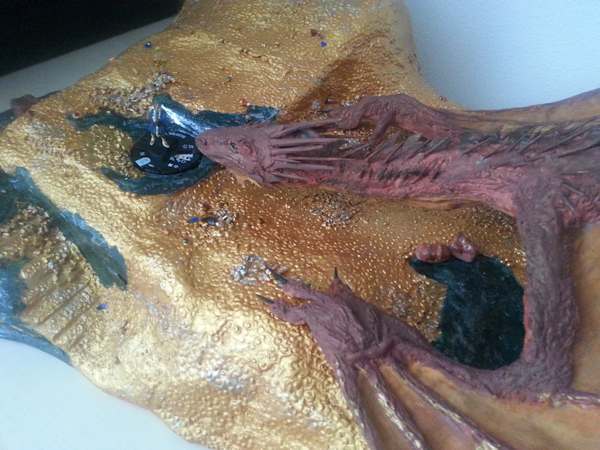
The diorama base

The diorama base

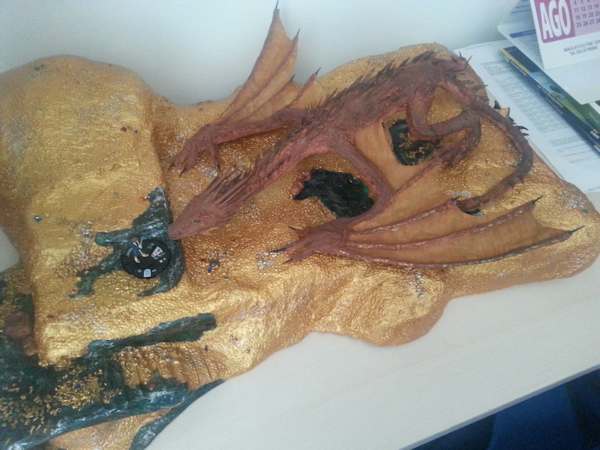
Overhead view of the diorama

Over head view

The Cave Entrance

The cave entrance


The arkenstone

The arkenstone! He drilled a hole and put an LED in it so it would light up.


The Smaug sculpture is hand-made by Giorgio and it is absolutely fantastic! He has sent us pictures during the making of this sculpture. Check them out here: Making Smaug


3 Succubi Diorama Thumb

3 Succubi Diorama I have This is a desktop sized diorama that you have just got to see. Definitely one of my favorites. If you are looking to do some kind of fantasy diorama you might want to take a look at this one. The 3 Succubi Diorama And Marshall has made some other terrific diorama projects that you also might want to take a look at including: Aerial Battlefield - Dragon on the Bridge - Roman Warship - Rocky Cliff Shadowbox - You can see them all here: Marshall's Dioramas


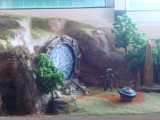
Stargate Diorama This is a terrific diorama made by a web visitor (Lee). He also gives us pictures and information about how to make a diorama like this. The Stargate Diorama


Sign up for my newsletter!

Do you like making projects and exploring a variety of hobbies?

Sign up for my free newsletter. I give you regular updates on hobbies and projects you can make. it is totally free and I don't share your email with anybody.


Will's Book on Diorama Making

Will's Book

How to Make Fantasy and Medieval Dioramas

This books shows you how to make fantasy and medieval dioramas using many commonly available tools and materials. There are over 100 pictures and illustrations showing you how to make great dioramas in fantasy and medieval styles. Chapters include basics, water effects, terrain tips and special effects like electricity and small motors. Tutorials include how to use foam, plaster of paris and paper mache to make great looking dioramas.