Generally you should keep the various rooms and corridors to inch increments so you can cleanly add a grid to them.
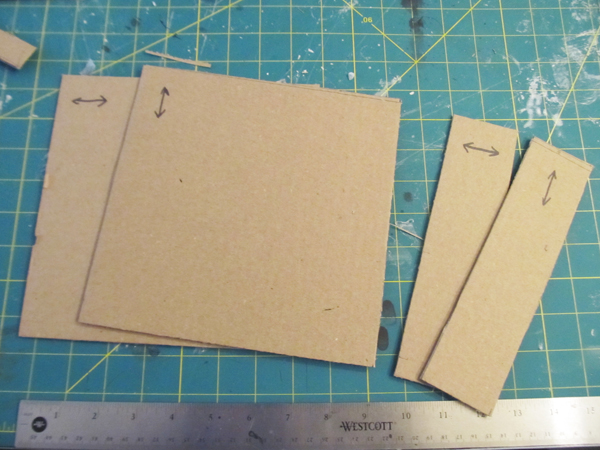
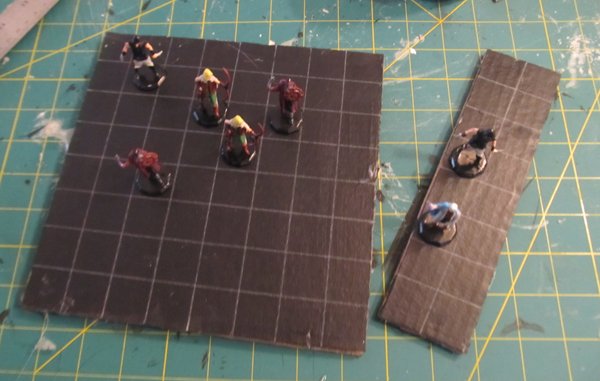
Cut yourself a variety of them. Here are two that I have done; an 8x8 room and a 2x8 corridor.
I recommend that you duplicate each room with a second piece of cardboard so you can glue them together for strength and durability.
And notice the arrows I have drawn on the pieces. These show you the direction of the corrugations. Alternate them. This way when you glue them together they will be much stronger and much less prone to warping and bending.
Go ahead and glue them together.
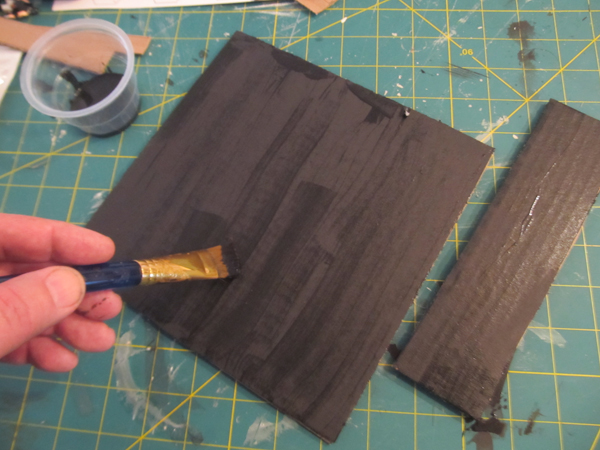
Then paint them your desirec color. Black is pretty standard for dungeons but you can paint them any color you choose. And be sure to paint both sides! This is important. If you only paint the tops of these pieces they will warp a little bit. Thsi is because the wetness of the paint causes the top layer of cardboard to shrink a bit.
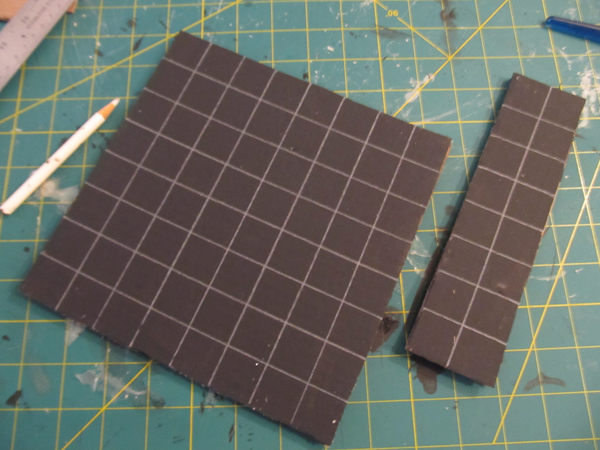
Next add the one inch grid lines. Use a pencil color that will stand out clearly from the color of the dungeon tiles.
Now seal it with Mod Podge. this will give it strength and durability. And it will preserve the colors.
If you don't have Mod Podge you can use white glue. Mix 50/50 white glue and water and brush that on. It will be quite good for this.
Mod Podge and glue go on white but they dry clear. 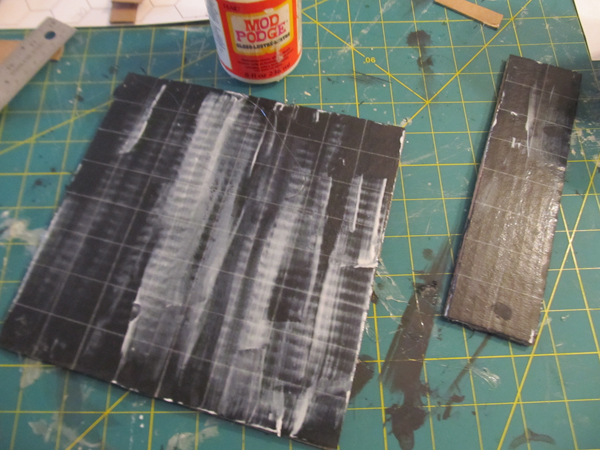
Once it dries you have some great looking dungeon tiles that you can use in all your dungeons. And they are flat and sealed for strength/durability.
If you want to have a hexagonal grid on your dungeon I have a template for you. It's a pdf and you can download it/print it right here: Hex pattern pdf (It is a full page pattern. Here in the pictures I have trimmed it down to size.)
(You do this before mod-podging rather than the square grid lines.) 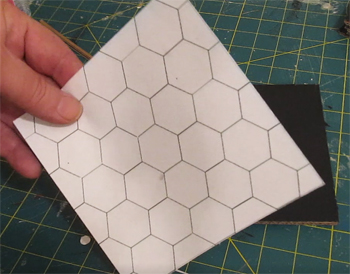
Tape the pattern onto your dungeon tile. Tape it only along one side so it can be hinged. 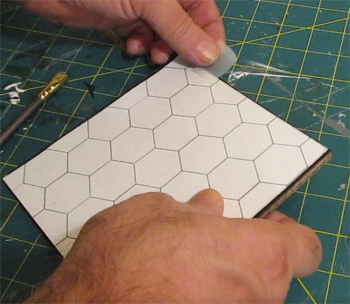
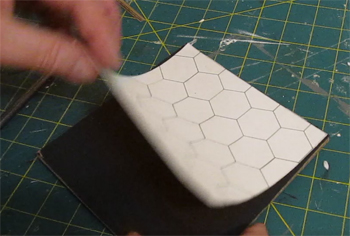
See how you can hinge it. This is so you can work on it in parts at a time rather than trying to do the whole tile.
Use a ball point pen to firmly draw over the lines. You want to create an indent in the tile underneath. 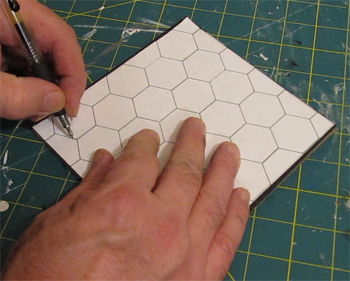
You can't see the indents here in this next picture. But they are clearly there when you look at it. Draw over those indents with a colored pencil. 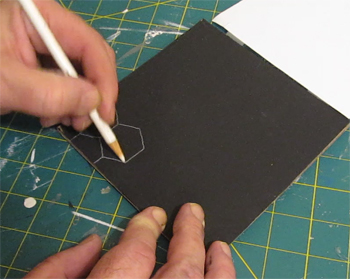
It looks good! 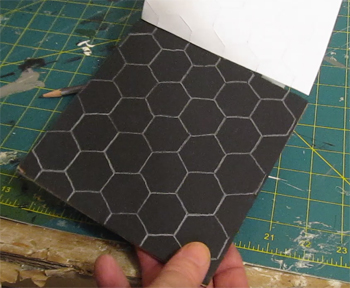
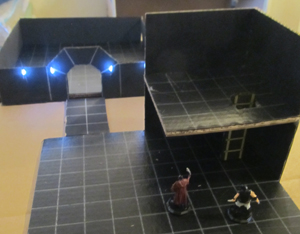
You are good! You have everything you need for dungeon adventures. But, we are going to take this to another level and make walls and more.
 Let's take this to another level and make it all three dimensional! (continue) Let's take this to another level and make it all three dimensional! (continue)
|


