![]()
I have a youtube channel with over 1000 Project Videos!
![]()

![]()

Cardboard stuff
- Cardboard Home page
- Cardboard working techniques
- Cardboard projects
- The World's Greatest Cardboard Castle
- Easy projects for kids
- Will's book of cardboard projects
- Buy Cardboard
- Buy Boxes
- Books about cardboard projects
- BIG Cardboard projects you can make
- How to Recycle cardboard
- Cardboard Machines
- Cardboard Toys and games you can make
- Cardboard Weapons and Armor
- Paper Towel tube projects
- Tools for working with cardboard
- Cardboard resources and links
- Send me pics of your cardboard projects
Cardboard box Projects
- Dungeon
- Periscope
- Aquarium
- Skee-ball
- Catapult
- Helicopter
- Puzzle Box
- Desk
- Record Player
- 1 Box Castle
- Carnival Shoot
- Wheel of Fortune
- Coral Reef
- Dart Board
- Ghost in a Box
- Mystery box
- Shadow Theatre
- 3 creative games
More Stuff
- Adventures/Travel
- The Creativity of it
- DragonSlayer
- Send Me your pics
- Products/Tools
- Fan Art
- Press/Media kit
- Contribute to my Website

- Support Will with Patreon.

Hi, Thanks for visiting my website. My name is Will and if you have questions
or would like to
contribute projects or ideas you can contact me 
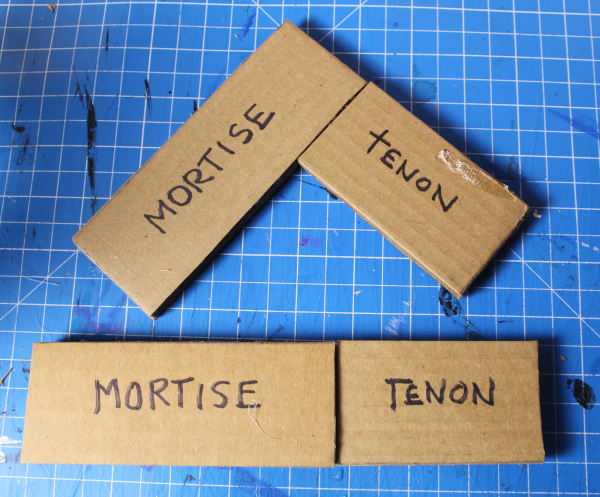
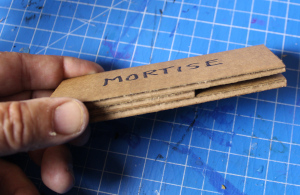
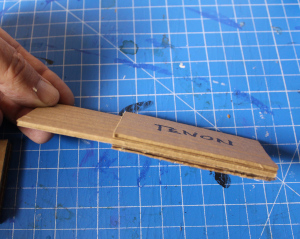
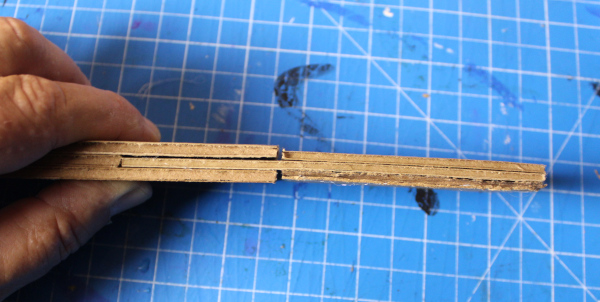
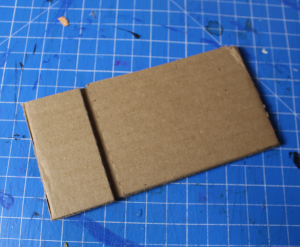
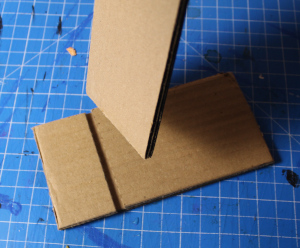
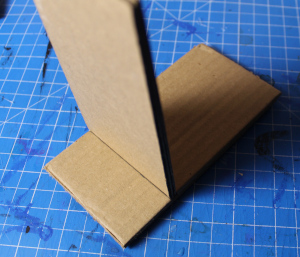
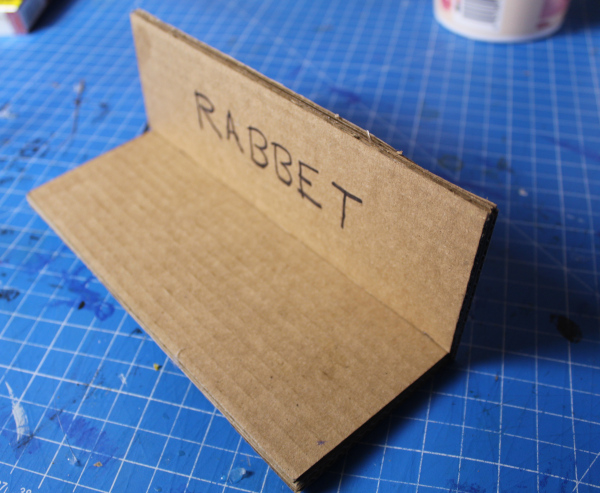
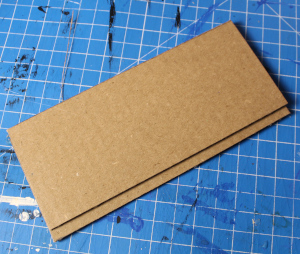
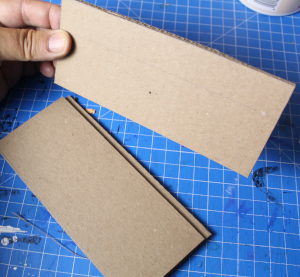
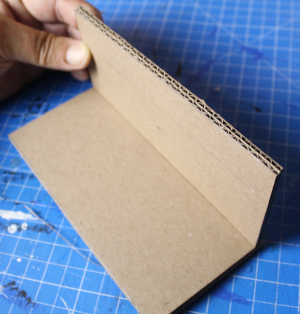
 And you glue the top piece into that groove.
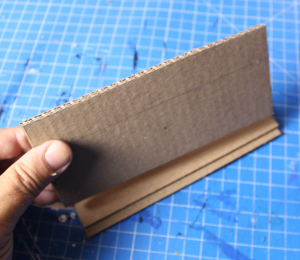