The castle is complete! Watch the youtube video right here:
Update
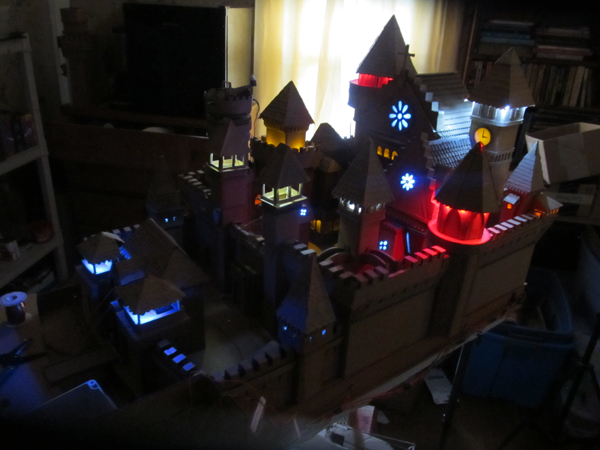
The project is almost complete. I have installed and tested all the electronics and I am almost done with all the wiring. It has a control panel to operate everything. Here is a picture testing out some of the tower lights.
And here is a look at the control panel. I have ordered some parts (Switches) and will be wiring this up shortly.
Big update!
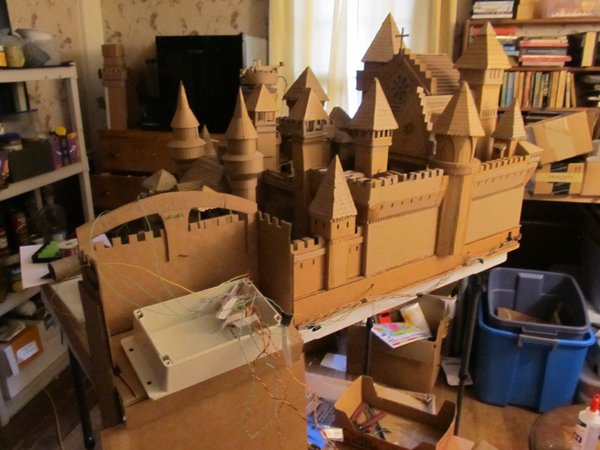
The World's Greatest cardboard castle is almost done! I am now wiring it up for lights, motors and special effects.
Among the special effects:
The front drawbridge is motorized. It closes by going up, and opens by going down
The secondary gate has a portcullis style metal grating that goes up and down by a servo. -motorized
There is a large round tower with an actual catapult that rotates and fires! Yup, it uses an electric actuator to fire the catapult and a motor to rotate it.
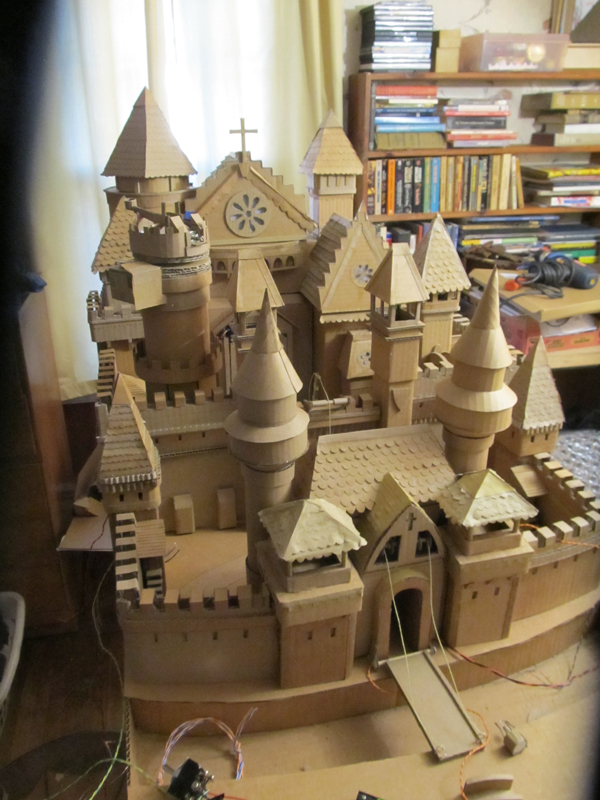
The Catchedral has some unique special effects. The doors slowly open with two servos. Lights come on inside and classical music plays! LOL! Love it.
Almost all the towers have small led lights in various colors.
The two round towers with conical tops in the front are special. These are made with an advanced cardboard technique. There will be more about this in my upcoming book on cardboard crafting.
This video shows the most recent work on the castle (Nov 8, 2023)
Another quick look at the cardboard castle progress:
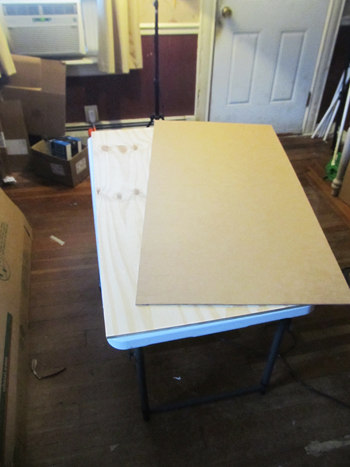
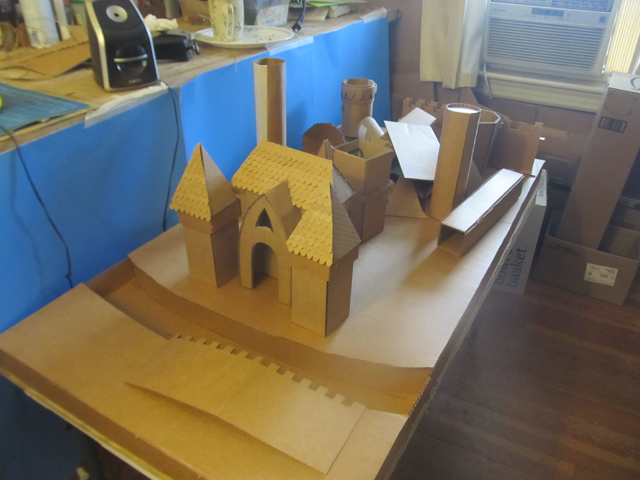
This is the very beginning of the project. It is a low table with a surface that is 2 feet x 4 feet in size. I cut and put a sheet of plywood on it. then I cut and glued a piece of cardboard to that.
In the early stage of a project like this I am doing a lot of experimenting with a lot of different types of castle shapes. it is a matter of getting the castle to look good. But that isn't all. It is also a matter of understanding how to use and manipulate cardboard to get the shapes I am looking for.
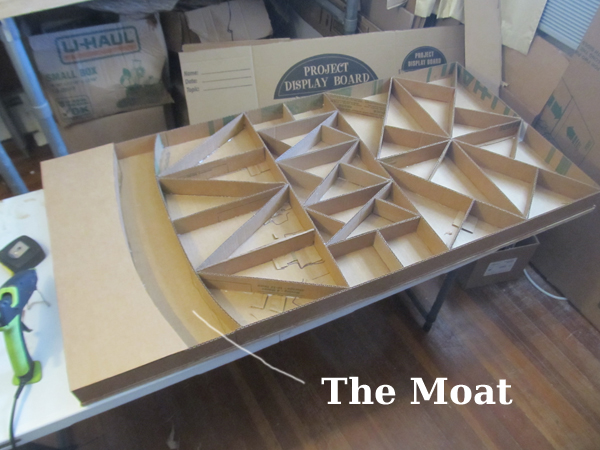
On top of the plywood and cardboard surface I created a structure to give it some height and some strength. The most important thing about this structure is that it now leaves me depth for a moat. And secondly it gives me a place to hide a lot of the wiring.
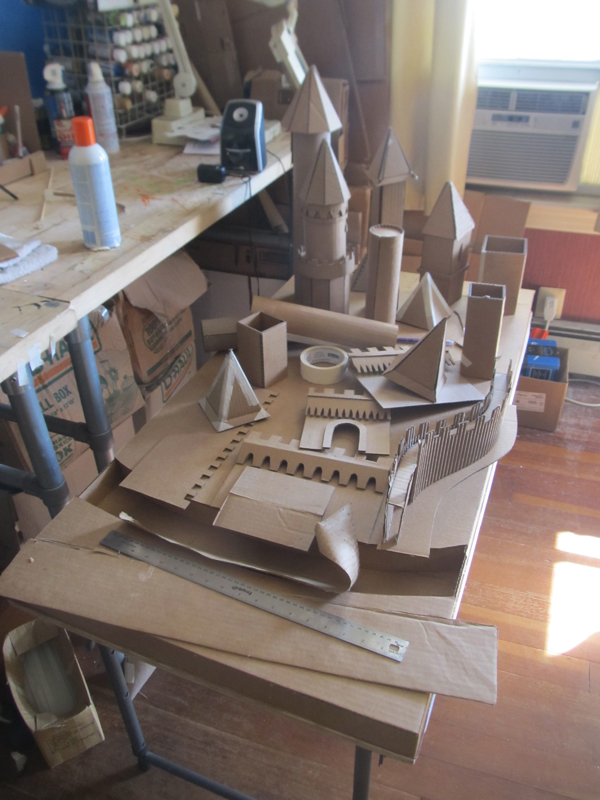
Getting the scale and size of everything is a bit tricky. It has to look proper in terms of sizes. So, I am continuing to experiment with the cardboard to get buildings, towers, and walls to get a good handle on the shape and size of things.
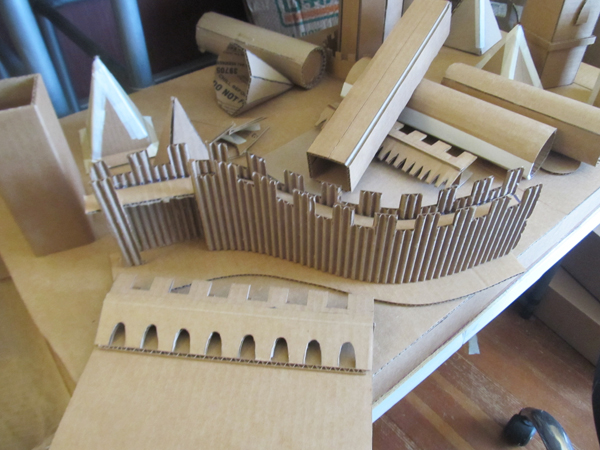
Another interesting aspect of working with cardboard is the attractiveness of the corrugations. Here you can see a test wall that I have made and I removed one layer of kraft paper from it to expose the corrugations. I am not sure yet but I might have some of this in the actual castle.
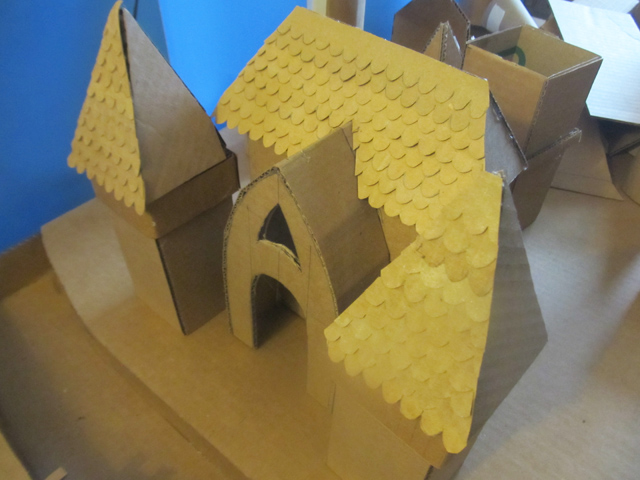
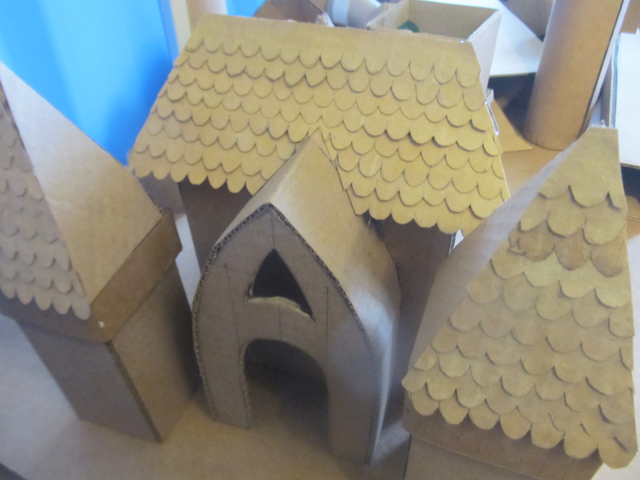
I am starting the actual structure with the gatehouse of the castle. This allows me to easily experiment with the structure and the look of the castle by working on smaller sections.
The roof shingles are an interesting little technique that I came up with. I am attempting to keep the whole project as pure as possible. And this means the shingles are cardboard too but....
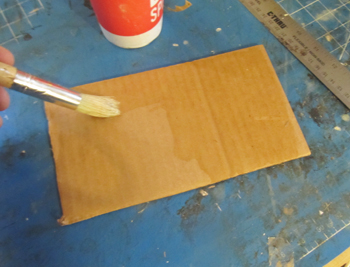
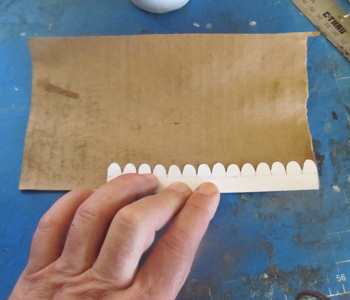
But, I discovered a neat little technique for making these shingles.
I wet one side of corrugated cardboard.
Then peel that top layer of paper right off.
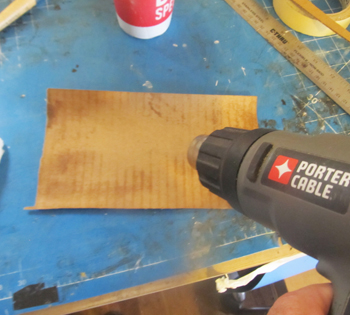
I flatten out that top layer of paper, draw the shingles on it then cut them out in strips. You can let it air dry, letting it sit between paper towels and two books to keep it flat. Or you can use a hair dryer, fan or heat gun to hurry the process.
I created a template out of cardstock for durability. And use this as a pattern to draw out the shingles on the cardboard paper. Using a template insures I can do this process repeatedly and all the shingles will be consistent in size and shape.
Next I can cut out that strip of shingles. Nice! I have to make lots of these strips!
Glue them in strips to the roofs of the castle buildings. They look great!
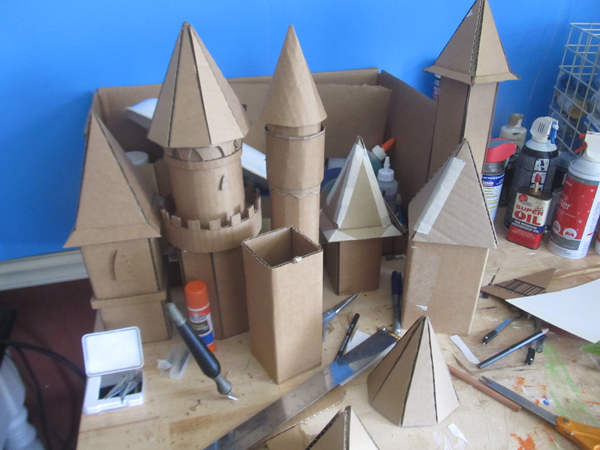
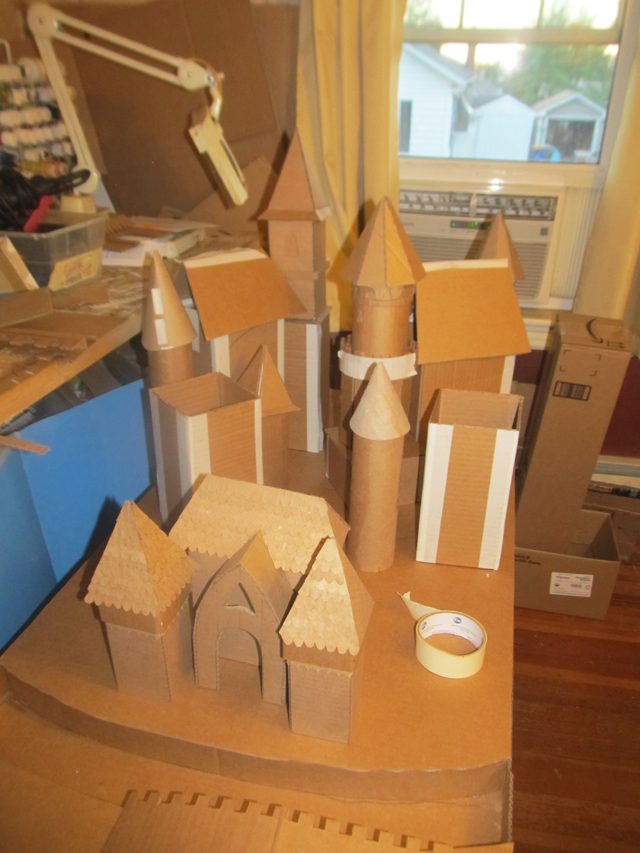
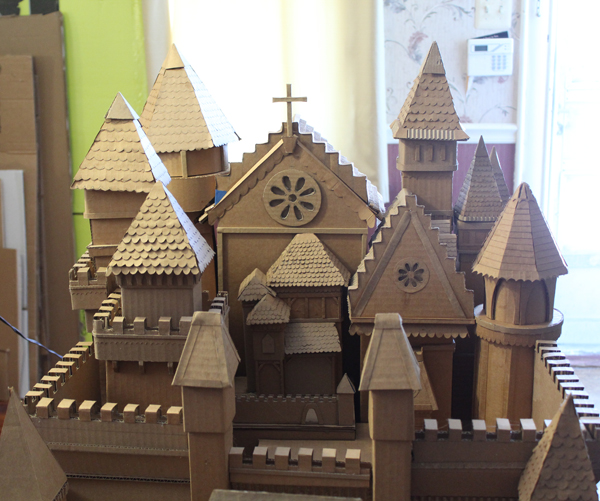
Sep 20, 2021 -- I am tinkering around with shapes and sizes of buildings. This is an important part of the process. These buildings are all temporary. I will move them around, change shapes and sizes until I get it just right. Then I will replace all the buildings with the final ones.
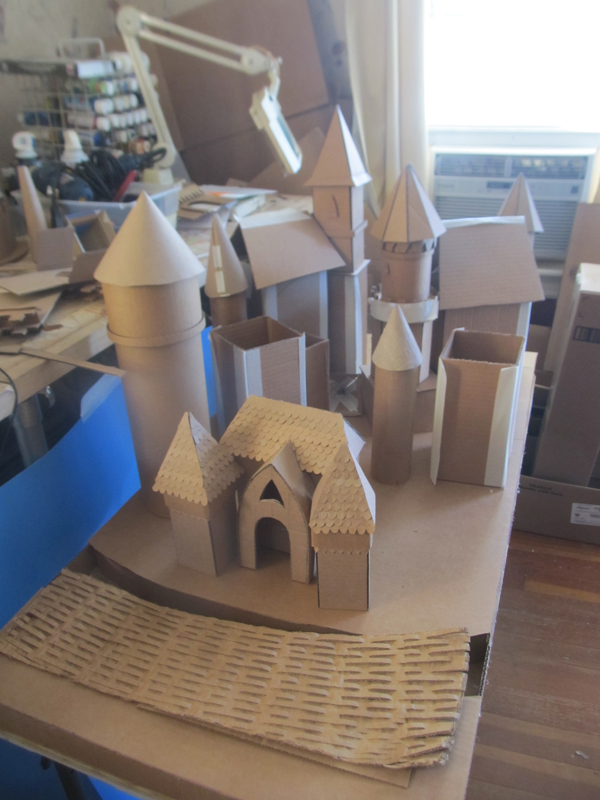
Sep 23, 2021 update - Continuing to figure out the building sizes and layout. I like the new round tower. It is big but it seems to be right.
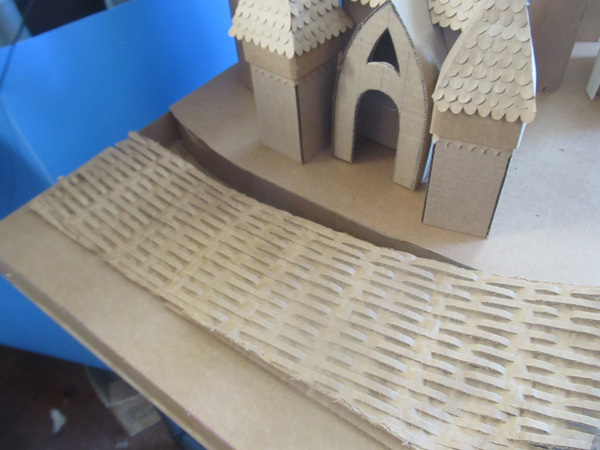
I am also tinkering around with ideas for the moat. this is some slotted cardboard that is used as a packing materials. It might work as water in the moat.