Origami Banner

Home

Home

Youtube graphic
I have a youtube channel with over 700 Videos!


Become a Patron


Will
Hi, Thanks for visiting my website. My name is Will and if you have questions
or would like to
contribute projects or ideas you can contact me Will

Title goes here

A Paper Rabbit is an easy but good looking little origami project. It will take you about ten minutes to learn how to fold it and all you need is a square of paper. The size of the paper can vary and to make a large paper rabbit use a six inch square and for a small one use a three inch square.

This project is part of the How to Make a .... series of tutorials. You can see all the tutorials here I also have a section devoted to Making Origami Visit that section here: How to Make Origami


Origami Rabbits

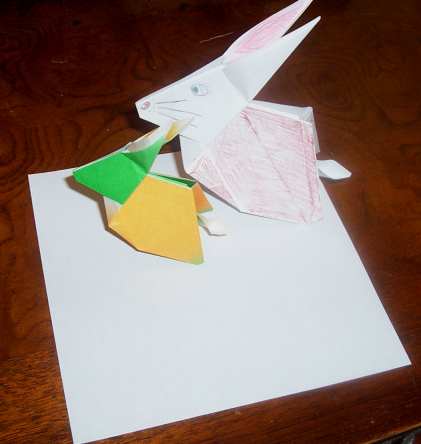
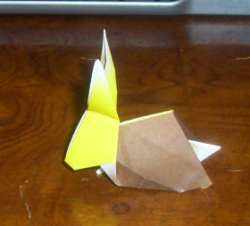
Here are a couple of paper rabbits that I made. You have plenty of options when making your rabbit. The size is variable and you can use colored paper or color your rabbit after it is done. You simply start with a square of paper. This follows the traditional rule of origami where you are not allowed to cut the paper and you have to start with a square.


The Folding Procedure

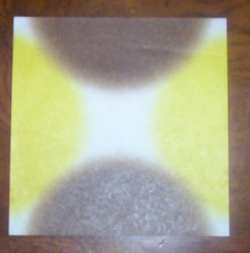
Start with a square of paper

Start With a square of paper. If you are using colored paper put the colored side down. If you have paper with a variety of colors the left side will be the nose. The brown areas on my paper will be the body of the rabbit.


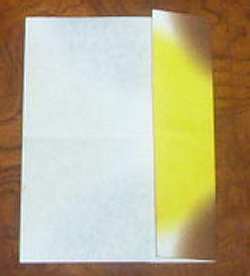
fold the paper to the middle

Fold the right side of the paper like this. It should go right to the centerline of the paper. So if your paper is 6 inches wide the edge of the folded part should go to the three inch mark.


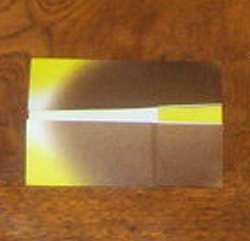
fold again

Now fold up the top and the bottom like this. They should go right to the center line - the three inch point if your square is six inches.


fold over the points

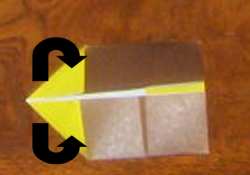
Fold up the two ends of the left side. It ends up looking like a point.


Pull out the tail points

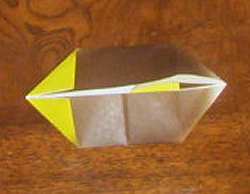
Reach inside the right side and pull on each point one at a time and pull it out so it looks like this.


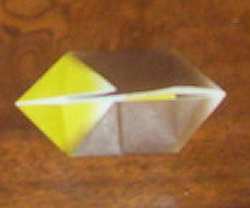
form new triangles

This is a little tricky. Pull out the triangles on the left side so it looks like this.


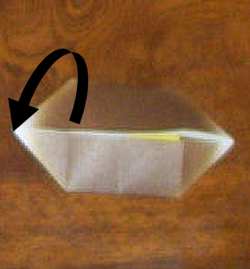
fold the whole left over

Now just grab both ears on the left and fold it right over so it looks like this.


fold down to the center line

Now fold the left side as shown. Fold it right to the horizontal centerline.


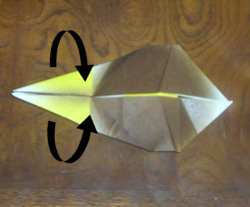
fold up the ears

Now just grab the points on the left side and pull them up toward you then fold them right over onto the body of the rabbit.


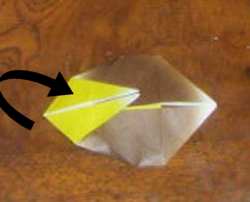
fold rabbit in half along horizontal center line

Now fold the rabbit in half along the horizontal center line. Think of it as taking the very top part and tucking it under. You are folding the top half under the bottom half.


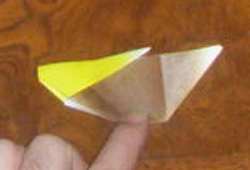
push on the nose

Now grab the nose and neck of the rabbit and push toward the right. This will push the ears so they stick up. Fold this nicely and make a nice crease.


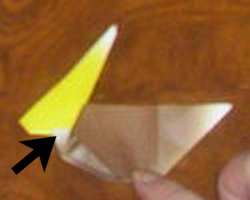
Fold in legs

Now tuck both legs into the body of the rabbit. There is a folded paper section in between these legs so make sure you fold that too. The bottom surface of the legs should run exactly at the same edge as the bottom edge of the body.


pull out the rabbit tail

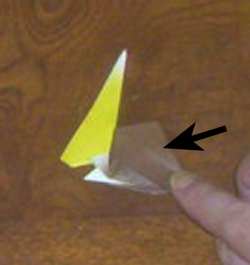
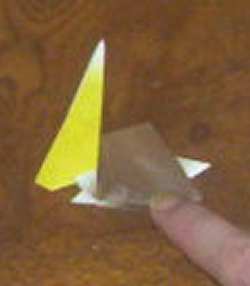
Now fold one of the legs back out so it forms a little tail.


ears, tail and nose and you are done

Fold in a little bit of the nose and puff out the ears and the tail and you are done.

Interested in learning more about Origami? Amazon has some wonderful books on this ancient art.


Sign up for my newsletter!

Do you like making projects and exploring a variety of hobbies?

Sign up for my free newsletter. I give you regular updates on hobbies and projects you can make. it is totally free and I don't share your email with anybody.