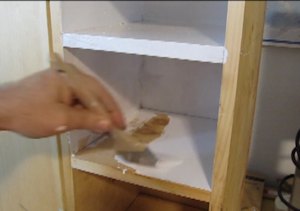

![]()
I have a youtube channel with over 1000 Videos!
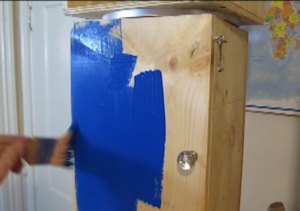
![]()
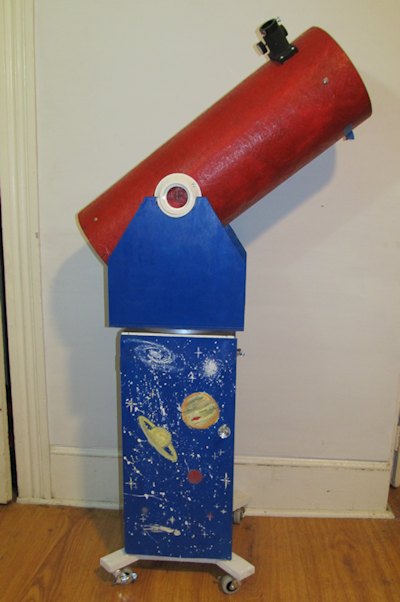
![]()
![]()
Telescope Stuff
- Telescope Home
- Telescope Articles
- First timers guide to astronomy and telescopes
- Hubble Telescope stuff
- The philosophy of the telescope
- Telescope Videos
- Buying your first telescope
- Telescope and Astronomy Projects
Making Telescopes
- Make a Small telescope
- Make a small reflector telescope
- Make an 8 inch reflector telescope
- Make and use your own telescope for less than twenty bucks with this easy kit
- Make an 8" Reflector Telescope
- Home made Telescopes
Buying Telescopes
- How to buy a telescope
- Telescope Makers
- Telescope Kits
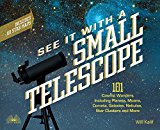
- Astronomy Books
- My telescope store
- Meade Telescopes
- Orion Telescopes
- Celestron Telescopes
- Order a magazine
- Star Charts and books
- Telescopes for Kids
- Telescopes for Adults
- My recommended telescopes ordered by price
- Telescope, Space, Moon and Astronomy Posters
Astronomy Stuff and articles
- Star Gazing Without a Telescope
- A guide to buying a dobsonian telescope
- A tour through the universe for casual or first time astronomers
- About Meteor Showers
- Telescopes are not just for nerds
- Technology makes astronomy so very easy
- Understanding magnification and telescopes or.. how high power can a telescope go?
- Why is the eyepiece on the side of some telescopes
- Understanding the parts of a reflector telscope
- The difference in performance, use, and cost between reflector and refractor telescopes
- Astronomy with binoculars - a bit about what to know
- You don't know much about telescopes but want to buy your first one? Here is my recommendation
- Words, Terms and Definitions
- Free eBooks
- Links and web stuff
- Telescope FAQ
- Astronomy Gifts
My other Subjects and websites
- SWORDS
- My Medieval Blog
- Medieval Website
- Medieval Projects
- Medieval Castles
- The Knight Medieval
- Catapults

- Support Will with Patreon or PayPal

Hi, Thanks for visiting my website. My name is Will and if you have questions
or would like to
contribute projects or ideas you can contact me