We make it so the visor opens up which is a nice feature.
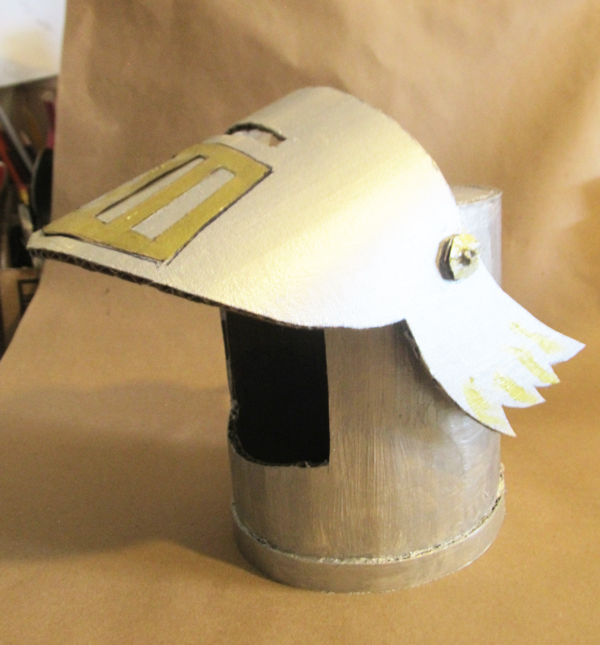

Don't worry about that hinge. I show you a clever way to make it.
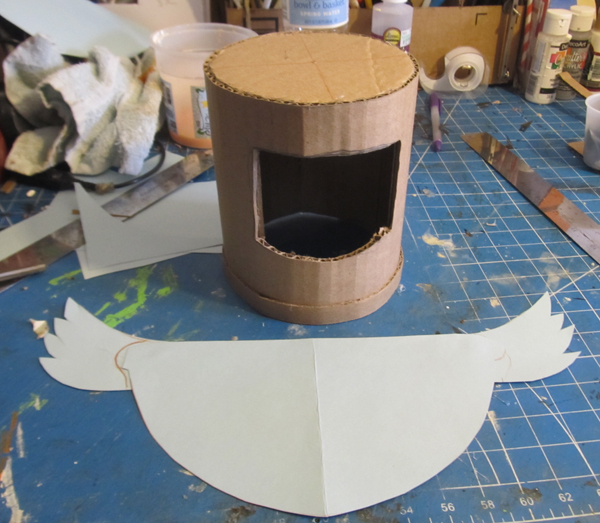
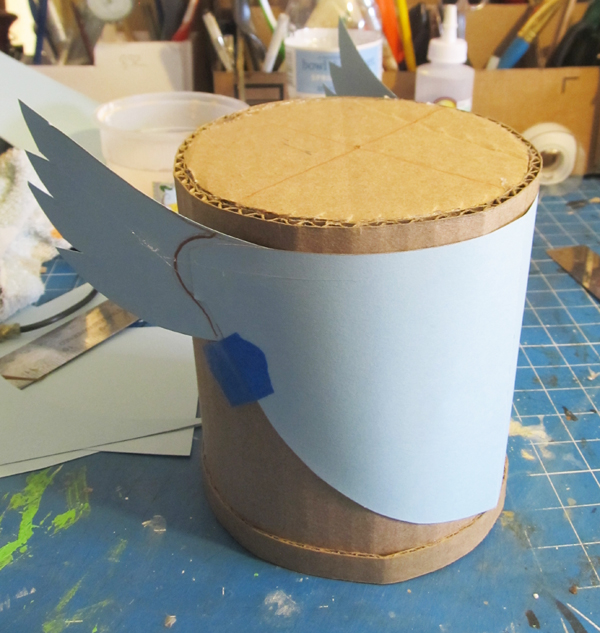
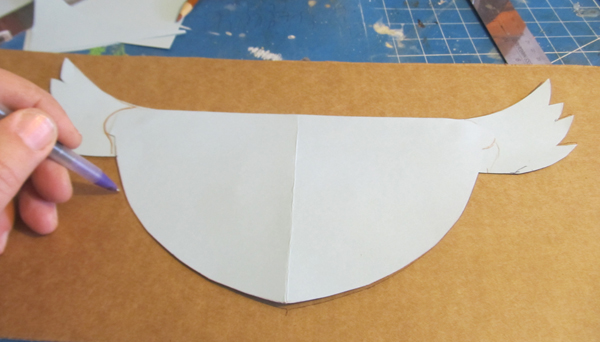
I was just going to make the cardboard helmet and for some reason the idea of wings just popped into my head. So... I went ahead and added wings. I don't recall ever seeing wings on a helmet like this. It might be a unique thing. Leave me a comment and let me know what you think. Have you ever seen a knight's helmet with wings like this?
Let's get started
We need to first figure out the size of the helmet. . Cut yourself a strip of paper about an inch wide and 30 inches long. Use multiple strips of paper taped together to get the length.
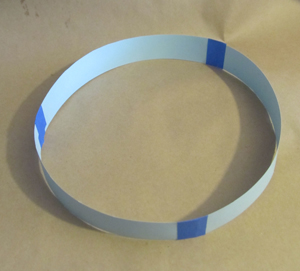
Tape the strip into a circle and fit it over your head. It should comfortably slide right over your head with room to spare. This is the adult size. (30 inches length turned into a circle)
If you are making this for a child you can customize the size of this hoop to loosely fit over the child's head.
I am going to make a small helmet for ease use and to make the tutorial quicker but you follow the steps and I will help you with the sizes.
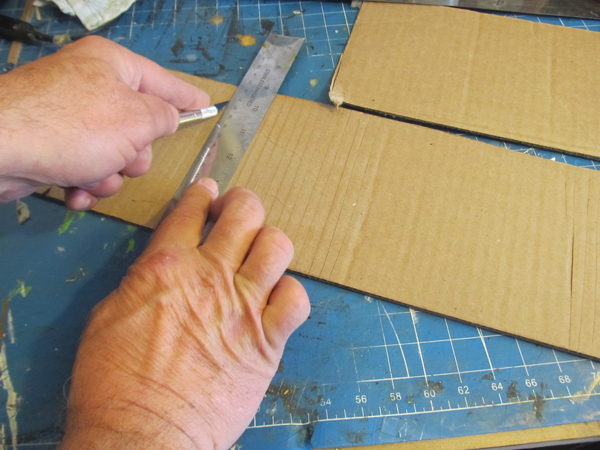
Cut a piece of cardboard that is to your length (30 inches for the adult size) and twelve inches in height.
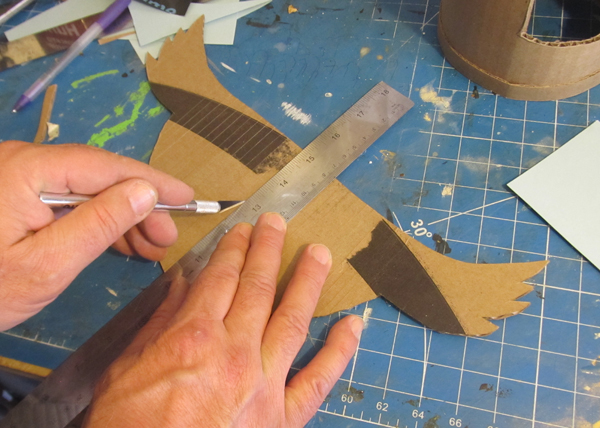
Notice the direction of the corrugations. That is important. The corrugations are vertical. So, they are 12 inches long,.
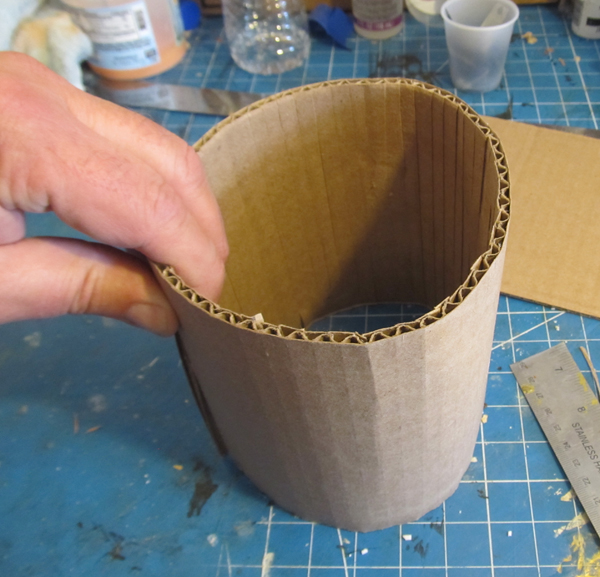
Cut the top layer of paper in a series of cuts like this. Do lots of these cuts, about 1/4 inch apart. The more cuts you make the smoother the roundness of the helmet will be.
Now you can easily curve the cardboard with the cuts on the inside.
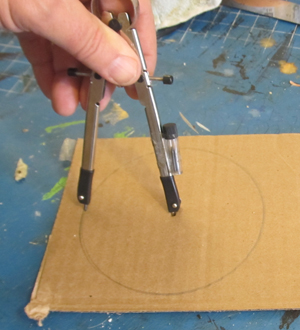
Now make the top of the helmet. It is a circle. Use a compass or some other tool.
Cut that circle out.
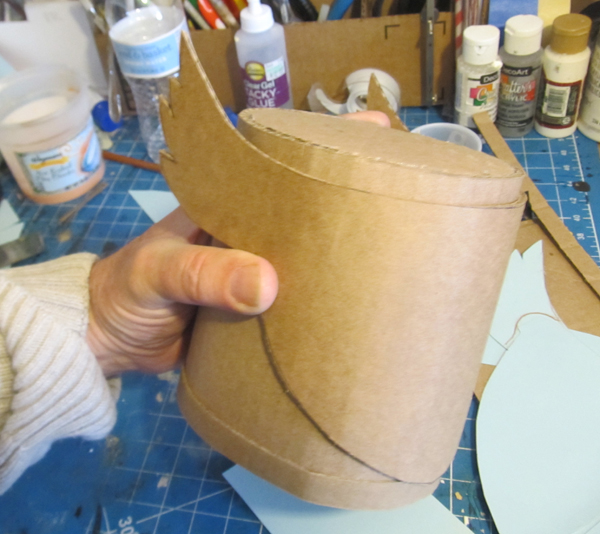
And glue those two pieces together like this.
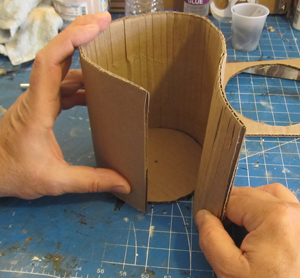
And look at that! We already have the basic shape of the helmet.
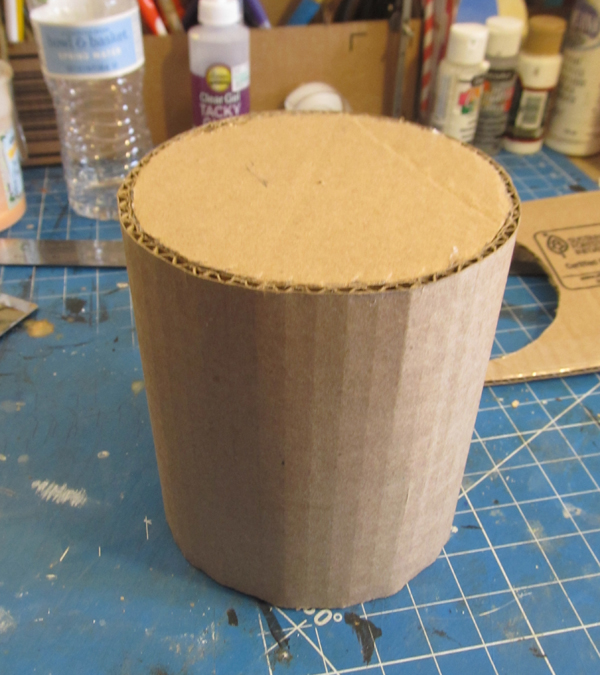
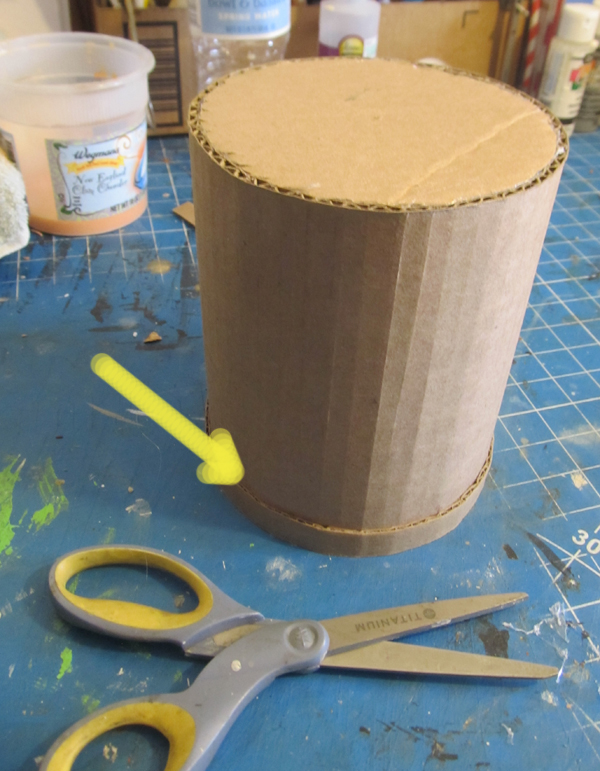
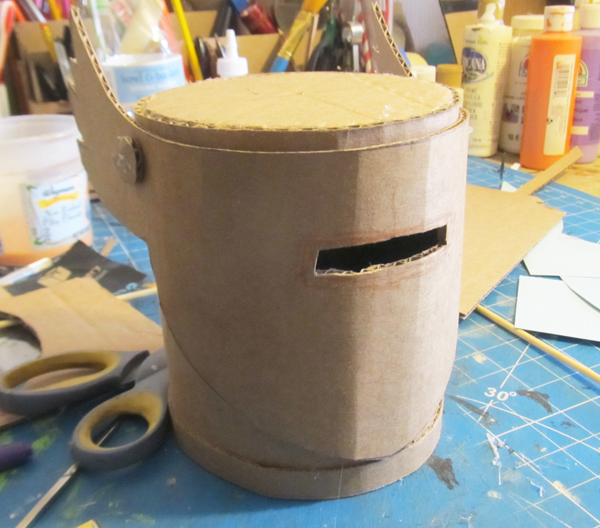
Cut a one half inch strip of cardboard and glue it around the bottom of the helmet.
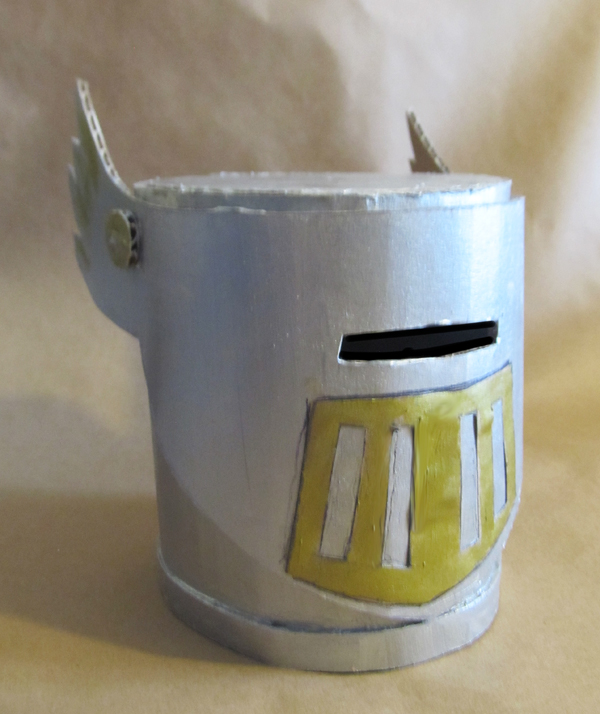
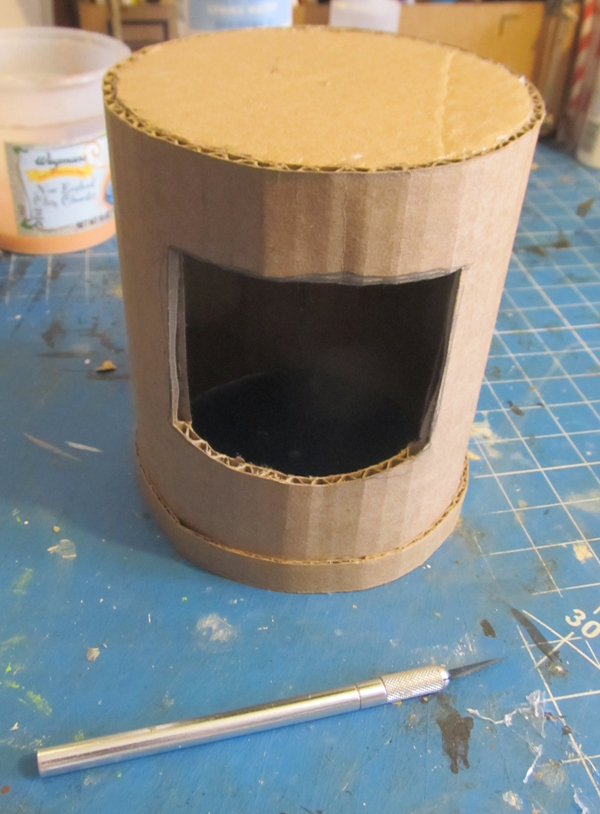
Cut out the front facial area of the mask.
Let's make and install the visor.
Make a paper visor like this and try it on the helmet.
Once you have it looking and fitting well you can transfer that pattern to cardboard. Be aware that the direction of the corrugations is important. They need to be vertical. Up/down. Not side to side.
This is because once you cut this visor out you need to slice the top layer of paper and 1/4 inch intervals just like you did with the helmet. This is so you can curve it around the helmet.
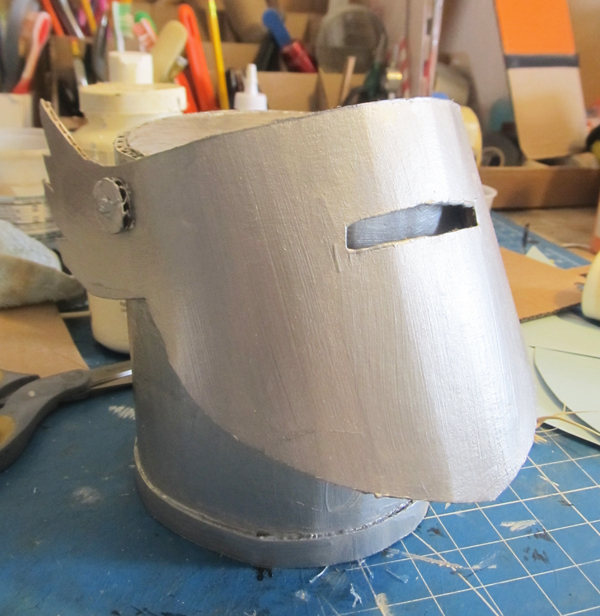
Create pins for the visor to hinge on.
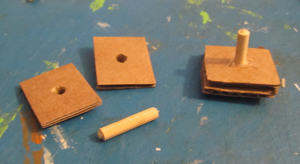
Pierce the holes necessary in the helmet and the visor. And glue these little hinge pieces into the helmet. One on each side.
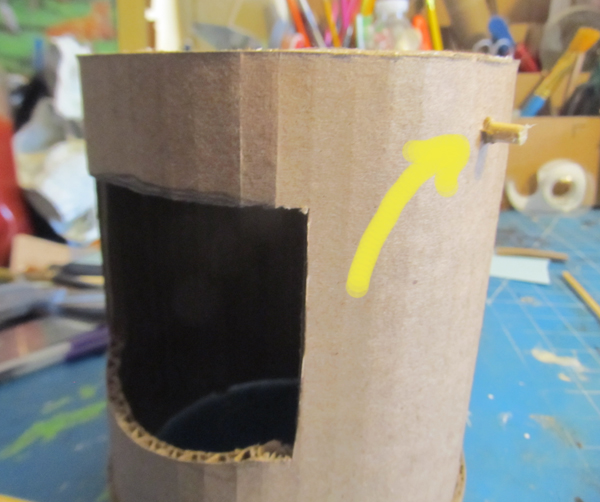
Mount the visor and use small pieces of cardboard to finish off the hinges, keeping them in place while still allowing the visor to rotate up.
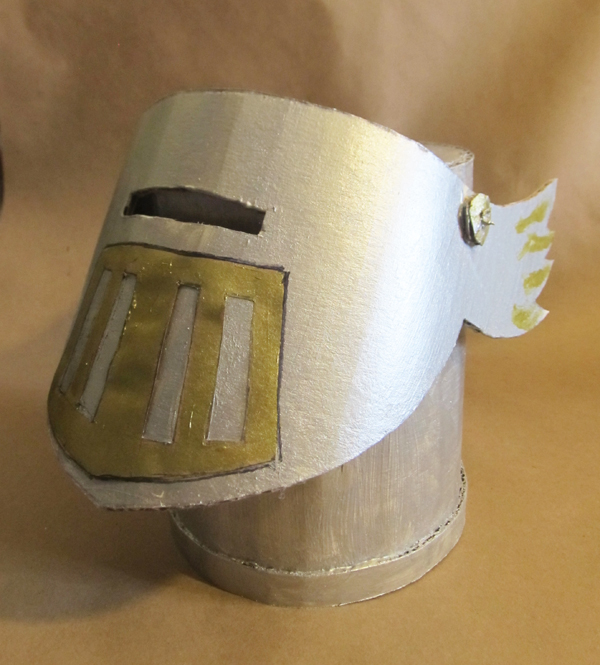
Next you can have some fun painting it any way you prefer. But, if you want to color to pop you should first do a base coat of white. This is like a primer.
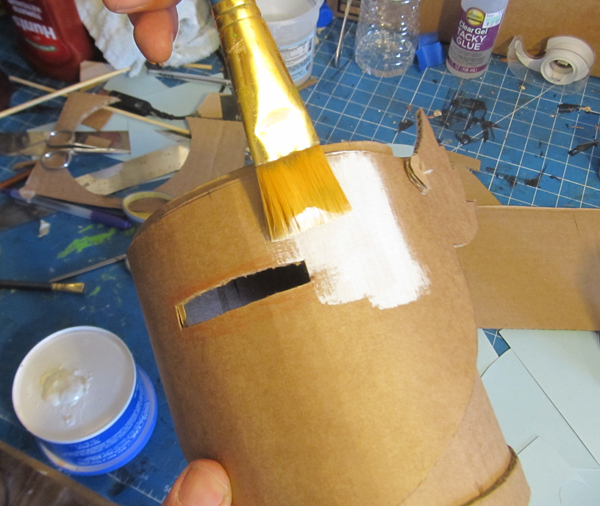
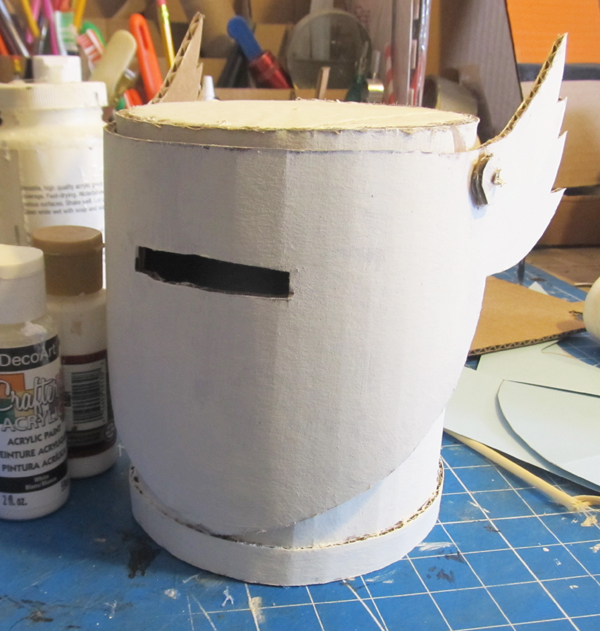
Next I painted the whole thing silver.
You can have a little fun, add more paint, different colors or bits and pieces of cardboard. I added a gold grill. Kind of like a breathing grill. And your helmet is complete.
|


