Materials: *needed for both*
- (1) dresser(obviously). (1) drill.
- (1) + drill bit.
- (1) 1" diameter drill bit.
- (12) or so long, #8-32 x 2" bolts and nuts. And an extra bit to drill the holes with.
- (1) GQF turbofan hovabator turbofan kit.
- I had tried to fix up an old GQF styrofoam turbofan incubator given to me, but the neglect to the styrofoam was too bad to clean.

I also had a small 2 drawer dresser I used as my incubator storage and a table.
It was reeeally well made and the boards are about 3/4" thick.
Inner measurements of the dresser about 30" x 20" x 8".
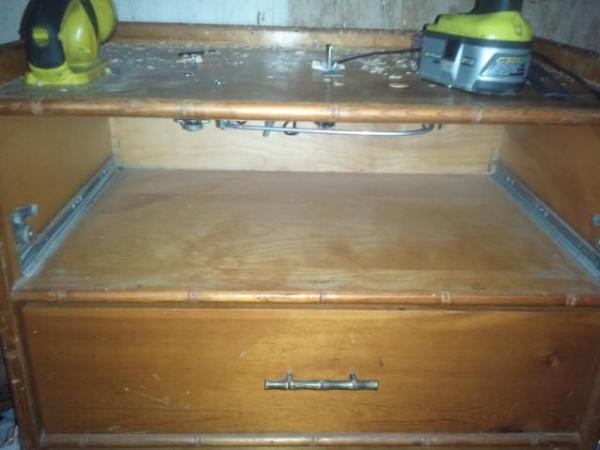
All I did was fasten the GQF heating element and thermostat on the
inside top of the dresser after I made the holes for the screws. Do y'all see the bottom drawr?
Well the board you see is the front of the actual drawr that I took out. I had to use foam tape
(dunno the name) to keep the heat in.
*Something else that would be good is to just cut part of the back of the
drawer off so it won't touch the heating element above it, and you just
pull the drawr out like normal. You'll make your hatching life much easier this way.
I may alter mine like this in the future.*
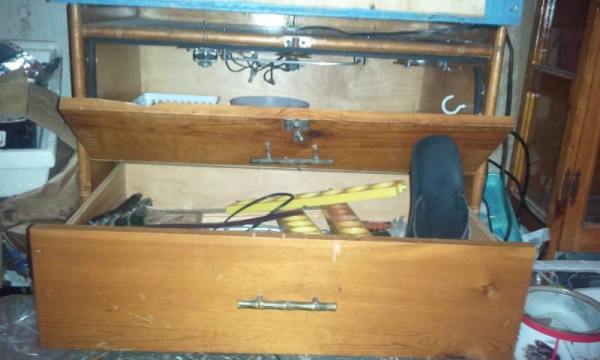
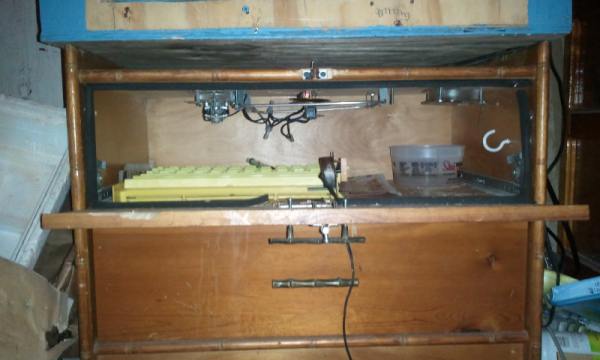
I found an old hinge lying around and after making it fit (I had to cut an indent
into the wood for the hinge with a box cutter) I screwed it in place. Mines a bit
crooked (like I care) but it serves its purpose and I actually prefer it crooked.
I can fit in a GQF egg turner in there, and slip the cord through the gap near the hinge.

I HIGHLY HIIIIIIGHLY suggest you monitor your temperatures for at least 3 days
and have it at 99-100* fahreignheit and that you even everything out and take
measurements on what goes where. I rarely ever do any of these,
so my hatch rates are only about 50%. And I never do the humididty correctly.
Everyone else who DOES do this, has 80-100% hatch rates.
You can also add in styrofoam or insulation that has a REFLECTIVE side. It'll have much better insulation if you do.
Happy hatching! and especially so since Easter 2012 is coming up soon~!
I feel as though I missed something. If you have any questions, feel free to ask me any any time.
I'll tell you later on if I have any success, as I just built it and haven't really had the
chance to do much with it yet. And I apologize for my bad spelling/grammar.
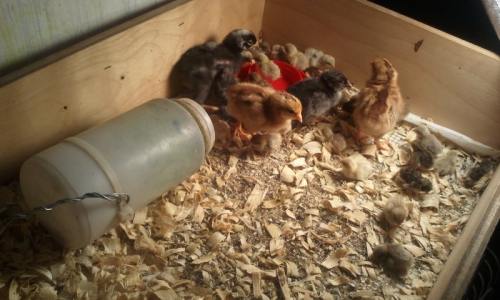
And Here is a picture of some of the kellyn's chicks just hatched!

|
![]()


![]()

