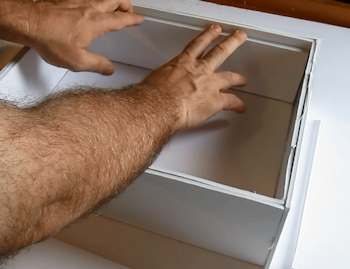
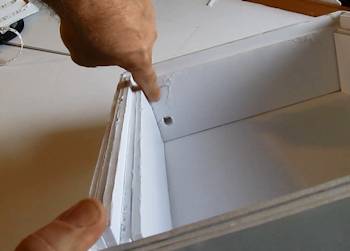
Now we need a shelf for the diffuser assembly to sit on. So we are going to put a double layer of walls right on the inside of the box. These are all 3 1/2 inches tall. Go ahead and cut those, glue each double layer together then glue them into the box. Custom measure each set.
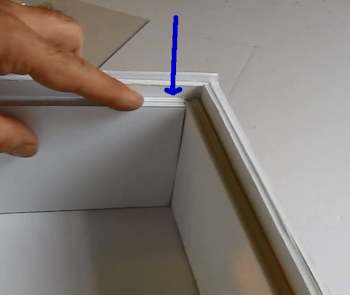
So now we have a shelf going all the way around the inside. The diffuser assembly will sit right on top of this.
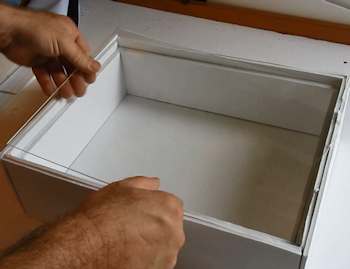
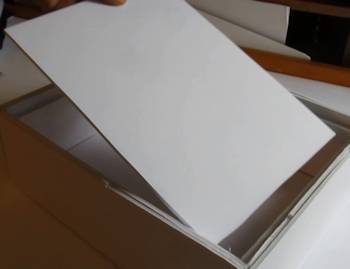
Ok, let's try the diffuser assembly to see if it all fits right. Pop in a sheet of acrylic, then the foam sheet then the final acrylic sheet. It should all fit snugly. Make any necessasry adjustments.
It looks great! See how there are some rough cut edges on it. You can go ahead and smooth those out with a knife and or sandpaper.
Let's Add the Light
Now is when the magic happens. Let's add the light to the box. THat is what it is all about after all!
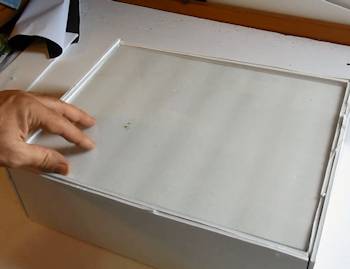
Cut yourself a sheet of foamboard so that it fits right into the box. Make it a nice loose fit. It should just fall right down into the bottom. No need to make it snug. This is just a board for our lights.
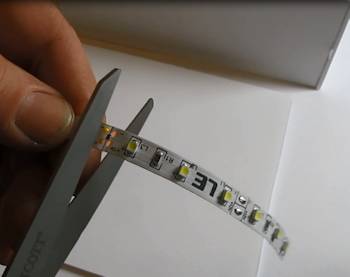
Quick note. Read the instructions that comes with your LED's they are very easy but when you cut the strip to size you are supposed to cut them in specific spots. Just be aware of that. There is a cut line every few inches.
Remember: I have a link to the exact LED strips I used for this project if you want to play it safe and order the exact same ones.
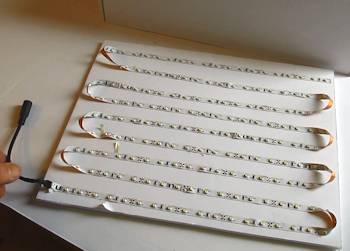
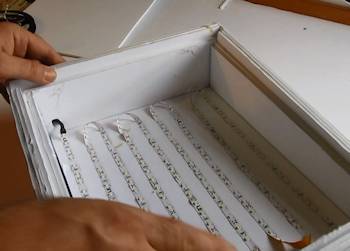
Ok, the LED strip has a backing on it that you peel. So you can stick them right down like this. Kind of looks like a radiator. Go ahead and do this. And notice the location of the plug in one corner.
That plug is already installed on the light strip.
Punch a hole in a corner of the box, large enough to fit that plug through.
Now you can drop that LED panel into the box and feed the plug through the hole.
We are almost done!
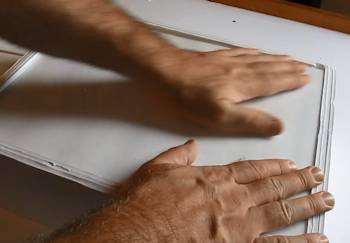
Now install the three piece diffuser assembly.
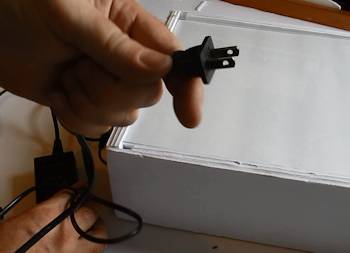
Plug in the power supply and then plug it into the wall. The power supply doesn't come with the LED strip. It is sold separately. But I give you a link to the exact one that I purchased. It is the one made specifically for this LED strip.
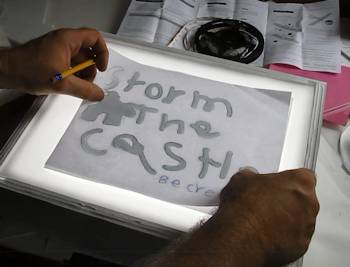
That's it! Your light box is complete and ready for work. If you used a sheet of paper for your box rather than the foam board diffuser remember that you should inspect it for good performance. You can swap out with different paper or put a second layer of paper to get the diffusion and brightness that you like.
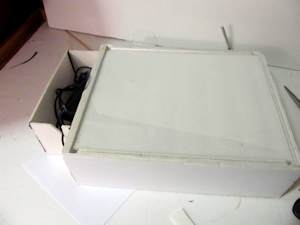
Little added something - After using my light box for a while I really felt that the cord and power supply was a bit unwieldy. So I made a little tray for it on the side of the box. This is a nice idea and you might want to add this to your light box.
OTHER PROJECTS YOU MIGHT LIKE
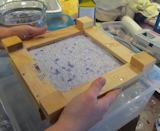
How to Make Paper!
I been putting this project off for a long time because I thought it would be challenging. Wow I was wrong. Paper making is so easy to do! And it comes out great. I love this and you are going to love it too! The possibilities are endless for scrolls, origami, fine writing and so much more. How to Make Paper

How to cast a plaster hand
You just need a few supplies and you can make a very realistic looking plaster cast of your hand.
How to cast a plaster hand
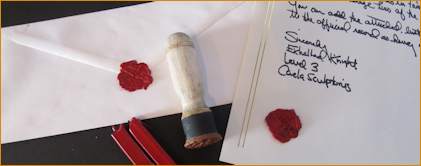
Make a Wax seal stamper:
Yes, make your very own wax stamper with a coat of arms, family crest or just your initials. I made a gauntlet holding a sword. Fun little medieval project. We don't write letters much but if you do send a correspondence it would be fun to officially wax seal it like this! Make a wax seal stamper.

Do you like making projects and exploring a variety of hobbies?
Sign up for my free newsletter. I give you regular updates on hobbies and projects you can make. it is totally free and I don't share your email with anybody. |


