Can you make the Hnefatafl board and pieces? You sure can. Here are some pictures of boards made by web visitors. My thanks go to them for sending in the pics.

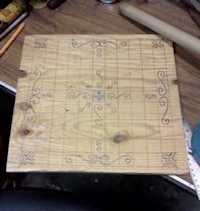
Here is a Hnefatafl board made by Ivan.
And here is a board made by Jamie.
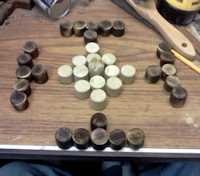
And here are the pieces Jamie made for his board.
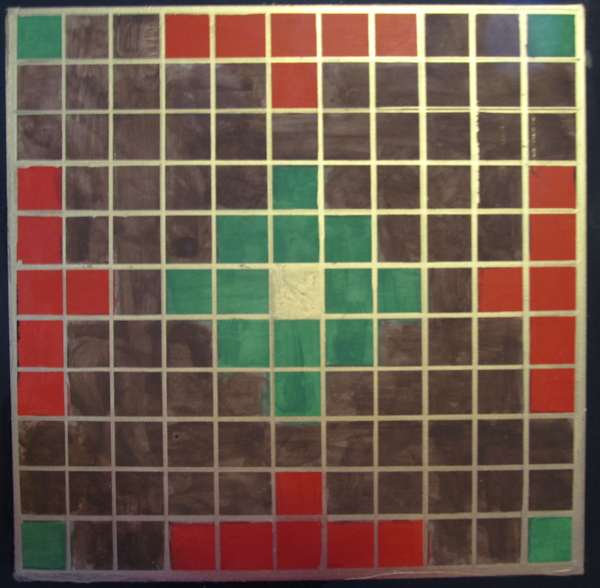
Let's take a look at the game board. It is an 11 x11 Grid so there are a total of 121 squares.
The center square is called the throne and that is where the king starts. the four corners of the board are painted but are not occupied when starting the game. They are the end goal that the king tries to get to.
Otherwise the colors tell you how to set up your pieces to start the game. For our game those colored squares just set them off from the other squares. You can paint them any color you want.
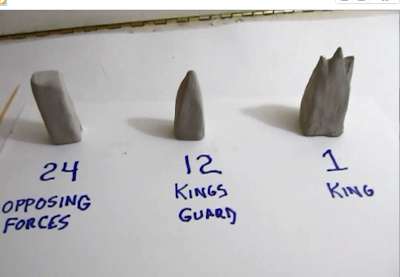
We used Marblex air hardening clay to make our pieces. And you don't have to make these same shapes. You can get creative with your shapes. But there are three distinct shapes. You see them in the picture here.
There are the 24 opposing forces pieces. That is a simple pillar.
There are 12 Kings guard pieces. Those are pyramid shaped. And there is the king. That has a unique look and is typically a bit bigger than the others.
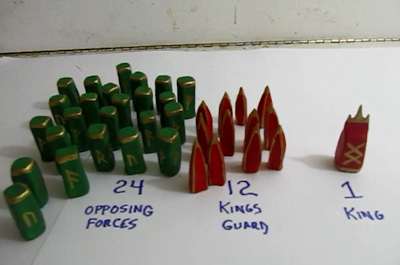
And here are all the pieces after they have been made and painted.
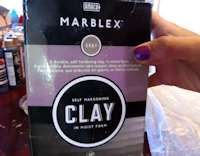
Here is a look at the Marblex clay that we used for the pieces.
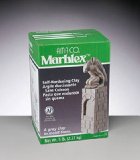
Here it is on amazon.com. Same product, different box: MARBLEX 5 LB.
This gray modeling clay hardens naturally so you can avoid the firing process.
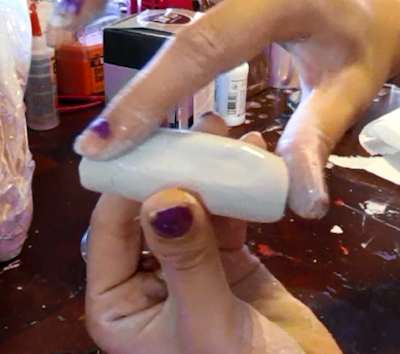
Marblex is easy to work with. It is a clay that self hardens in the air. You just can add a little bit of water to smooth it out and soften it a bit.
Have fun making your pieces! You can make the same simple pieces that we made or you can get creative and make your own!
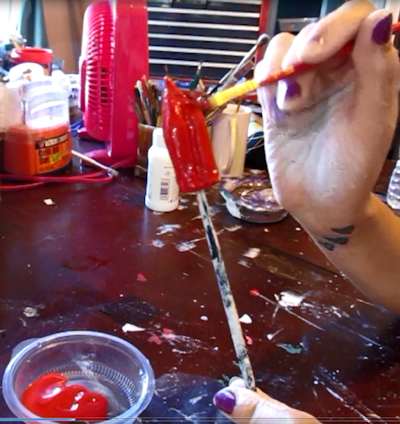
Go ahead and paint your pieces once they are dry. And this picture shows a nice tip. When you are sculpting the clay you might want to stick the end of a paintbrush right into it. It helps it dry faster and makes it much easier to paint.
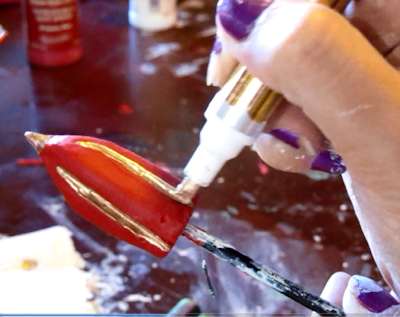
You can also use a paint pen for detail work. The gold paint pen looks terrific.
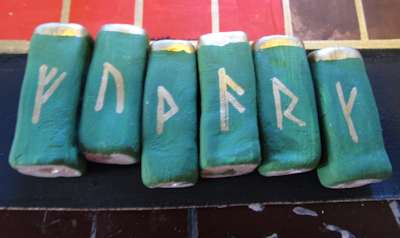
We had fun painting runes on the pieces.
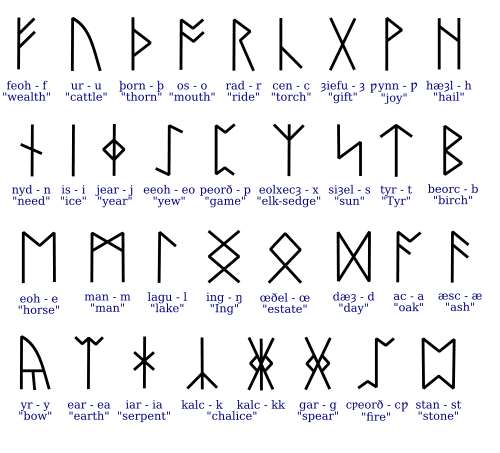
And here is a look at The Anglo Saxon Runes. You can learn more about the various types of rune alphabets and symbols on the wikipedia page here.
 We have even more instructions on how to make the pieces We have even more instructions on how to make the pieces

Do you like making projects and exploring a variety of hobbies?
Sign up for my free newsletter. I give you regular updates on hobbies and projects you can make. it is totally free and I don't share your email with anybody. |


