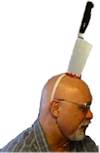
Here are the two projects we make in this tutorial:
 
Want to make the Chef's Knife to the head? That tutorial is right here
Let's start with the Cleaver to the head
Materials Needed:
- The Template
- 1 sheet of foamboard or cardboard
- 1 head band
- Silver Paint
- Black Paint
- Large silver tacks for the pins on the handle (optional) you can paint circles or use a hot glue gun
- Mod Podge (optional)
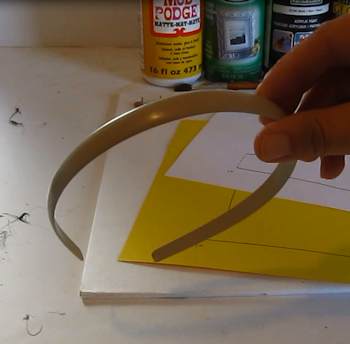
If your headband has a cloth covering over it you might consider removing the cloth. This will allow you to glue it better. Typically you can snip one end of the cloth and slide it right off the head band.
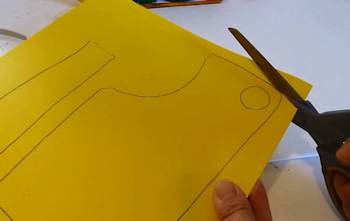
Print up the template and cut out the two cleaver parts.
Cut out that hole too.
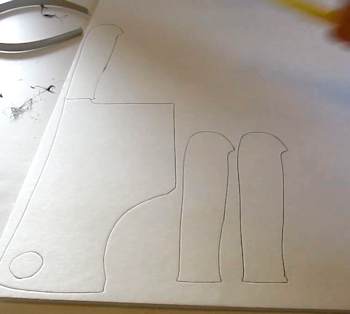
Place the two template parts on foamboard as if they were a real cleaver and trace them. This picture shows we moved away the template part that is the blade.
Then trace two more handle pieces. This is what you end up with.
Go Ahead and cut those three pieces out. Don't forget to cut out the hole.
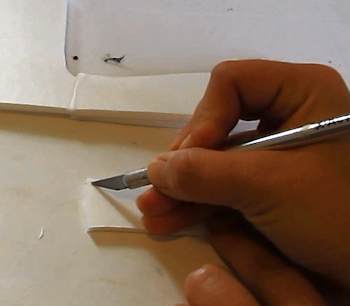
Cut the two handle pieces at an angle. This is at the end of the piece where it is near the blade. Not the curved end of the handle.
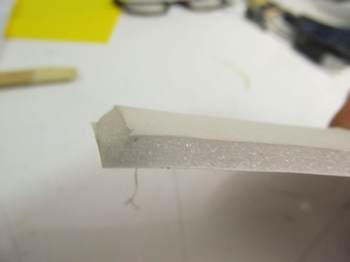
It should look like this. It is just an added detail that makes the handle look realistic.
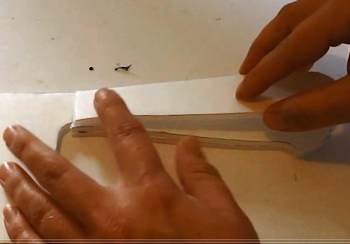
Now glue those two pieces onto the handle. One on each side.
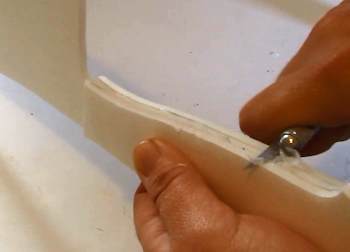
Now clean that handle up with a knife and or sandpaper.
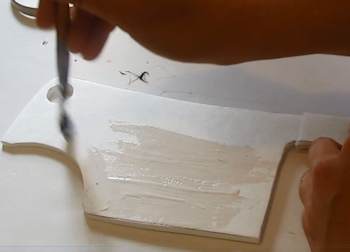
If you have mod podge go ahead and seal the cleaver with it. This is optional.
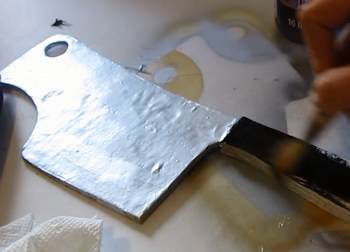
Now paint the cleaver. The blade is silver of course and the handle is black. You can paint it any color you want but this is just traditional knife colors.
Next put three big silver pins on the handle like this. You can use silver thumb tacks or cut a hole in a piece of paper and use it as a mask to paint on the pins. The painting is a bit of a better option because it keeps the weight of the handle down.
 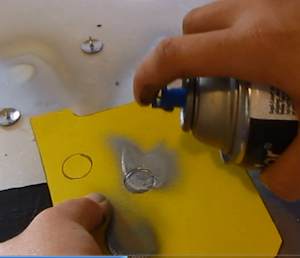
Once the paint is all dried seal the knife with some kind of a spray on sealant if you have it. Preferably use a high gloss.
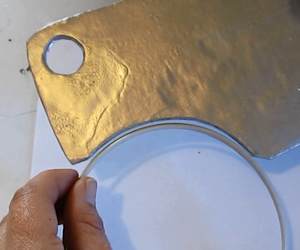
Now we are going to glue our cleaver to the headband. Do it so it is a little past the center of the headband. This way it is balanced on the top of the head. You should offset it like this past the center because the weight of the handle is way off to one side. So, glue it a little past center. Not a lot though. It looks best that way. When checking it you can see if it needs any adjusting. You can always trim the cleaver a bit. Or you can build up any gaps with hot glue gun.
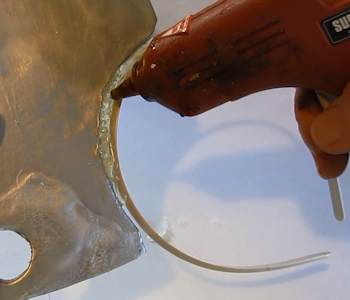
Go right ahead and glue those together. Use lots of glue. The more glue the better because it will hold tight and we are going to paint all that glue red as blood! So, lots more blood is great!
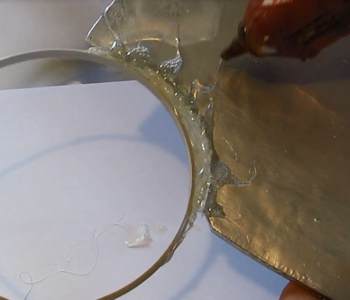
And Put some glue splatter on the blade like this. It will look great.
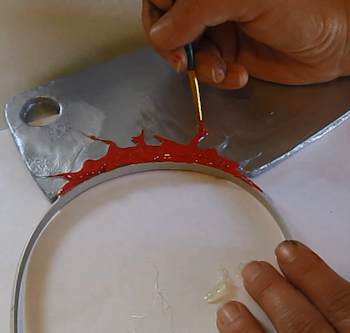
Paint the hot glue red and you are pretty much done with this project. Congratulations. Try it on.
But if....
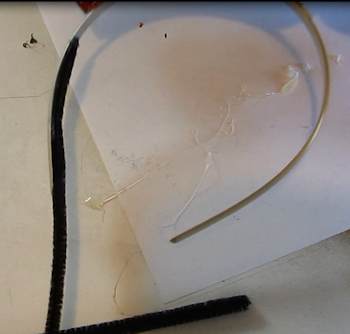
If it is a loose on your head and won't stay steady enough for you then glue on some pipe cleaners or some string so you can tie them under your chin as if they were the chin strap on a bike helmet. This picture shows one of the straps glued on.
Want to make the Chef's Knife to the head? That tutorial is right here
 Mod Podge Waterbase Sealer, Glue and Finish (16-Ounce), CS11302 Matte Finish Mod Podge Waterbase Sealer, Glue and Finish (16-Ounce), CS11302 Matte Finish
Mod Podge dries clear in approximately 15-20 minutes and can be sanded to a smooth finish. Apply with brush or sponge applicator. Close container after each use. Clean up with water while wet. Once dry, Mod Podge cannot be removed. Use as a puzzle saver, a sealer glue, a quick finish, a textured finish,or a build-up finish." Non-toxic.

Do you like making projects and exploring a variety of hobbies?
Sign up for my free newsletter. I give you regular updates on hobbies and projects you can make. it is totally free and I don't share your email with anybody. |


