
Home

I have a youtube channel with over 1000 Project Videos!


Wills Pinterest !


Hi, Thanks for visiting my website. My name is Will and if you have questions
or would like to
contribute projects or ideas you can contact me 
Make a paper and Cardboard Castle: Neuschwanstein Page 2
The first page of this tutorial is here
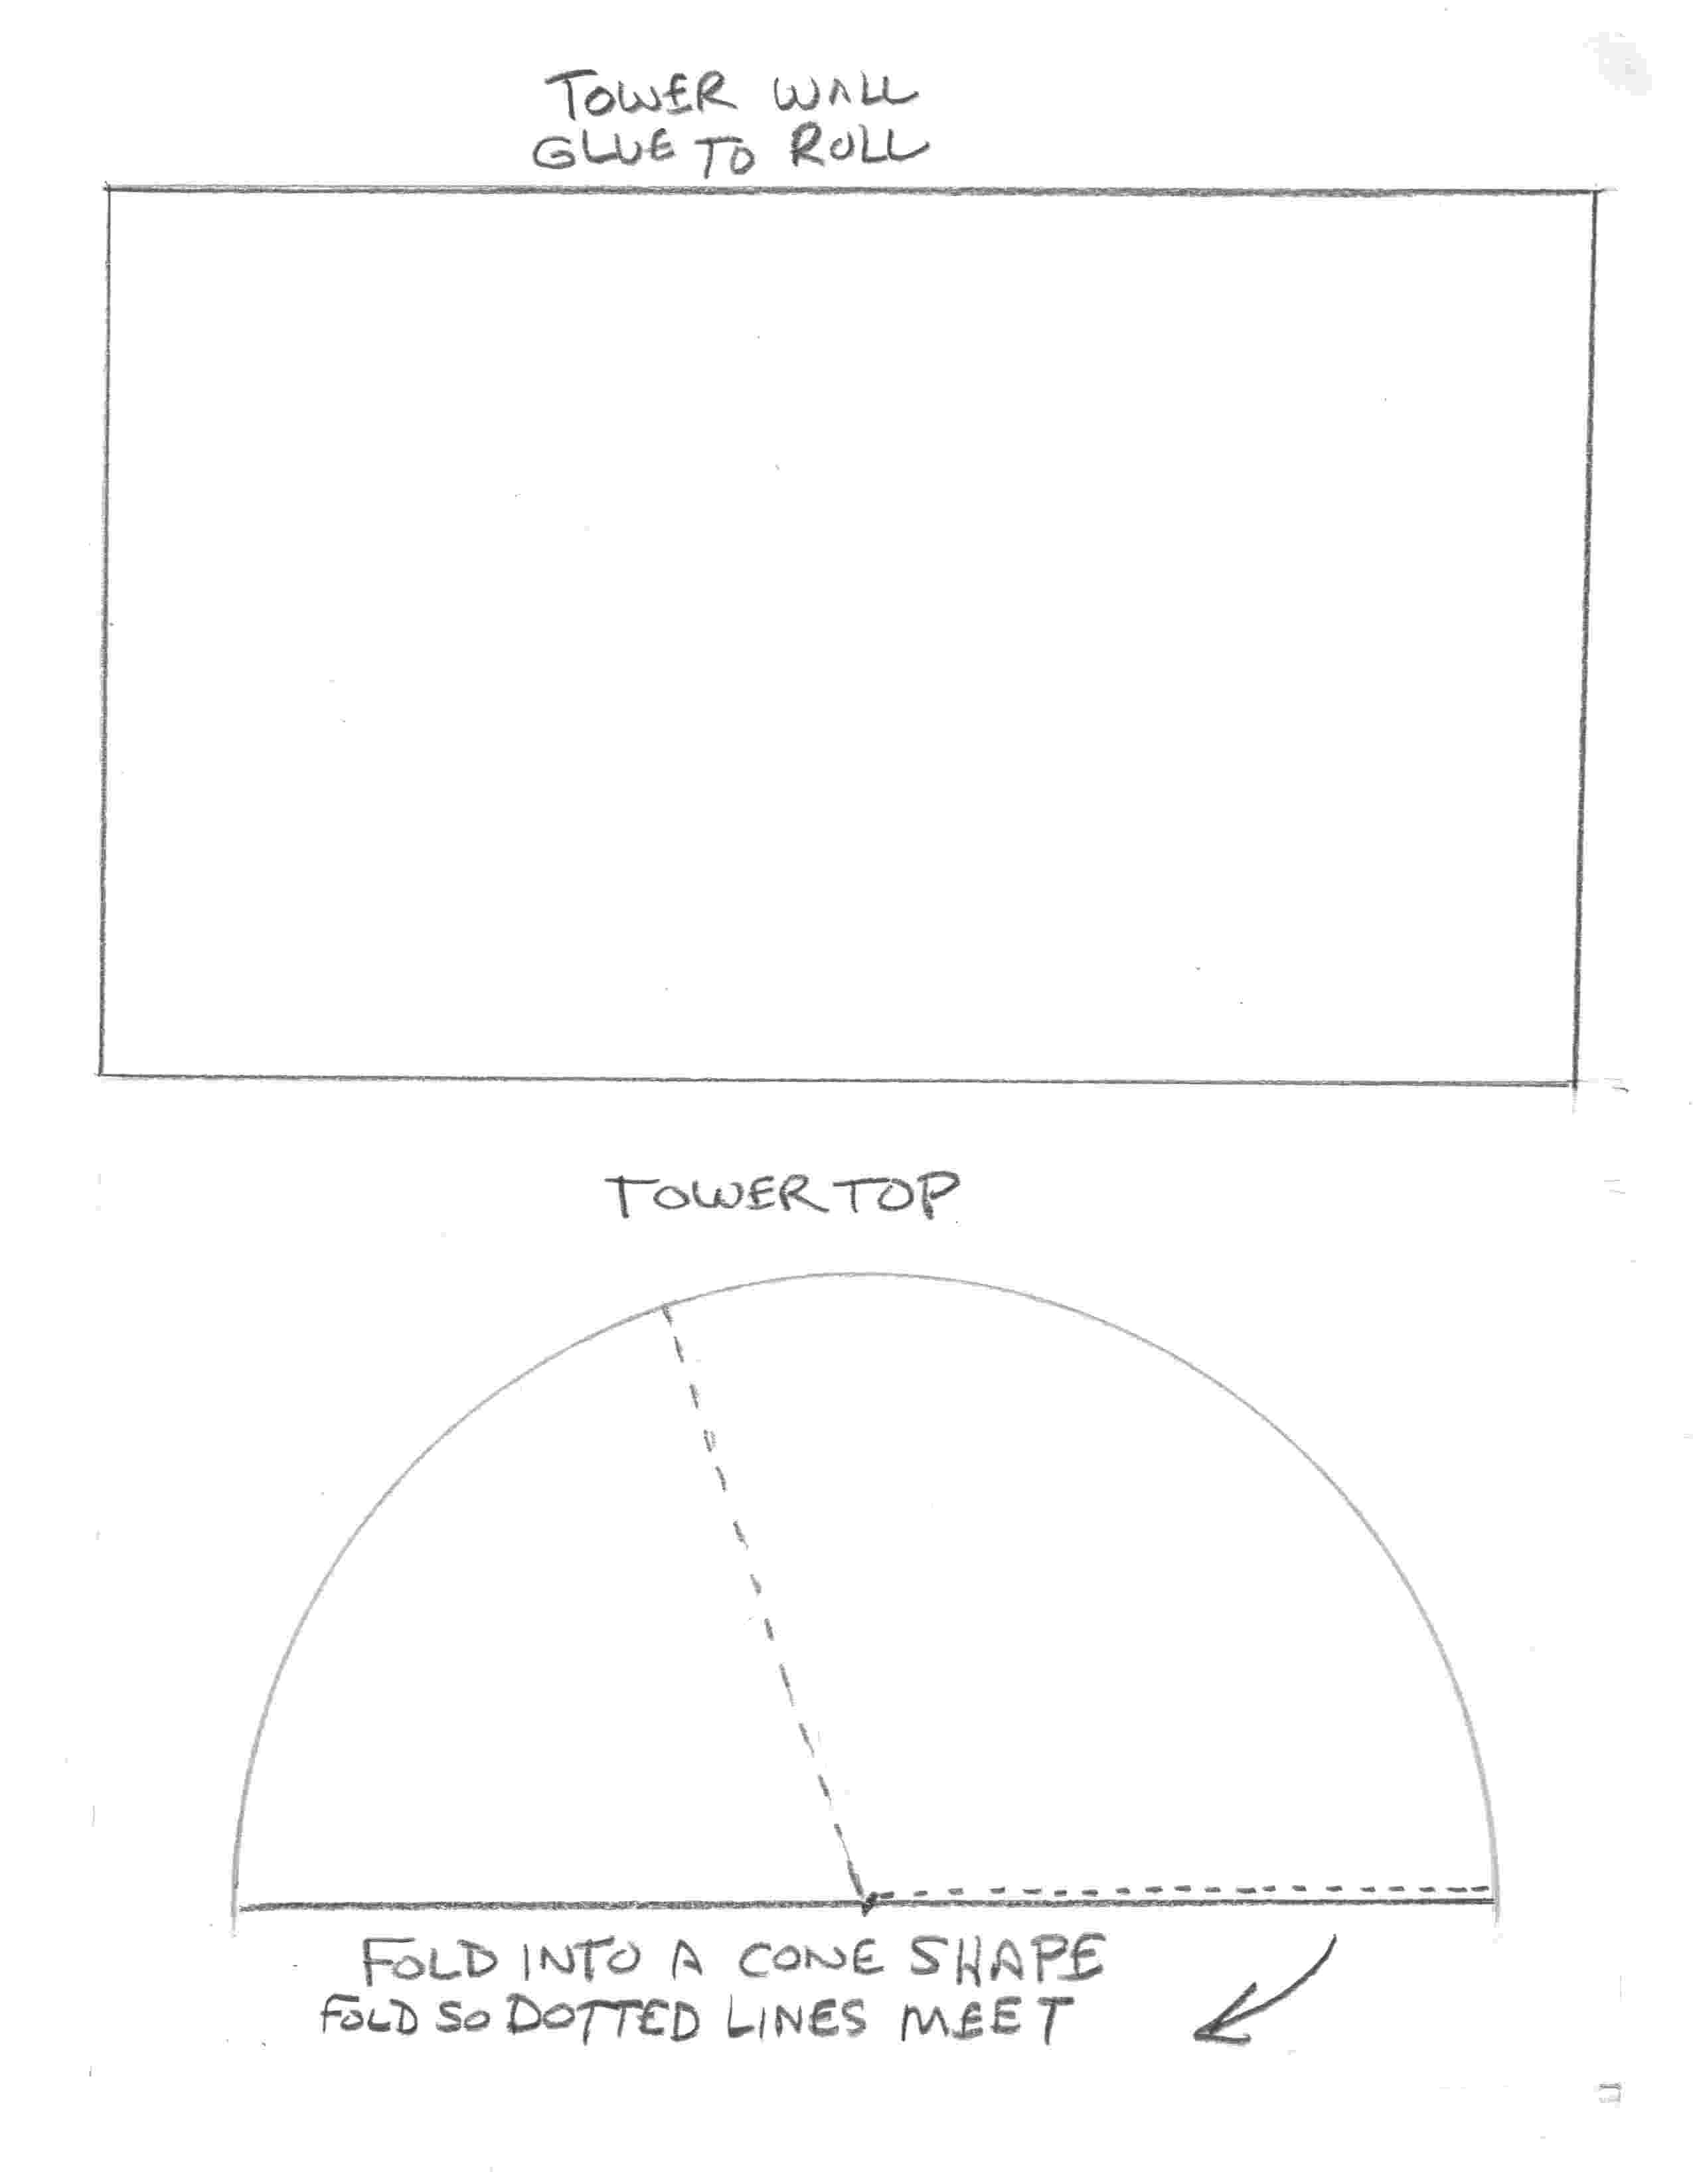
Lets Make Structures 1 and 3. These are the two round towers in the front of the castle. You need two bathroom tissue cardboard rolls for this, or you can cut a paper towel roll so you get two tubes that are 4 and 1/2 inches long.
Cut out some paper and cover the tubes with it then cut out some more paper and make the cone shaped tops. I have created a picture of this that you can print out and use . Tower turret picture - Remember that your bathroom tissue roll may be slightly different than mine so adjust the size of the paper and of the turret so it looks nice.
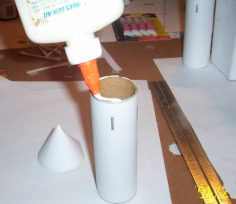
Glue or tape the paper to the tube and glue the turret top to the top of the tower.
You can decorate your towers while they are still sheets of paper or after you build them. I have put a few simple archer slots in my towers.
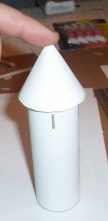
Hold the turret in place for a minute so the glue takes hold.
Do this whole process twice to make the two towers in the front of the castle. They are at positions 1 and 3. Tape them down to the base of the castle. Now lets make the gatehouse which is numbered 2.
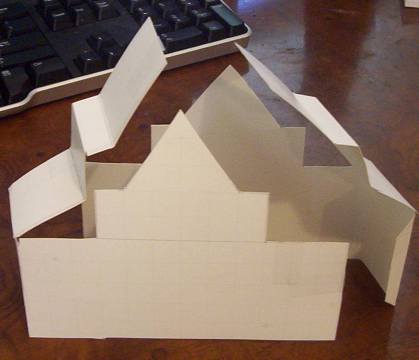
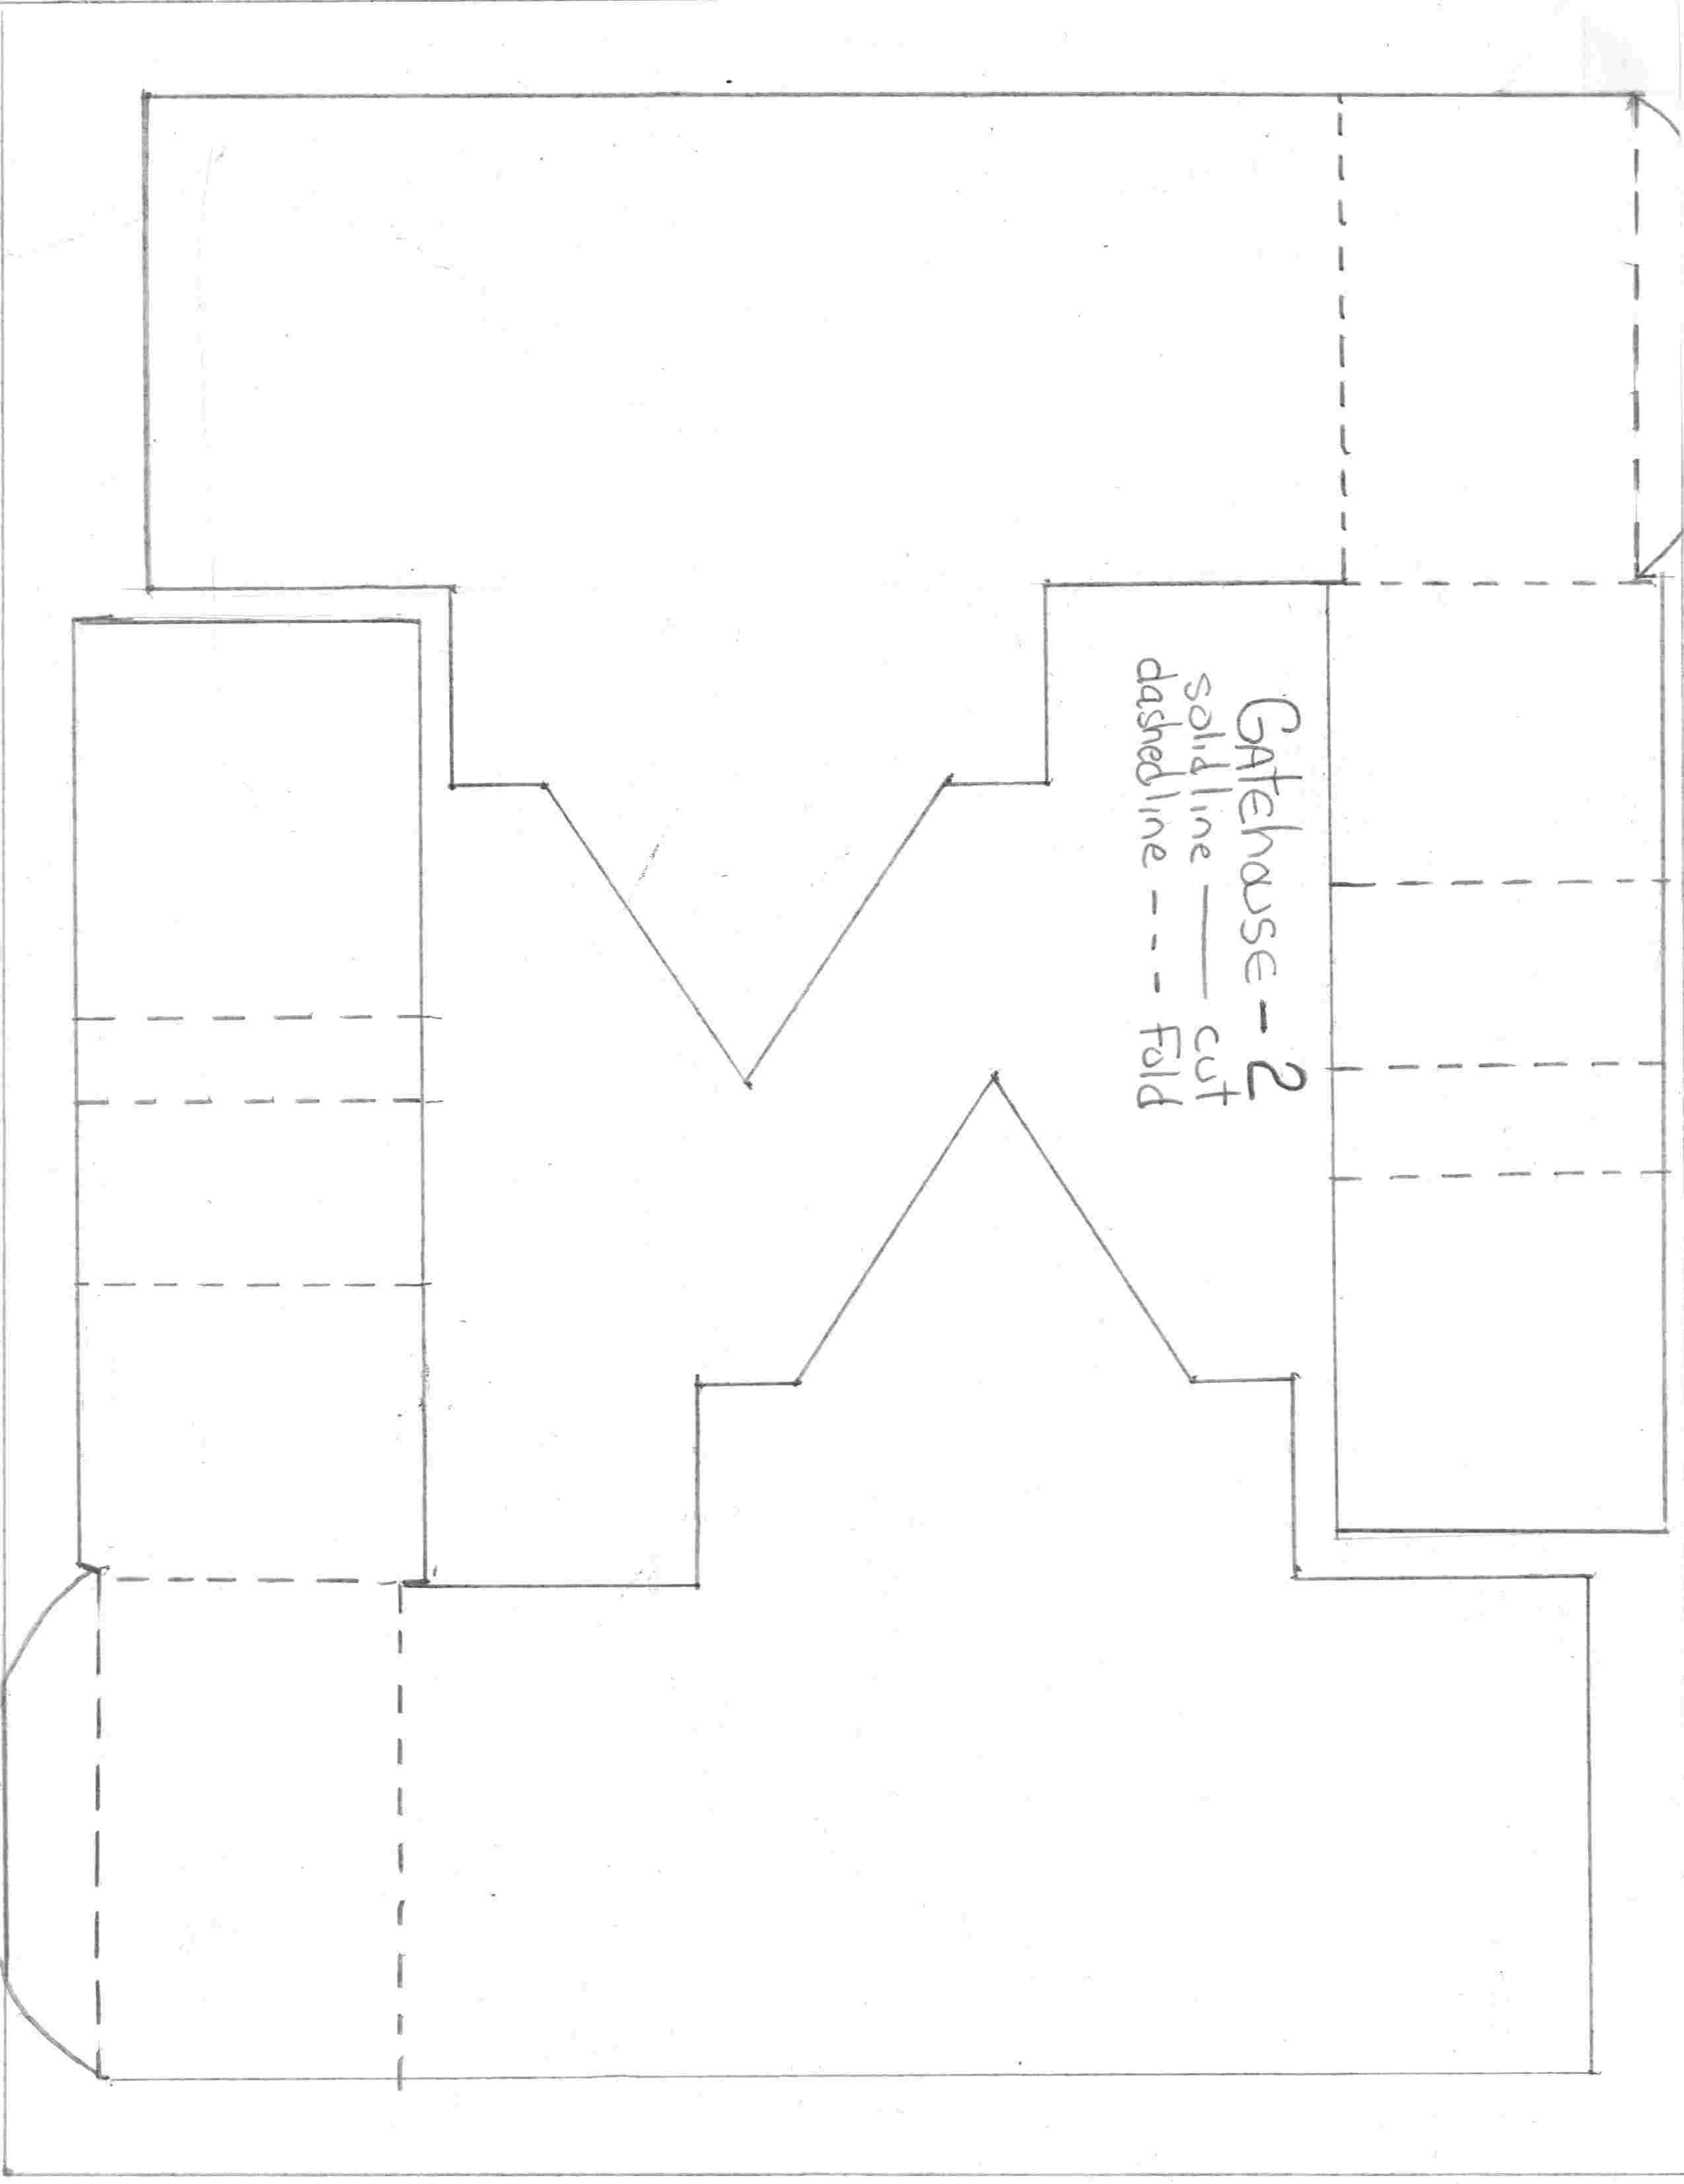
Lets Make the Gatehouse (Item 2 on the castle floorplan)
The Gatehouse Print up this picture of the gatehouse. It should print to a 8 1/2 by 11 page. Cut it out and assemble it like in the picture shown. Solid lines are where you cut and dashed lines are fold lines so don't cut them!
It is composed of two halves and they are pretty easy to fold together into the gatehouse. This picture gives you an idea of how to assemble these two halves together.
Now attach this piece down to your castle footprint at position numbered 2. Just secure it with a small piece of tape or two. This way you can adjust its position later.
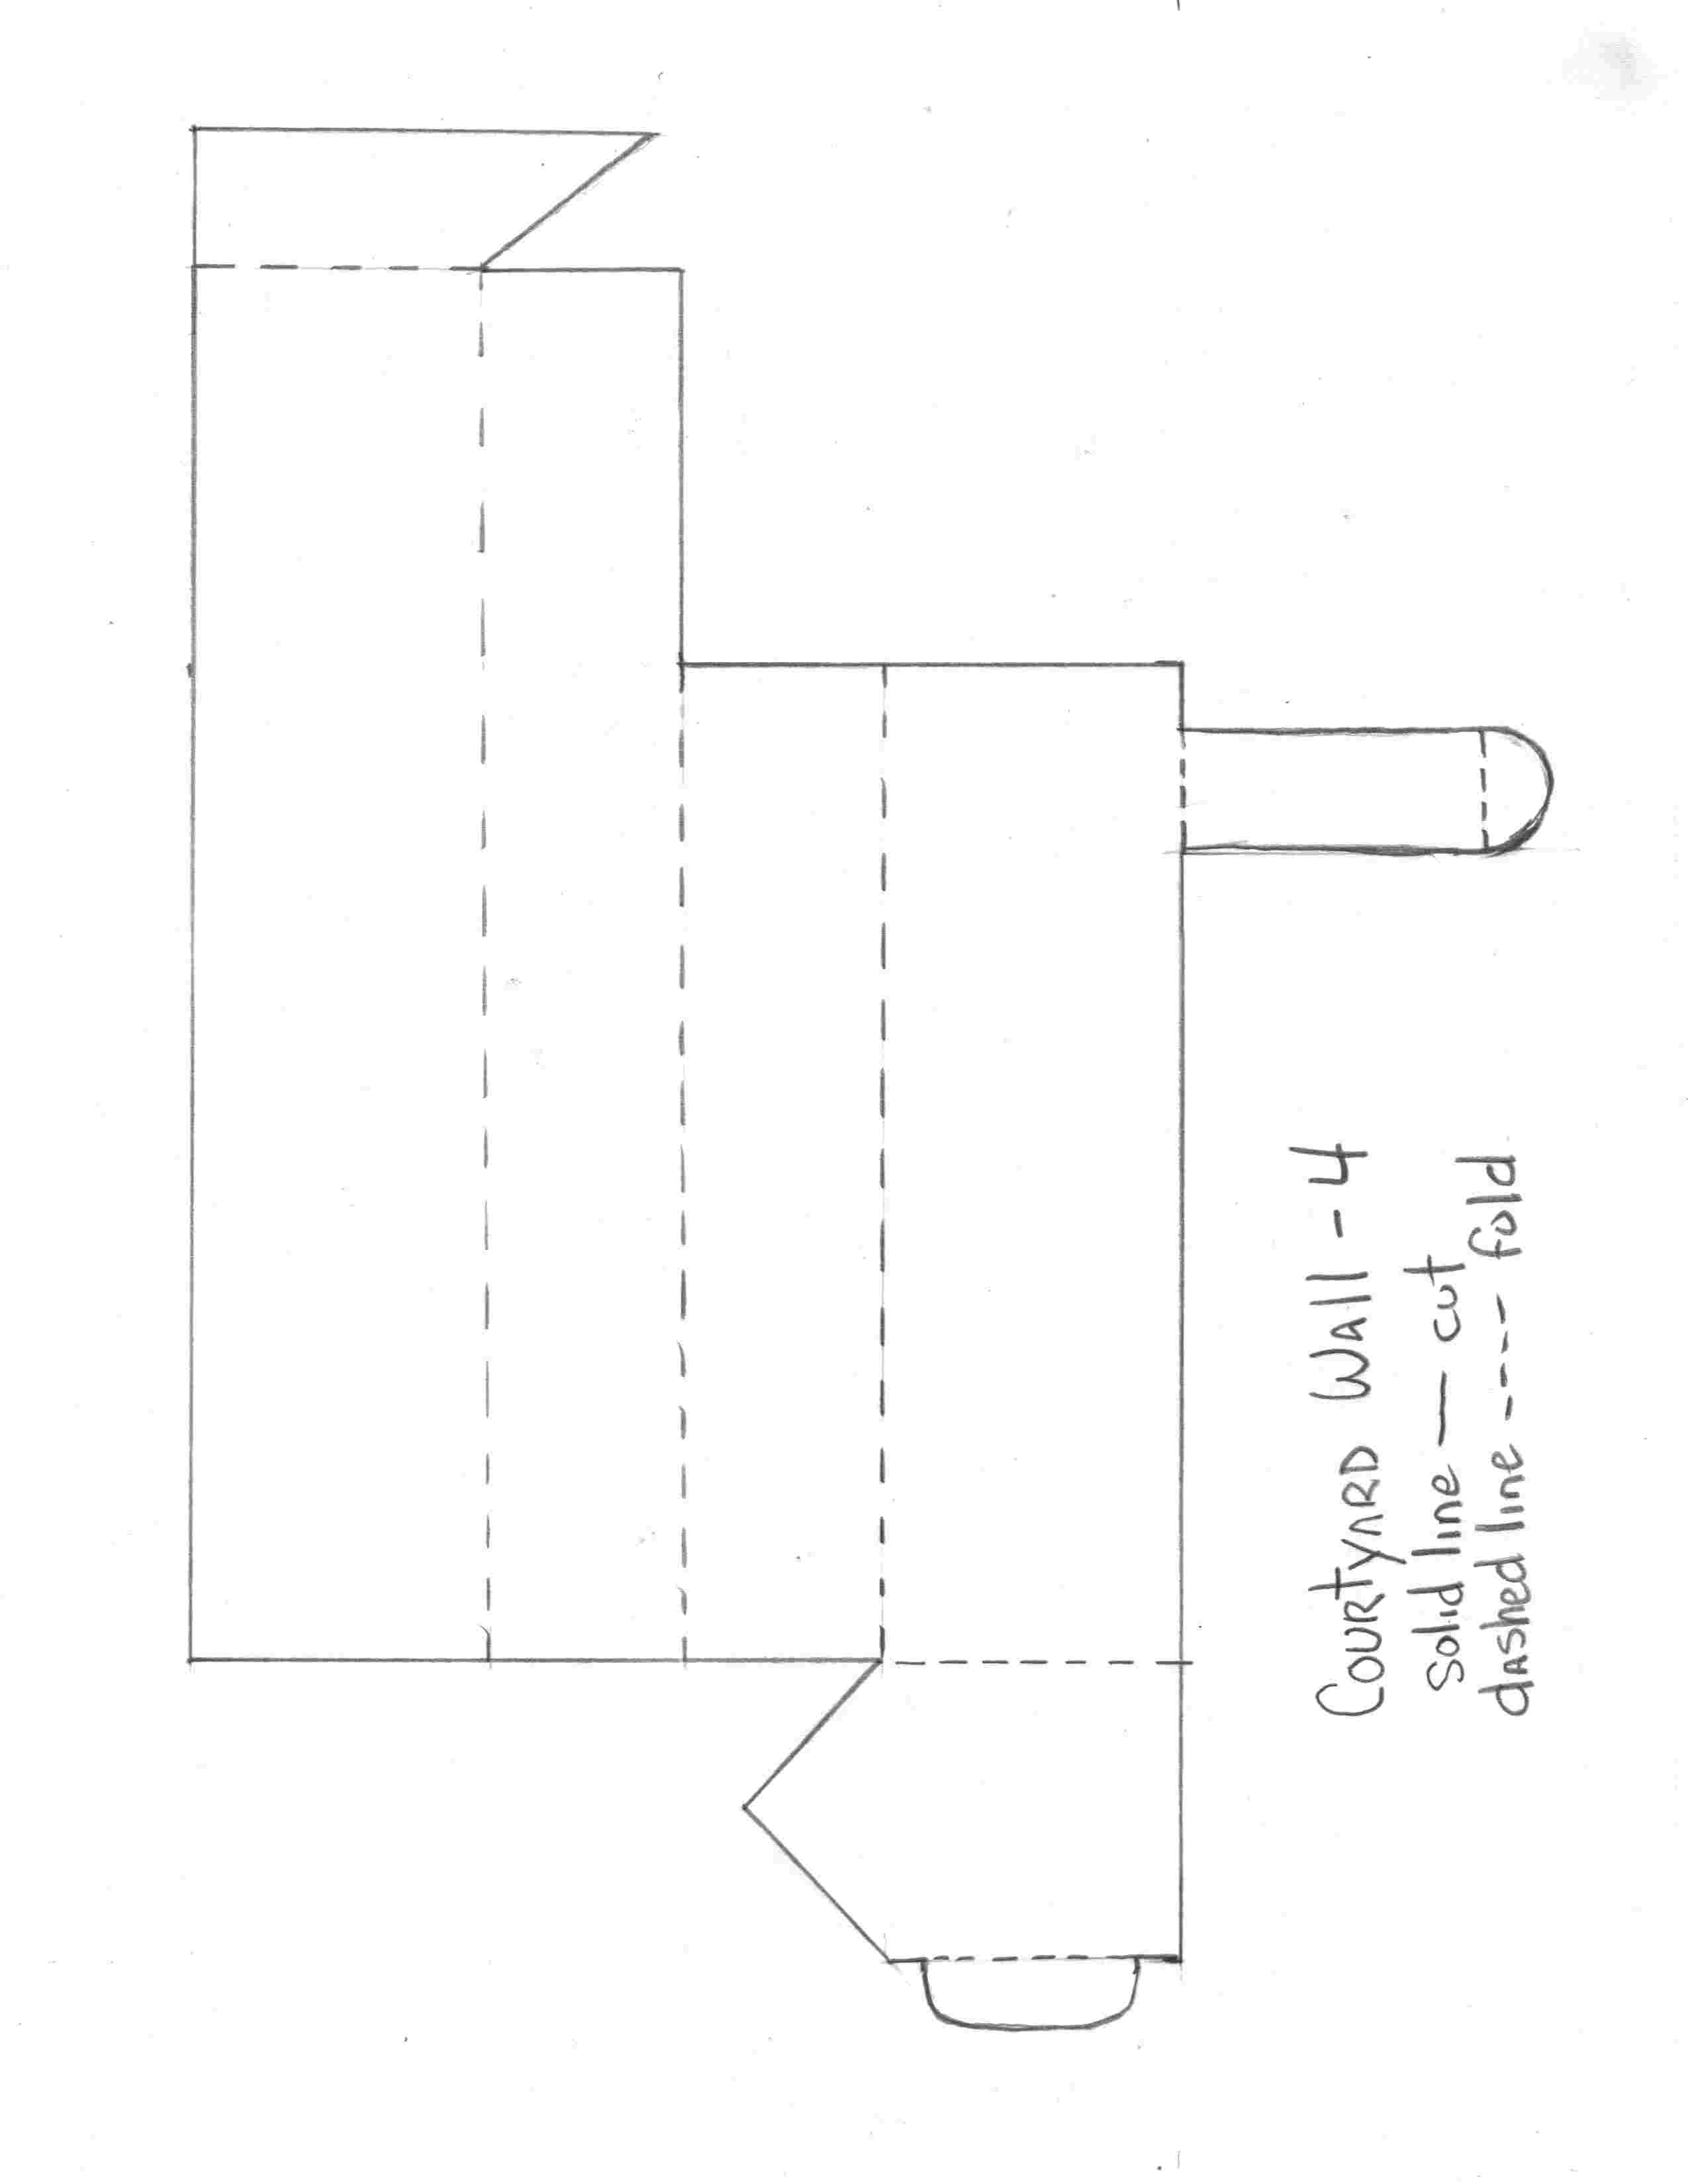
Now print up the courtyard wall here and affix it to your cardboard or posterboard, cut it out and fold it so it looks like the structure in this picture. Then affix it to position 4 on your castle floorplan.
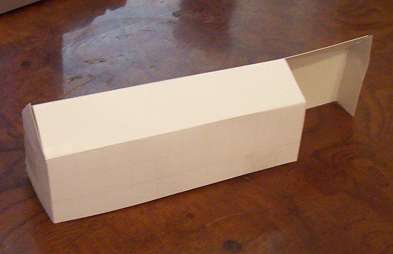
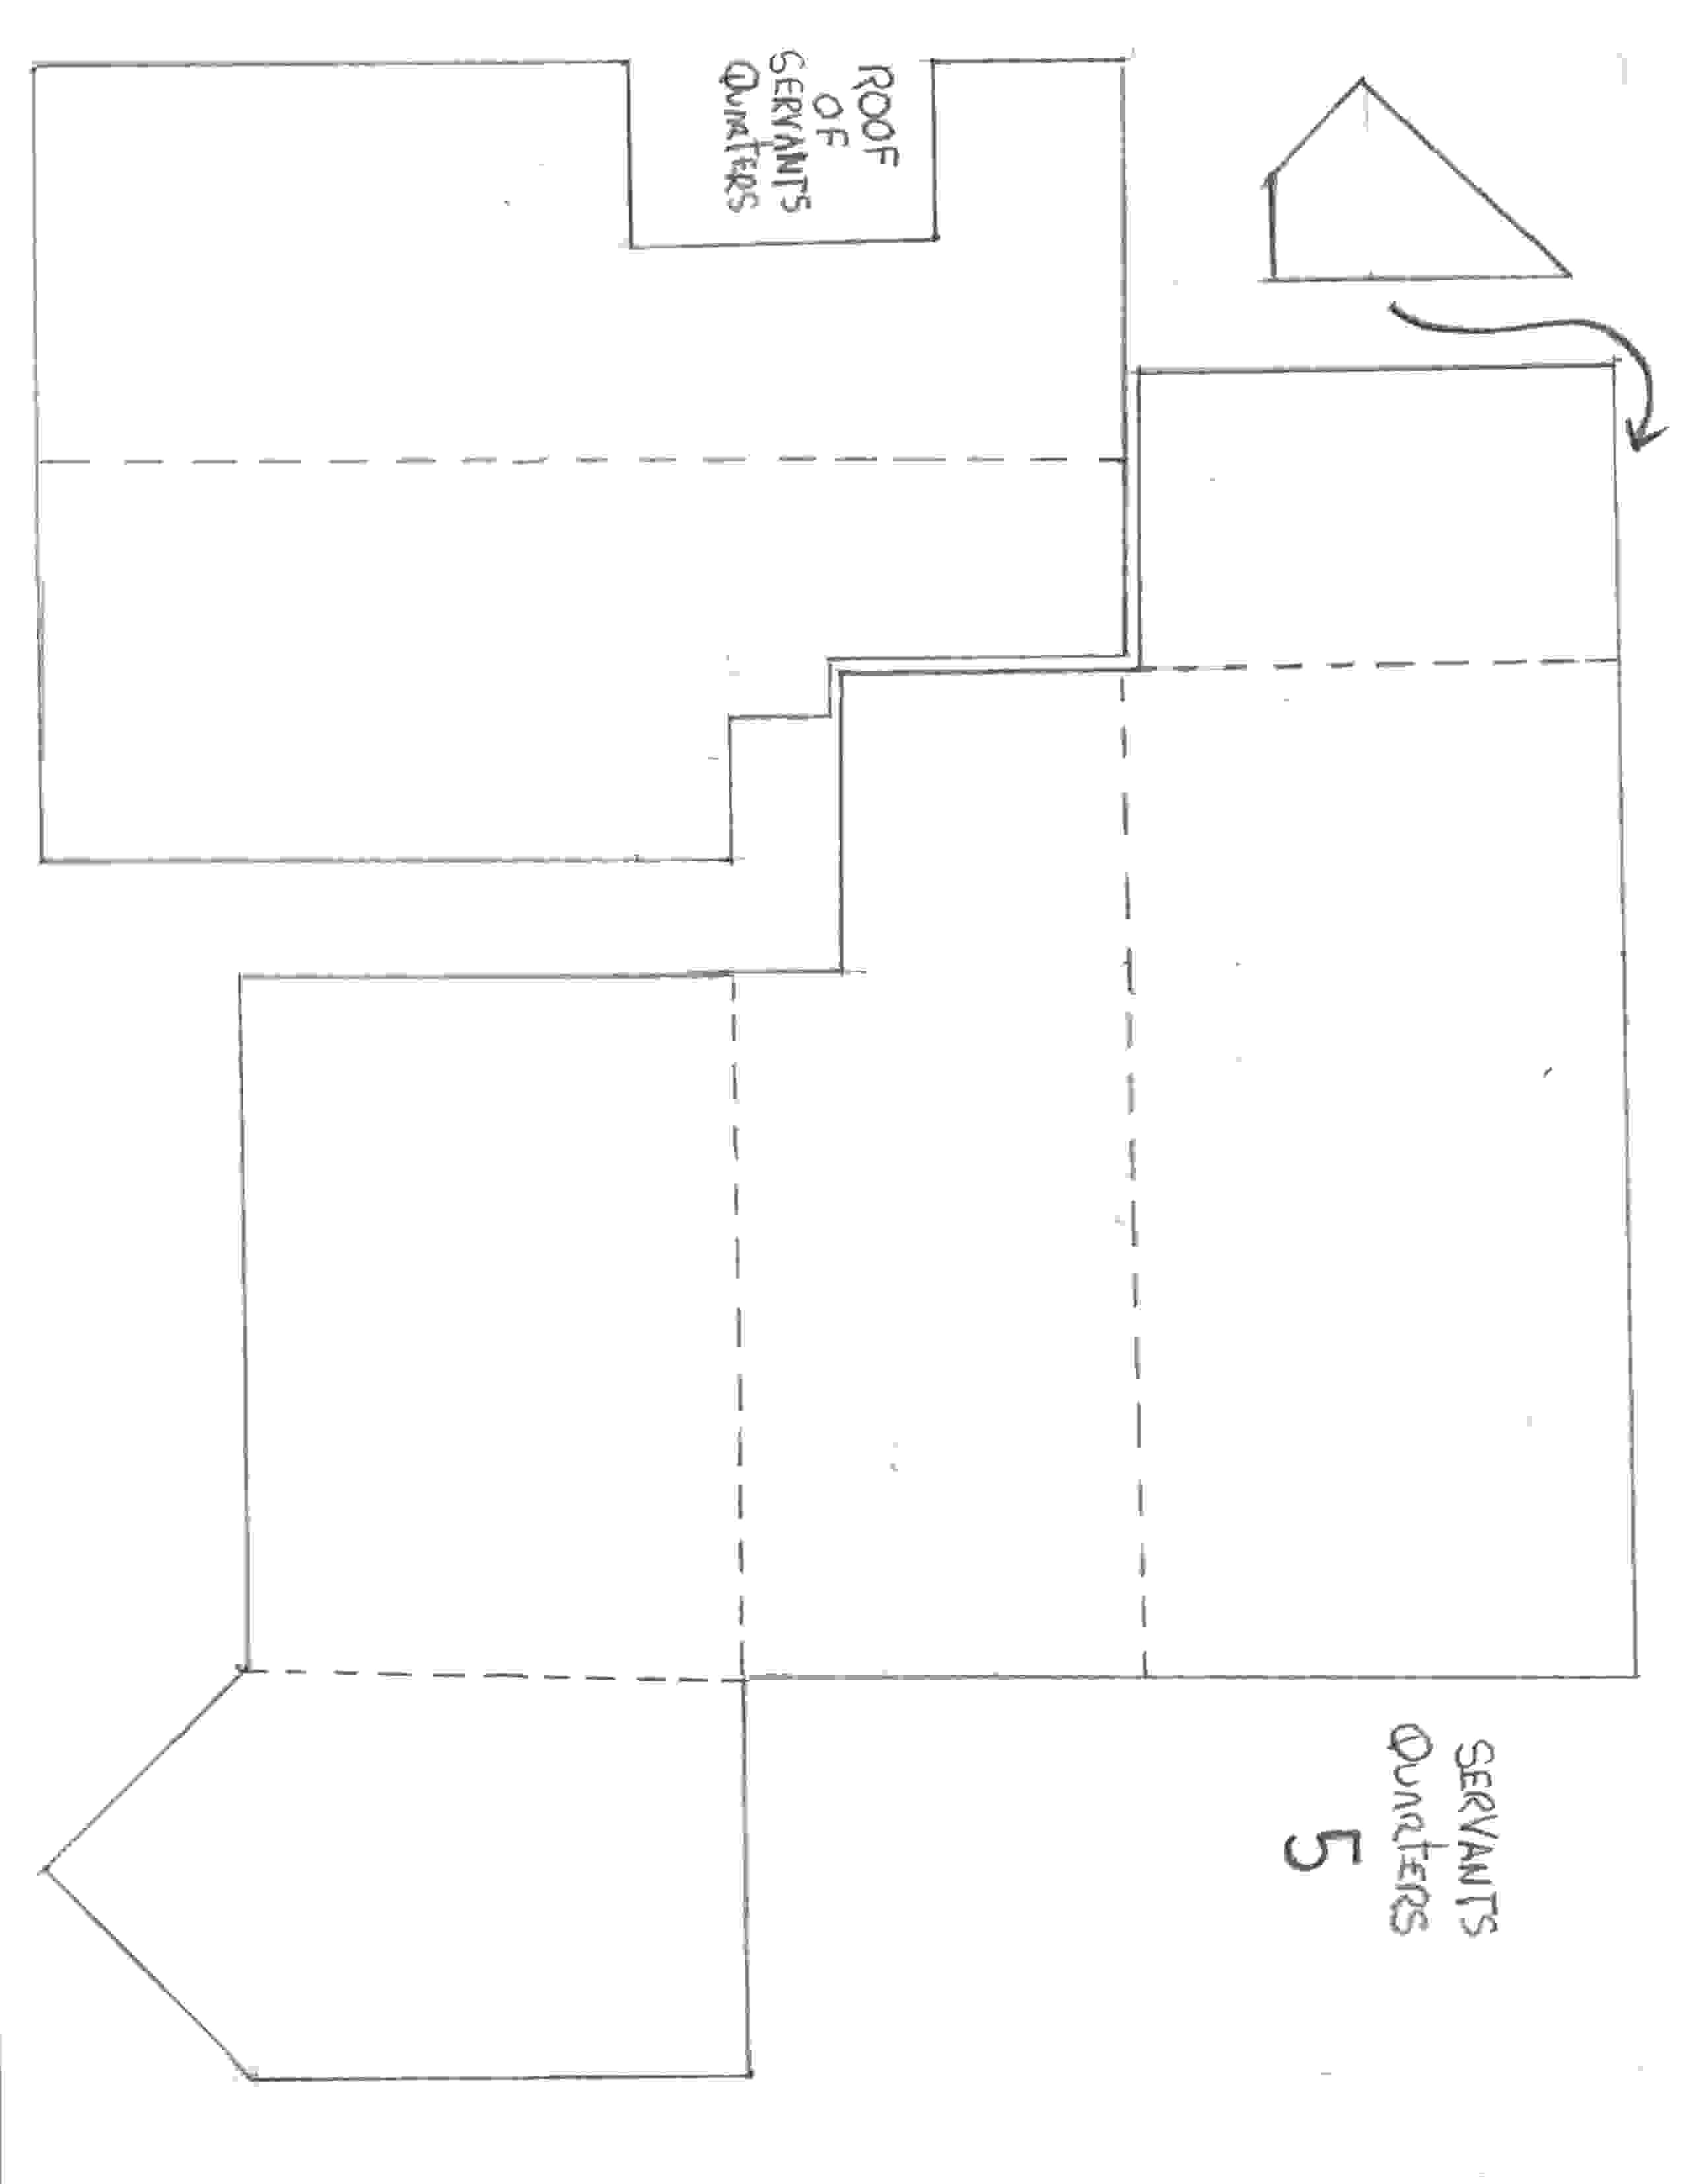
Now lets Build the Servants Quarters. It will go into position 5 on your Castle Floor Plan.
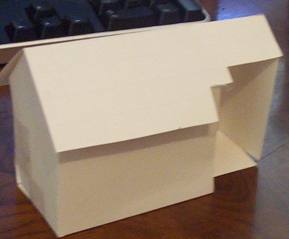
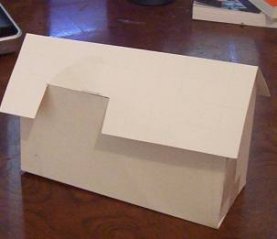
Here is the printable picture of the servants quarters. It should come up at about 8 1/2 by 11 inches.
And this is what it will look like when you have completed building it.
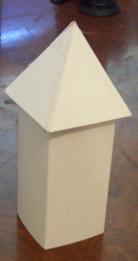
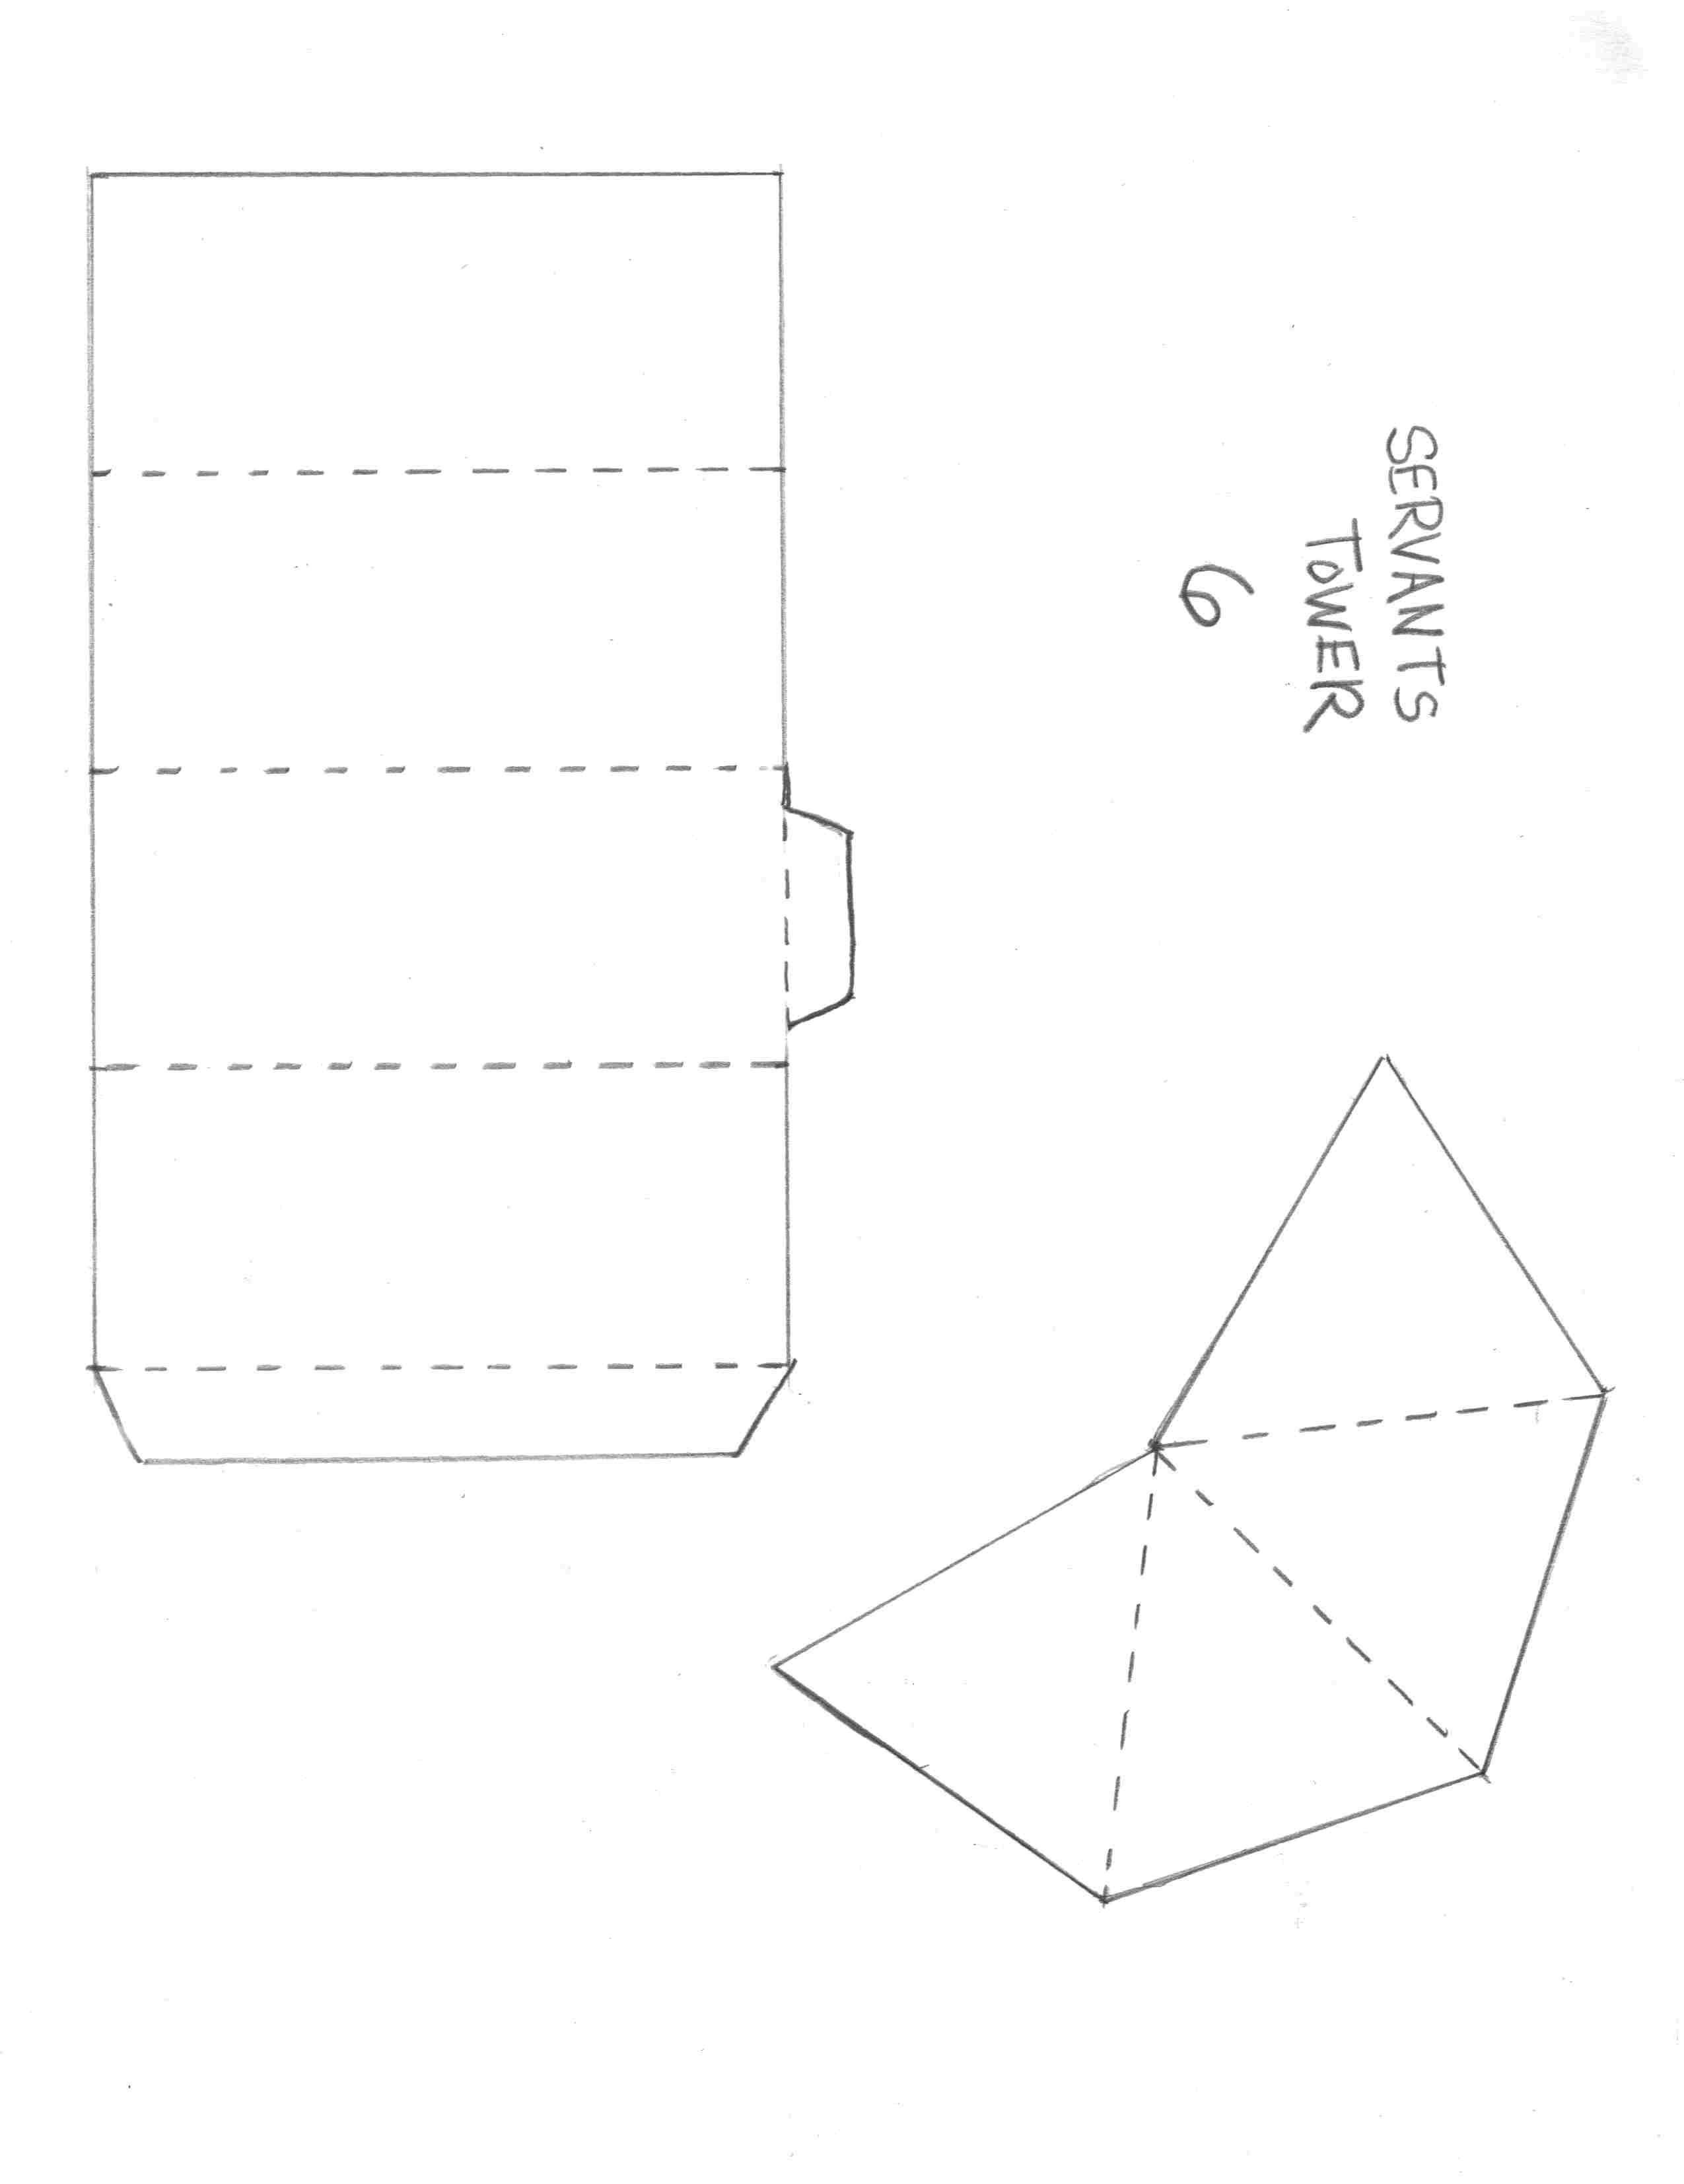
Now let'ts add the servants tower. Print it up here, affix it to cardboard, cut it out, fold it up then attach it to your castle floor plan. Here is what it looks like when you have completed it.
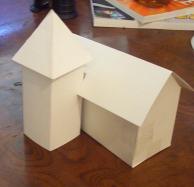
And here is a picture that shows how it will nestle into the servants quarters.
Ok, We have done quite a bit and the picture below shows what you have built so far. Now lets continue on the next page
 Continue with building the paper Neuschwanstein castle

Puzzle 3D Neuschwanstein Castle - Puzzle 3d also has a great Neuschwanstein Kit. This is an amazing puzzle with 836 pieces!
