More Mead Making Pictures from Web Visitors
Here is an update on some of the Dave G.'s mead. I love the three liter wine bottles. They have a beautiful shape.
When racking we lose some mead which can mean excessive head space. Dave avoids this by racking into the smaller 3 liter bottles. Great idea.
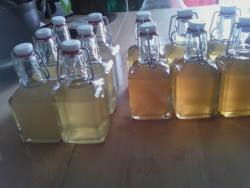
Here is a wonderful batch of mead in small bottles. These were made by James. He will be giving these away at his wedding. He planned ahead for this because the mead does take months to be ready. Great job and what a great idea!
There are two batches here. Basswood on the left and Wildflower on the right.
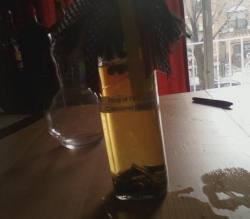
This is James' Serrano Mead called "Ring of Fire"
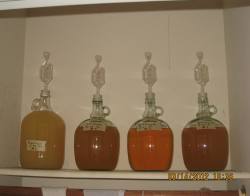
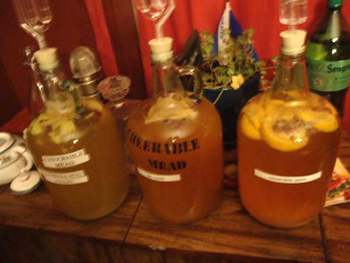 And here are three batches that he has fermenting; from left to right they are a Pineapple, a cyser and a wildflower.
Here is an update from Phil on his mead. You can see some earlier pics a bit further down on this page. And here are his notes.
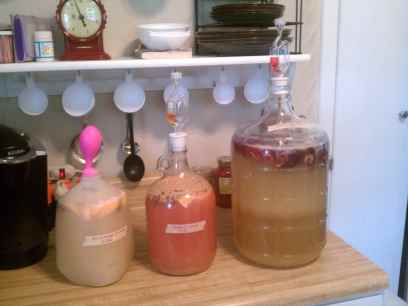
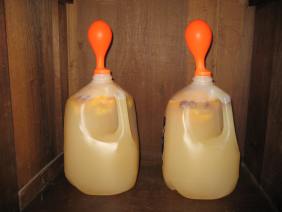
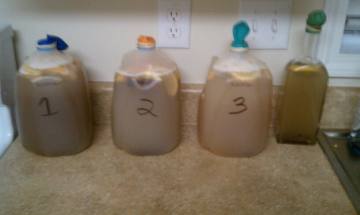
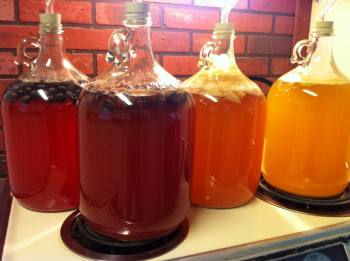 Will - It's been three weeks since the last batch was started. That included the melomels. I started it all in one 5 gallon batch (using orange blossom honey), and then split that into 5 one-gallon jugs: regular mead (is any mead really "regular"?!), one blueberry, one blackberry, one strawberry, and one jalapeno. Well, last night I racked them all into secondary carboys ... what fun! I used a peristaltic pump ... worked like a charm! Even though they had all started from the same basic batch, they are all at substantially different places in fermentation! And they all taste great! The strawberry is kind of light and dry, and is at 11% abv. The blackberry is kind of dry as well, with a tart blackberry/raspberry flavor, but a bit sweeter than the strawberry, and is at 10% abv. The jalapeno has a definite "jalapeno" aroma, has a jalapeno flavor, but is sweet, and definitely has a "bite"! It is at 8.5% abv. I like it quite a bit, and my son is raving about it! The blueberry is sweet, with a slight "fruity" taste, and is at 6% abv. The "regular" mead is sweetest, but not "syrupy", and is at 5.5% abv. Like I said, they've all been racked to secondaries, and I'll let them keep cranking! Enjoy the pics! The single is of the regular mead. The pic with four jugs is the melomels; from left to right, blueberry, blackberry, strawberry, and jalapeno. The fruit was removed at racking time.
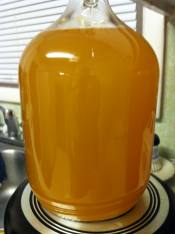 Phil had told us that he started out with a five gallon batch of mead then split it out into five separate batches. Four of them became the melomels above and this picture shows the 1 gallon that he kept as a regular mead.
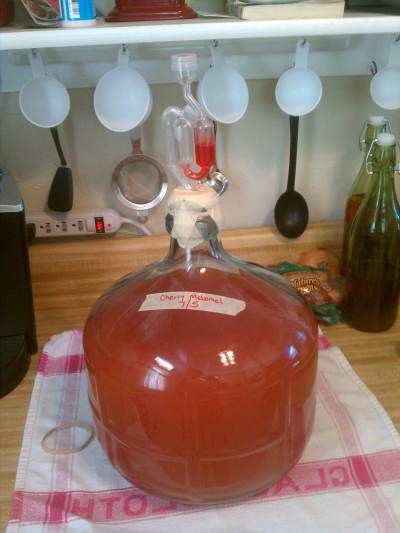
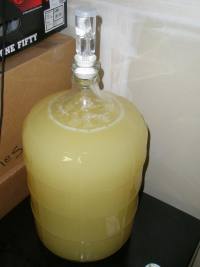
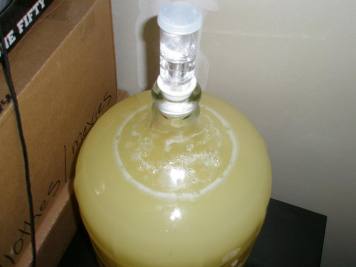
Here is a picture of a cherry melomel made by Christina. This is a beautiful glass carboy that she found in a thrift store for $12. Great find. That is a beautifully shaped carboy.
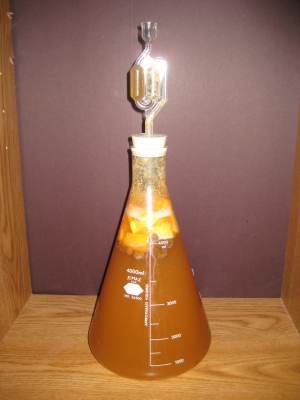
Here is a batch of mead by Matthew. I call this "Mad Scientist Mead"! because he has brewed it up in a 4 liter erlenmeyer flask! Looks great to me! How's this for a great science experiment! My thanks to Matthew for submitting the pic.
Here are three batches of Mead made by Christina. My thanks to her for sending in the pic! This shows a wonderful progression in the art of mead making from easy 1 gallon batch with a balloon to a 1 gallon glass carboy with airlock then a three gallon batch! Very nice. This is what happened to me when I started. The batches are:
Left: Quick Orange Cinnamon Mead.
Middle: Quick Orange Cinnamon w/Raspberries Mead
Right: Cherry Melomel
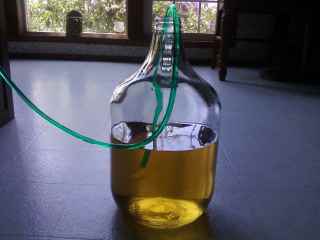
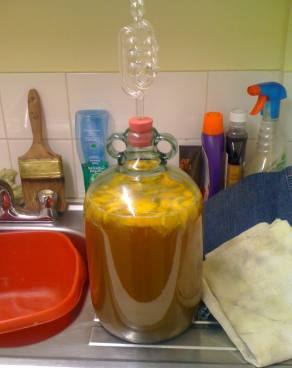
Here is a picture of Mead being racked. This mead was made by Jenny and my thanks to her for submitting the pic. Doesn't that golden honey color look great?
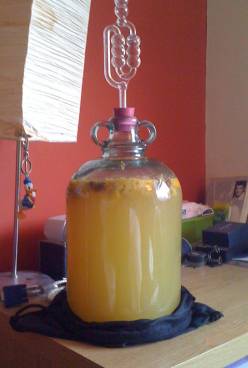
These two pictures were submitted by Lance. My thanks to him for submitting. This mead has just recently been racked. Notice how the color is making a very nice transformation and notice how there is a thin layer of sediment. Some of this sediment is just setting after the racking and some of it is the continued (but much reduced) secondary ferment.
 '
'
The Following two pictures are of Mead made by Jake. My thanks to him for submitting them. These two pictures show the wonderful progression that mead makes. The picture on the left is after initial making of it and the picture on the right is after the ferment is starting to take place. Notice the amazing transformation? With time it will continue to transform until it takes on that wonderful wine look.
Here are two batches of Mead made by Fred. He used the fast and easy method. It is day three and the batches are going strong! My thanks to him for submitting this picture!
Here is a batch of Peach Mead made by Nancy. It looks absolutely fantastic - it has a very rich and deep golden color to it. My thanks to her for submitting the pic! Peach is a wonderful flavor for mead. I bet you this batch tastes great!

Here is a series of meads made by Marshall - From left to right.. Orange clove mead (D47) 2 months old, Orange Cinnamon (EC-1118), Blueberry (Montrachet), Red Raspberry (Pasteur Red), Lemmon Lime (K1-V1116), Pear (71B-1122). All are fermenting extremely well!!
Note from Will: Wow, these are simply fantastic. My thanks for Marshall for sending me the pic and the update!

Mead Making and picture by Lisa and Cheryl
Here is a picture of the 3 1 gallon batches...(and a little left over to the side) of the first mead we've ever made based on your instructions. We spent a little over $55 for all of the ingredients. For the 1st one we followed your directions to the T using 3 lbs wildflower honey. The 2nd one we experimented a bit and added .5 oz cinnamon sticks, 2 cloves, 1/2 tsp nutmeg and 1/4 tsp allspice with orange blossom honey, and the third batch is your recipe with clover honey. These pictures are taken 4 minutes after we capped them and set them to start their ferment. Thanks for the great tips and videos and recipes. We really appreciate you sharing all of your knowledge with us as the store bought mead here is awful and we patiently wait twice a year to go to festival a buy as much as we can. Hopefully, we will be able to bring our own to next festival. The gentleman who brings the mead for sale sells it for reasonable prices $15 a bottle (some aged 3-5 years) but you have to be the first to find him in order to get some..lol
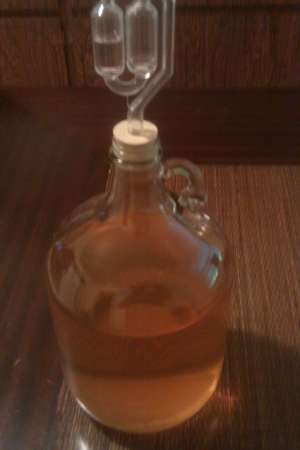
Here are a couple of pictures of a carboy of mead submitted by J.R. My thanks to him for the pics!
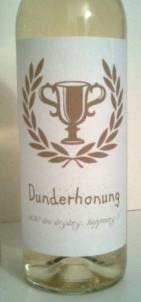
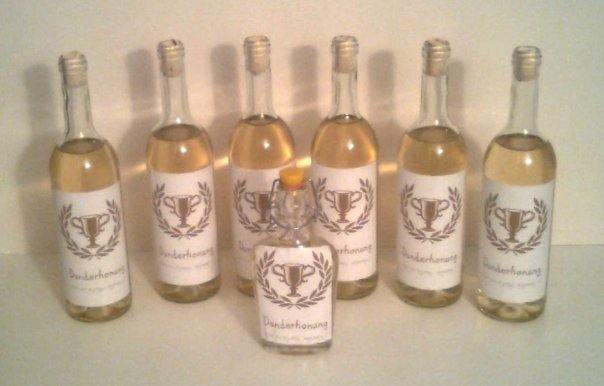
Here is a couple of pictures of a home made mead with home made labels. This mead was made by Nicholas W. My thanks go to him for submitting these pictures. Here is what Nicholas has to say about the name of his mead:
"The label I designed for my mead. "Dunderhonung" can be roughly translated as "Thunder honey", and I thought that was appropriate. It's also the name of a honey eaten (or drunk) by a character called Bamse, an anthropomorphic bear from a Swedish children's comic, which ought to be very familiar to anyone living in Sweden. Drinking a jar of "Dunderhonung" made by his grandmother made him incredibly strong."
If you want to custom make your own mead labels I do have some information about this. You can purchase pre sized and ready to apply labels that fit in your printer. You can use your computer to create the label then print them up and apply them to your bottles. My tutorial is here: Mead and Wine Bottle Labels
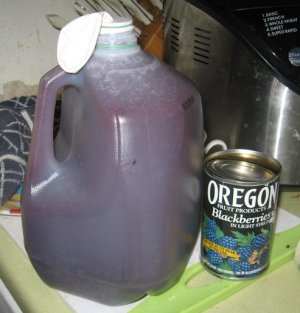
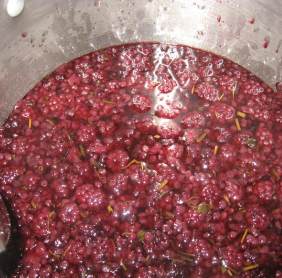
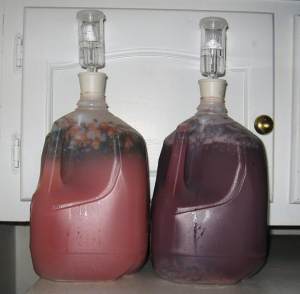
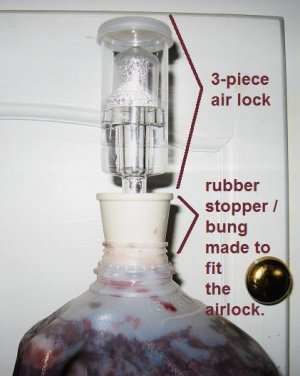
Here is a great series of Mead pictures submitted by Charlotte. She has also included her recipes. She used plastic jugs and balloons to start then switched over to wine making bungs with airlocks which is a great way to keep the cost down yet still insure perfectly sanitized and healthy mead. The fifth picture shows a closeup of this airlock and bung set up on a plastic jug. My thanks to Charlotte for these great pics!
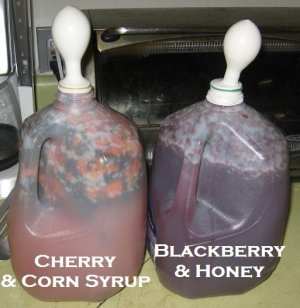
Blackberry Mead
2 lbs honey
30 oz. blackberries
3 Tbs. dry tea leaves (used Jasmine)
3/4 teaspoon regular old bread yeast
1 c sugar
1 gal spring water
balloon & rubber band |
Cherry Wine
30 oz. canned cherries
1 bottle (16 oz.) Karo corn syrup
3 Tbs. dry tea leaves (used Oolong)
3/4 teaspoon regular old bread yeast
1 and 1/2 c sugar (had to add to adjust SG to 1.090)
1 gal spring water
balloon & rubber band |
Initial specific gravity for both was 1.090.
Specific gravity of the cherry after fermentation appears to have completely finished = 1.020.
Continue on to the next page of mead making pictures