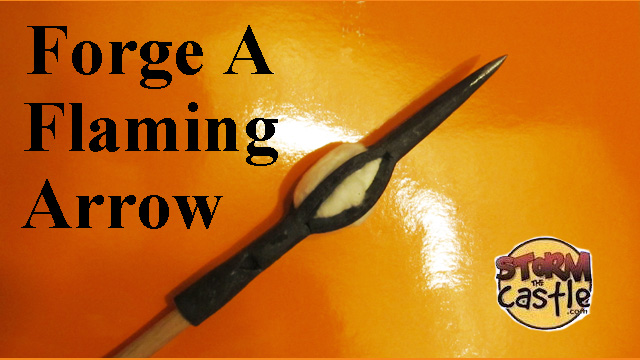
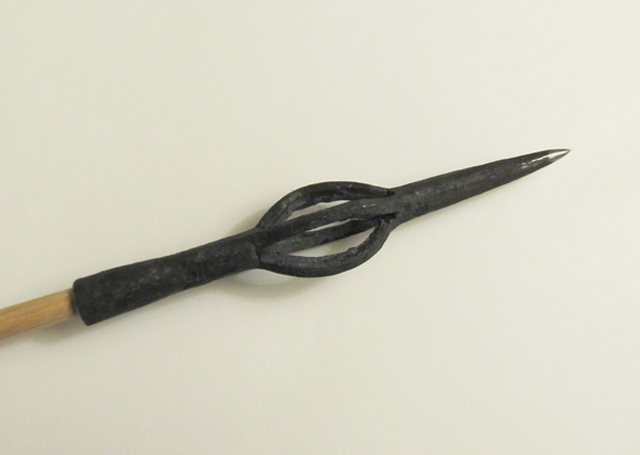
Here is a look at the flaming arrow tip we make.
The inspiration for this blacksmithing project came from a friend who lives in the UK. He visited a museum in Kirkleatham. Among the artifacts on display was a series of arrow tips. Here is a picture. Special thanks to Paul H. for the picture.

Clearly these arrow tips are a whole lot of fun. But in particular the fifth one from the left is the one that really caught my eye! I figured it would be a whole lot of fun to make this arrow tip. So I went ahead and made a few myself but I wasn't satisfied with the quality so I recruited a talented blacksmith to help me. (Clayton Cowart)
The arrow tip is made with the center section shaped like a basket so it can hold some kind of a flammable material. My guess is that it would be cotton and pitch. So, you light it on fire and fire it at your target.
Let's take a look at the process of making this arrow tip
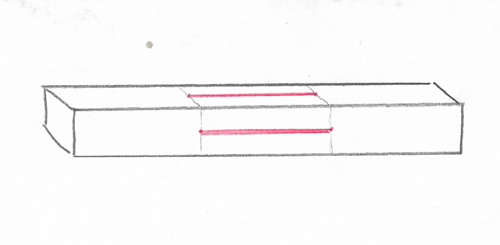
The arrow comes in three distinct parts; shown in the following illustration. We will handle each of these three sections one at a time. And we can do it all from a single piece of mild steel that is about six inches long. Each section here is about two inches in length. 
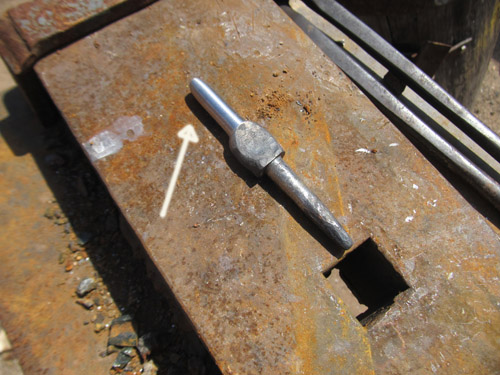
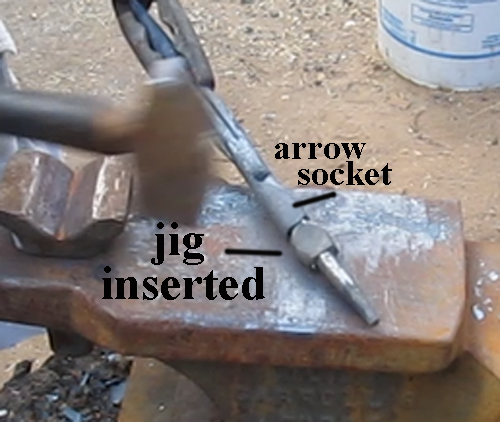
The first thing we need is some kind of a metal jig that simulates the size and shape of the wooden arrow that the tip will fit into. We made this. It is 3/8" in diameter which is on the larger size for an arrow but important for a heavy arrow tip like this one. The socket of the arrow tip will fit right over this jig.
You can start with a 1/2 square length of mild steel. We started with a 1/2 round and flatted it out to square. 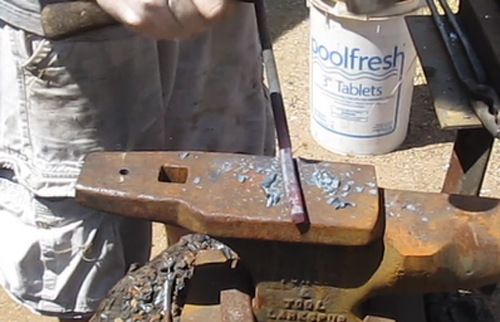
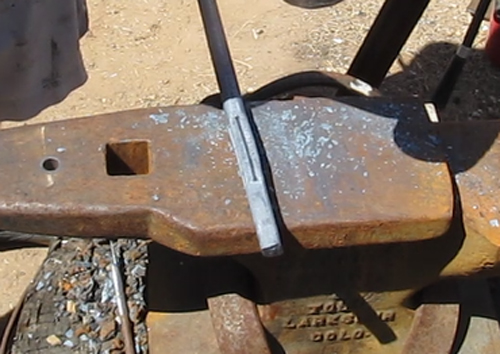
Next we are going to cut the center section of the square. This is the center two inches. Cut all the way though twice.
This illustration shows the two center cuts we make (in red). Each of these cuts goes all the way through the piece of steel. Now that center section is actually divided into four parts.
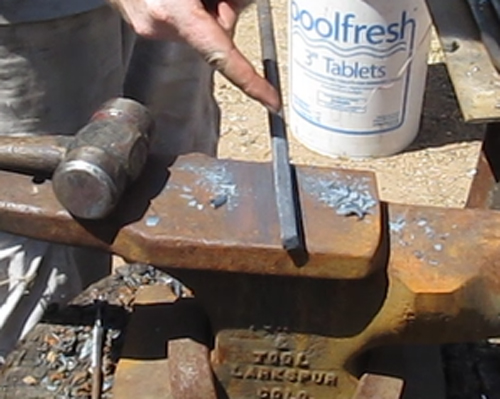
That center section is now split into four distinct parts but they are close together. We will not spread them out into the basket shape yet. If we do the basket shape now it will get in the way of the next steps.
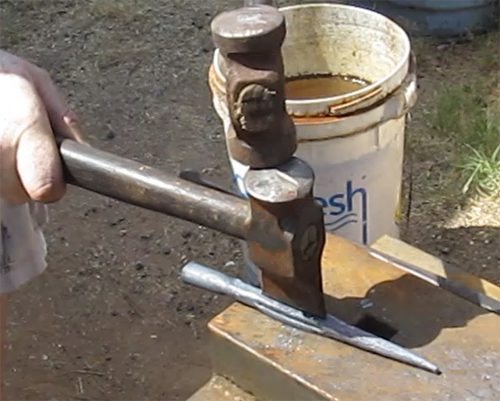
Next we do the pointing on the arrow. You can do it in a bodkin style and make that tip so it is four sided. 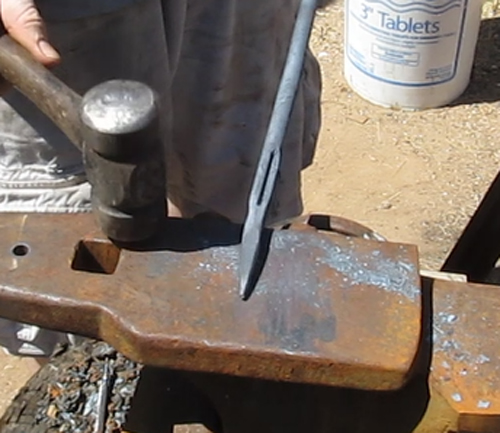
Or you can round it out like this. When rounding the tip you first create it as a four sided point. Then you continue to hammer it until rounded. This two-step process of pointing is standard blacksmithing practice.
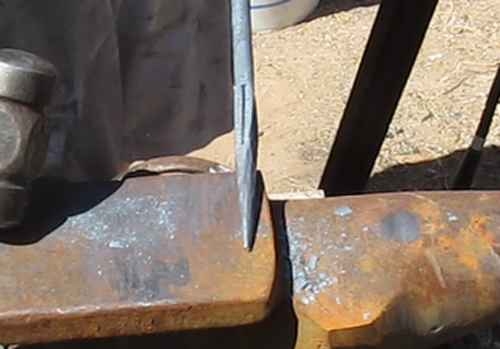
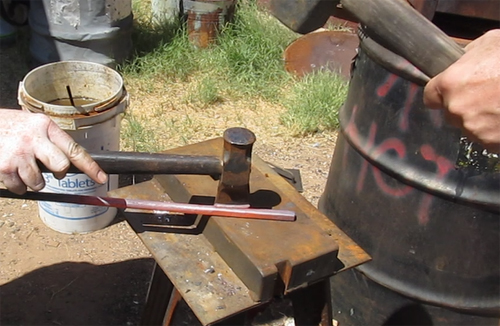
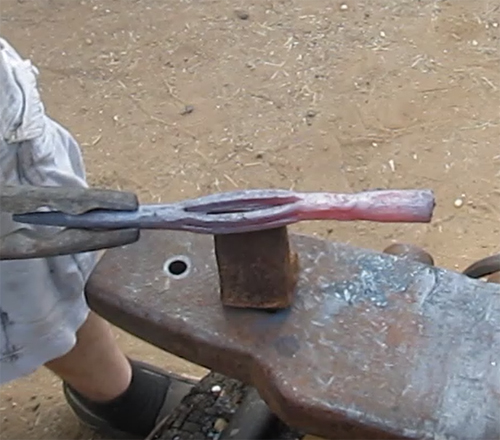
Next we work on the other end of the arrow tip. Use a cross-pean hammer to flatten and fan out the end two inches to look like this.
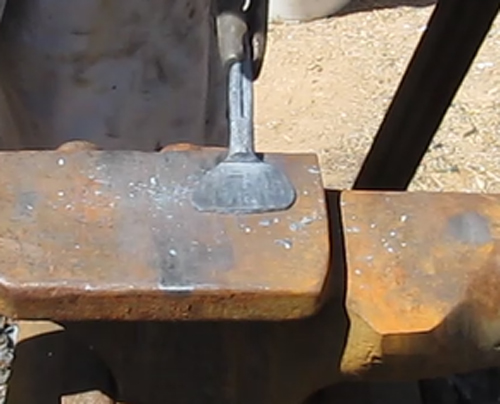
Now start to curve it into a socket shape. Use a swage block or hardy tool if you have one. Otherwise you can use the side of the anvil and the horn of the anvil. 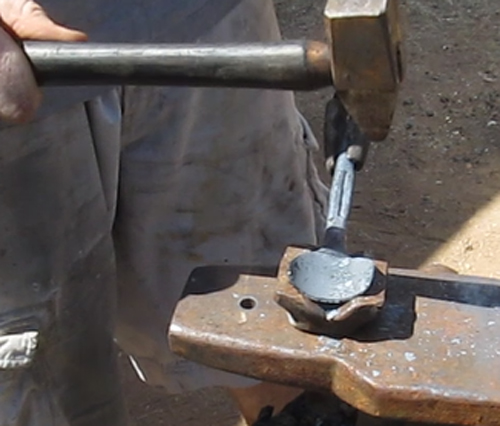

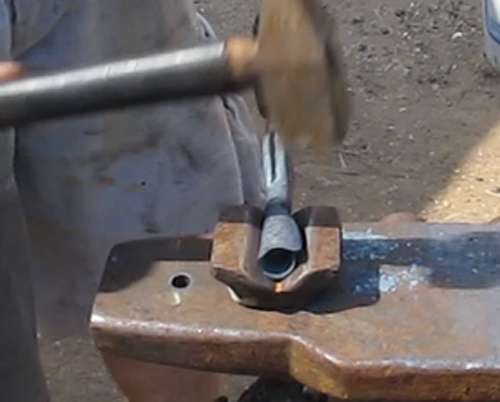
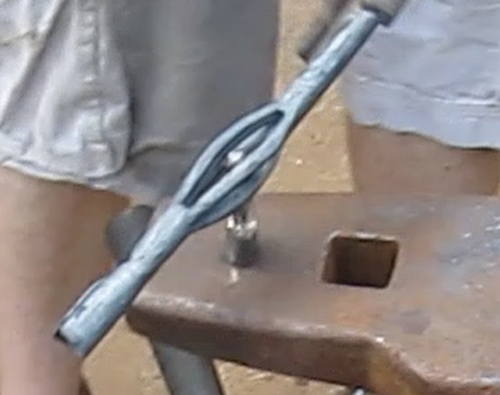
Overlap the ears of the socket.
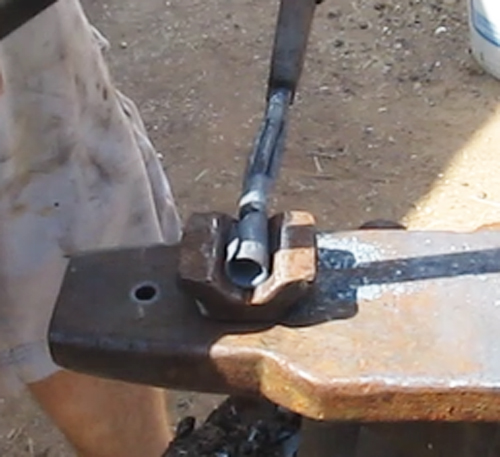
Once you get it close to closed use the jig to get it to an accurate fit.
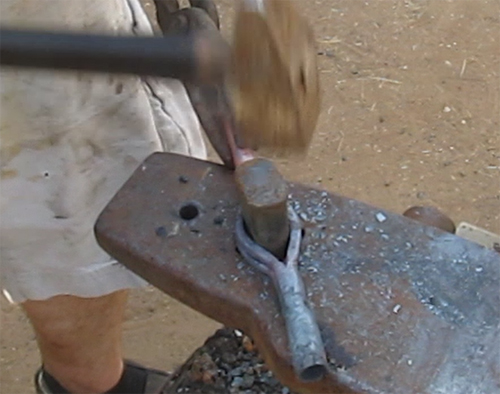
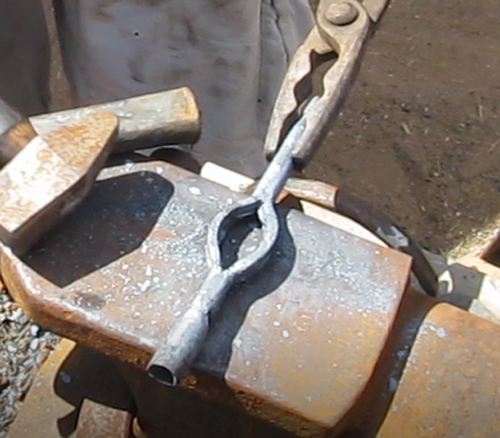
The only thing remaining is to open up that basket. Use a variety of tools to do this including pliers, a hardy tool, or a chisel. But first you may need to heat that center section a bit and resplit those cuts you had previously made. This is to clean them up. Creating the tip and the socket meant repeated heatings. These heatings may have closed up the cuts a bit and they need to be reopened.
In this next picture you can see the basket beginning to open.
A good way to open up the basket is to use a punch or a drift over the hardy hole separating the four legs in pairs. One pair goes left and one pair goes right.
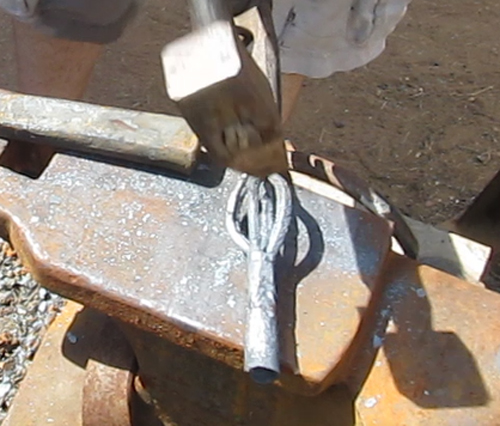
Once you have the basket shape established you can then pull two of the legs out to shape and complete the basket. You can also use a cross pean hammer to hammer those legs out.
There you go! Finish it off by doing touch up work.
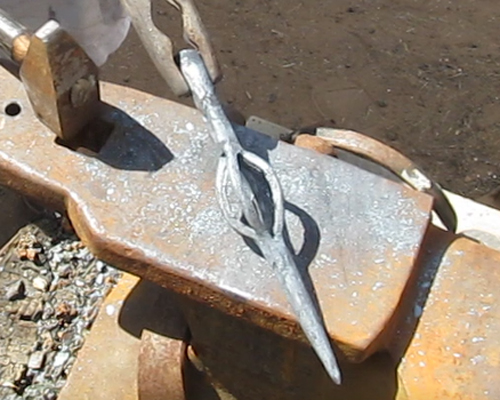
And an important thing about an arrow tip is that it is as close to on center line as possible.
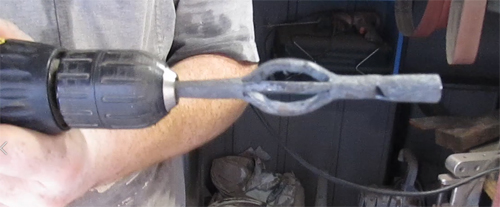
Eyeball it and hammer it to get it all very straight. You can also put the point in a drill and spin it. This will show you how center-line it is.
Now it is ready to be mounted onto an arrow shaft.
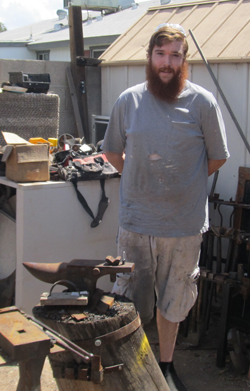
Special Thanks to Clayton Cowart He is the blacksmith that made this flaming arrow for us.
He is a highly skilled blacksmith with a wide variety of skills including extremely high qualith knife making and the making of exotic steels like Wootz steel and Damascus Steel.
He is available for a wide variety of projects including teaching and custom ordered work.
To see lots of examples of his work check out his Instagram page here: Sugarloaf Knife Works To learn more or connect with him check out his Facebook page here: SugarLoafKnifeWorks.com
Want More Arrow Making?
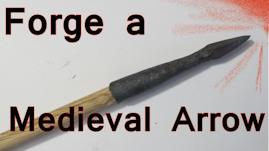 Forge Medieval Arrows - This style of arrow tip is called a bodkin and it was used in the middle ages and the Renaissance. They are easy to make and I show you how. Forge medieval arrows Forge Medieval Arrows - This style of arrow tip is called a bodkin and it was used in the middle ages and the Renaissance. They are easy to make and I show you how. Forge medieval arrows
|