Hi, Thanks for visiting my website. My name is Will and if you have questions
or would like to
contribute projects or ideas you can contact me
How to Make a Paper Mache Diorama
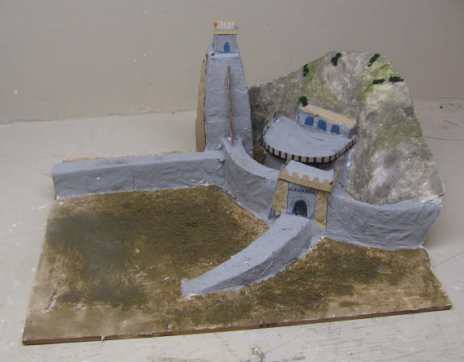
This is a nice tutorial on how to improvise a nice looking diorama out of paper mache. If you don't have plaster or hydrocal all you need for this diorama is some cereal boxes, flour and water and you can make a nice little diorama. Everything I show you is improvised. In this tutorial I make a scene from the Lord of the Rings, it is a castle called Helms Deep.
You can improvise just about anything for a diorama including green kitchen sponges to make bushes and shrubbery and sand or even soil to make the soil and terrain of the diorama.
If you like paper mache projects I have a whole series of them here: Paper Mache Projects
I also have a video tutorial of this project:
Lets get Started on making a diorama out of paper mache.
What you will need to do this:
Some empty cereal boxes
Flour
Water
Salt
Scissors
Masking Tape
Paints
A Roll of Paper Towels
Miscellaneous stuff for decorations like a shredded kitchen sponge for shrubs and bushes
Soil, sand, dirt if you want to make soil on your diorama
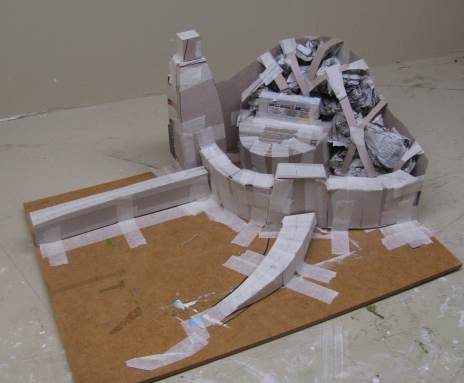
Grab yourself a piece of wood as the base of the diorama and draw the basic outline of your diorama on it. In the case of my diorama I drew lines where the mountain, castle, and castle walls would go.
Then I built up the structure using strips of cardboard from the cereal boxes. I taped everthing firmly in place and stuffed everything with crumpled newspapers. The crumpled newspapers will insure the diorama keeps its shape when you apply the paper mache to it.
Make and apply the Paper Mache
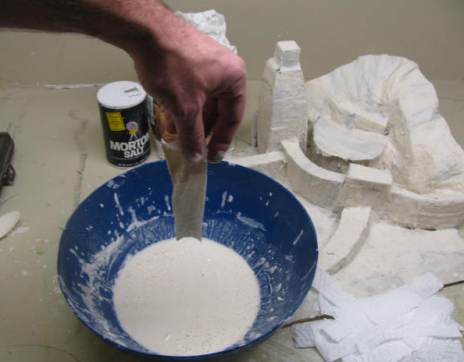
Normally I would make paper mache with equal amounts of water and flour but in the case of a diorama I use 1 cup of flour and 1 1/4 cups of water. This makes it a little thinner and takes longer to dry but you will get better detail. Also cut up paper towels into small strips. Dip the paper towel strip in the mache and then wipe off the excess and apply it to the cardboard frame of the diorama.
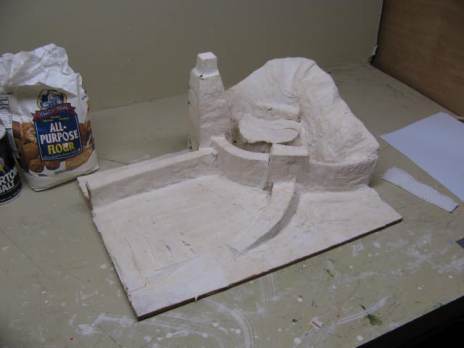
Continue this process of applying small strips of paper mache until the whole diorama has at least two layers of the paper mache towels. Then let the whole thing dry overnight.
Once it has dried you may find some rough spots where the paper towels have curled up. You can smooth these out with a wet sponge.
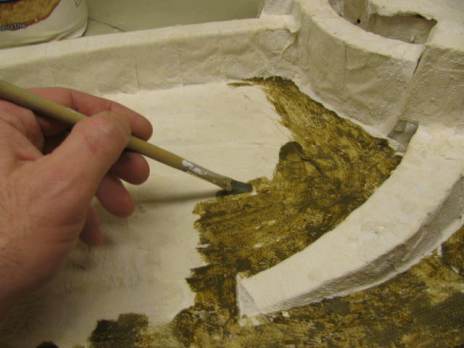
Now paint the whole diorama with base color paints. The ground shoud be green and brown, castle walls gray etc. Just be sure the whole diorama is painted with general colors that are similar to what the completed color will be. The picture below shows the basic green for the ground.
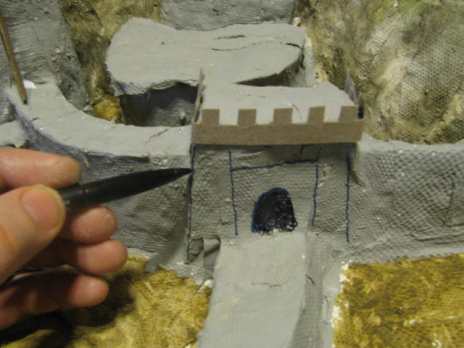
Next you can have some fun adding details to the diorama. Small pieces of cardboard work well for a variety of details and various markers work well too. Paint some details on and you are almost done with the diorama. The picture below shows some cardboard castle crennelations I made and shows me adding lines with a marker.
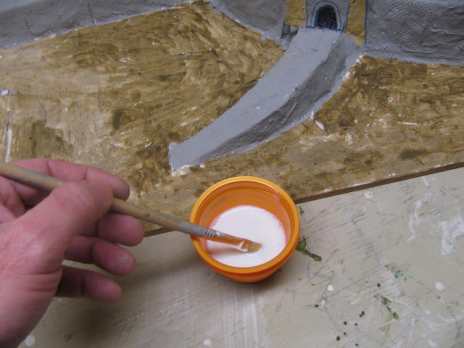
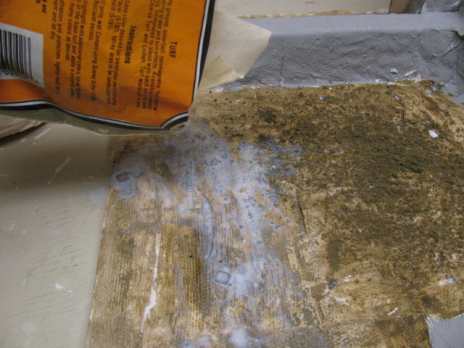
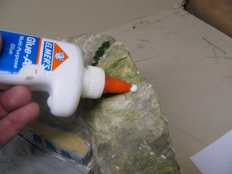
Now you can apply texture to the terrain. You can use store bought textures or you can even use real soil or sand. How you apply it is to mix regular white glue with water to be about 50/50 and then brush it onto the diorama.
then you can sprinkle on the textures
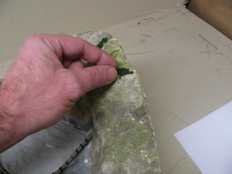
To attach the larger terrain features such as pieces of green kitchen sponge that look like bushes you apply a dab of glue then stick the piece of sponge right to it.
Have fun with the terrain and features. Experiment with different colors and different materials. Here is my completed diorama of Helms Deep:
RESOURCES AND MORE PAPER MACHE PROJECTS
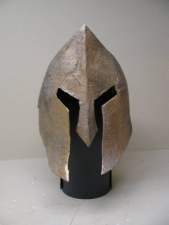
Make a Spartan Helmet
Make this helmet out of paper mache and cardboard. Complete instructions and video, along with a download of the template The Spartan Helmet
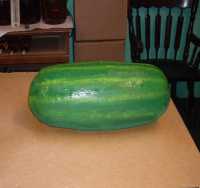
How to Make a solid, heavy and realistic looking paper mache Watermelon
This is basically rolled up newspaper that is covered with paper mache and with paint. Add a coat of clear spray and it looks real! Here is the tutorial on how to do it. Make a Paper Mache Watermelon
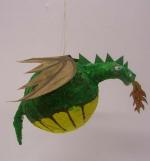
How to Make a Dragon Pinata
All it takes is a balloon, some paper mache and a little creativity and you have a great themed pinata. Add a sword and your party is transformed! How to Make a Dragon Pinata
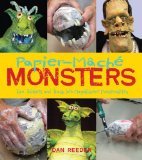
Papier-Mache Monsters: Turn Trinkets and Trash into Magnificent Monstrosities Celebrated monster-making master Dan Reeder is at it again in Papier-Mache Monsters, helping you create cool monsters from just a few simple materials and goof-proof steps for guaranteed success. Plus, there's more-you'll have access to all of Reeder's secrets for creating must-have monster elements, such as jaws, claws, horns, scales, webbing, tentacles, eyeballs, fingers, toes, gnarly hands and feet, and even perfect DROOL! Learn how to make a basic monster and you'll be well on your way to creating more hideous creatures, beasts, dragons, and whatever else your dark side can think of!
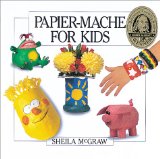
Papier-Mache for Kids - By experimenting and simplifying, papier mache expert Sheila McGraw has created a how-to book for kids with projects that fit the level of skill, the hand-size, and the attention span of children. Each how-to step is matched with a clear, full-color photograph and concise, simple directions. Clear symbols denote where an adult's help or supervision may be needed. 145 photographs.