I talked a little bit about one part and two part molds and now let me give you some specifics so you can decide which kind of mold you want to make.
Here is a picture of the Miniatures that I duplicate in this part of the tutorial. There are two originals and two copies of each one.
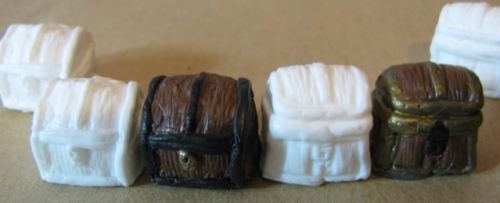
If you are casting a simple object like the treasure chest you can use a one part mold which is the easiest kind of mold to make. The way to decide is to picture dipping the object in rubber and letting the rubber harden. Will you be able to pull the object out once the rubber is hardened?
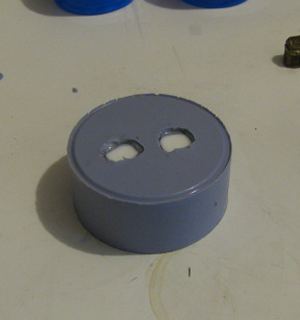
In this picture you can see a rubber mold that I made and I have poured the plastic into it and the plastic is dry. Now, can I remove those pieces easily from the mold? Yes because of the shape of the treasure chests.
The Treasure chests come right out of the mold very easily because there are no unusual shapes like arms or weapons. This is a perfect choice for a one piece mold.
So let's Go ahead and learn how to make a one piece rubber mold and how to cast the miniatures
What You Need:
In a nutshell what you need is rubber to make the mold and plastic to make the miniature. That's pretty much it. This actually comes out to be four liquids. To make the rubber you mix together two liquids and over the course of a few hours these harden into a rubber mold. Then you mix two liquids together and pour them into the rubber mold and in the course of a few minutes these harden into the miniature. It's really quite simple.
Note from Will: If you are looking for a complete kit that gives you everything you need:
Moldmaking & Casting Pourable Starter Kit- Mold rubber can be used to capture exact detail from any model. This starter kit will allow you to make a rubber mold of a small, simple 2 or 3 dimensional model using silicone rubber. Then pour our fast cast plastic to make one or more reproductions of the original. If you are an absolute beginner to casting then you might want to consider getting this kit. It has everything you need to get started including the casting materials and mold making materials. I have this kit and I use it for some of my tutorials. It actually will save you money because it gives you reasonable quantities of the varous needed things. You would pay more if you try to buy things separately. It also comes with a DVD that shows you exactly how to do everything.
Now here is a list of everything you need, this includes the little things like cups and stirring stick.
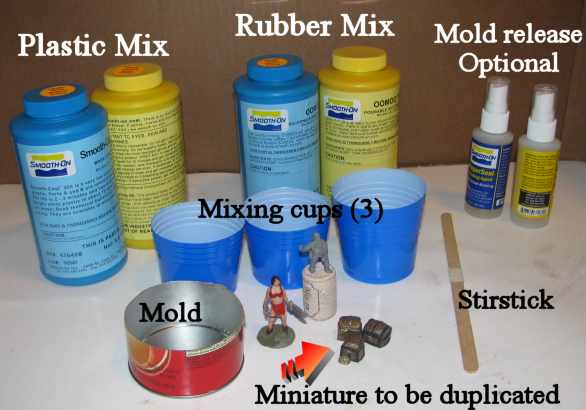
- Your two liquids to make the rubber mold
- Your two liquids to make the plastic miniature
- Mold release spray or brush on (this coats the mold and makes it easy for the miniature to come out and is optional but recommended.
- Stir stick
- Three mixing cups
- The miniature you are going to duplicate (treasure chests)
- Something to act as a mold. In this case I use a pringles can, you can use a paper cup or improvise something. It should be large enough so you have one half inch around the whole miniature.
- Not shown: Some kind of glue or a glue gun to affix the miniature into the mold. I will show you more of this.
Step One:
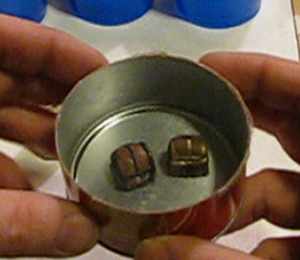
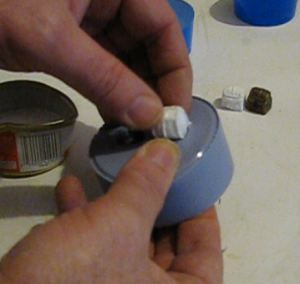
Glue or hot glue the pieces into the mold. Make sure you have a half inch all the way around and a half inch above the piece too. I am going to making copies of two treasure chests so I have glued them both into the bottom of the mold.
If you have a mold release spray or a mold sealing agent you would spray them on now and let them dry. about ten minutes.
Step Two:
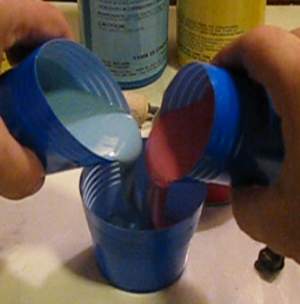
You are using three cups for this step. Pour one part of the rubber mix into one cup. Pour the other part of the rubber mix into another cup. Pour them so you get equal amounts. Then pour both of these (as shown) into a third cup.
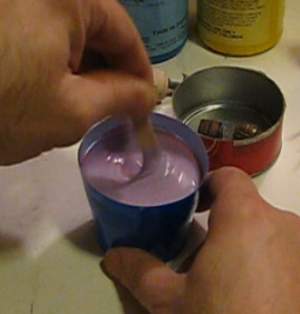
and gently mix them together with your stir stick.
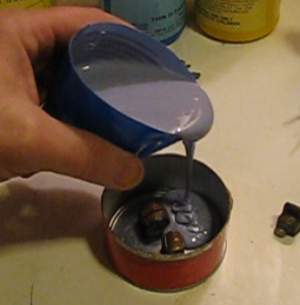
And gently pour it into the mold. Stay to one side of the mold and let the rubber fill the mold slowly. You want it to go nice and slow and fill in all the little details around the miniature.
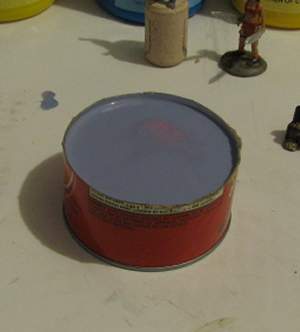
The mold is poured. Using a stick or pencil gently tap the side of the mold a few times. this will bring up any air bubbles. Air bubbles could attach to the side of the miniature and cause little defects and aberrations. You will see tiny bubbles come up in the rubber.
Okay, Now you just let it cure. For the particular rubber that I am using this takes six hours - doh! Follow the manufacturers guidelines for the rubber you use.
 Continue with tutorial and cast the miniature Continue with tutorial and cast the miniature
|