
![]()
I have a youtube channel with over 1000 Videos!
![]()
![]()

Painting Tutorials
- Miniatures Home -
- Miniature Painting
- Another Painting miniatures tutorial
- Video Tutorial How to Paint Miniatures
- Tips and hints for painting miniatures
- New Painting Miniature Tutorial: A Spartan Warrior
- Tips and hints for painting miniatures
- About Paint Brushes
- Miniature Paints and kits on Amazon
Sculplting Miniatures
- How to Sculpt Fantasy Miniatures
- Sculpting Fantasy Miniatures Video Tutorials
- Sculpting miniatures store-
- Sculpting tips
- Sculpt a Dwarf
- Sculpt a Treasure Chest
- Sculpt a miniature Raver and Gegenhound
- Sculpt a BattleMage
- Sculpting Supplies
More Tutorials
- Make a Miniature House
- Make Miniature Trees
- Understanding Miniature Scale
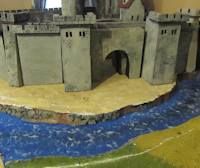
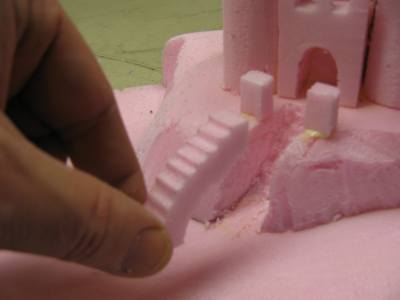
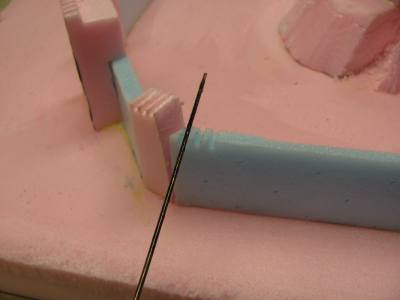
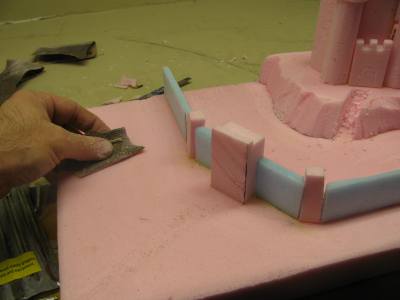
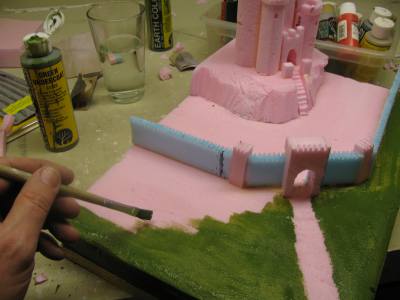
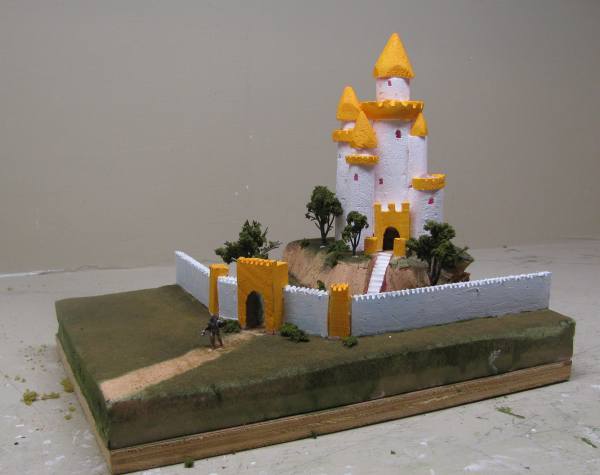
- How to Make Foam Terrain for wargaming or dioramas
- How to Cast Miniatures
- Model Railroad and Trains
- Tips on caring for painted miniatures
Supplies
- Diorama and Miniature supply Store
- Ral Partha Miniatures
- Paints for miniatures
- Brushes for Miniature Painting
- Smooth-On for casting miniatures
- Casting rubber molds and plastic miniatures supplies
- Painting Supplies
- Books
- D&D Miniatures
- Reaper Miniatures
- Warhammer Miniatures
- Ronin Miniatures
- NorthStar Models
- 3D Printed Miniatures
- ProCreate Putty
- Super Sculpey Firm
- GW Green Stuff
- Sculpting Clays
- Foam for Terrain
- Reaper Miniature Paint Kits
- Links and info about manufacturers of miniatures
- Alisha's Miniatures
Short Tutorials
- How to Make a miniature ladder
- Make a Miniature Hedge Maze (The Maze of Maddness)
- Make miniature buildings
- Make Miniature Bricks
- How to make barbed wire
- Painting Miniature American Soldiers (1/72 Scale)
- Painting Miniature German Soldiers (1/72 Scale)
Subjects
- Blacksmithing
- Bonsai
- Catapults
- Dioramas
- Fantasy Art School
- Goldfish
- Leathercrafting
- Military Dioramas
- Make Video Games
- Model Rockets
- Nature projects
- Origami
- Paper Making
- Paper Games
- Paper Projects
- RC Airplanes
- Science Projects
- Stained Glass
- Stamp Collecting
- Stop Motion Animation
- Tatebanko
- Terrariums
- Trebuchets

Hi, Thanks for visiting my website. My name is Will and if you have questions
or would like to
contribute projects or ideas you can contact me 

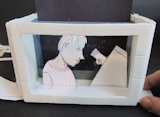 Paper Dioramas (Tatebanko)