Hi, Thanks for visiting my website. My name is Will and if you have questions
or would like to
contribute projects or ideas you can contact me
Part 3: Installing the engine in an RC airplane
This is a brief overview with pictures showing you how a gas powered engine is installed in an RC airplane. This is part of a tutorial on how to build an RC airplane. If you have come to this page directly from a search engine you can start the tutorial from the beginning here if you want: Tutorial starts here
Note: At the bottom of this page I have a video showing you this process.
Of all the different parts of assembling an airplane putting in the engine is probably the easiest! Yup, it is very easy and it doesn't take long. Maybe 15 minutes. Being the most important part of the whole process it is also the best engineered and the RC companies have done all the work for you.
This is pretty much how it goes:
1. Bolt the engine into place with four screws
2. Connect the Gas and muffler hoses
3. Attach the propellor and nose cone
4. attach any controls like the throttle
That's about it. There are variations with different planes and different sizes of engines but it is still a pretty easy process so let's take a look.
Some things to think about ahead of time.
There are of course lots of different types and sizes of airplanes and there are lots of different types and sizes of engines. So, make sure you read the documentation for both to ensure they are compatible
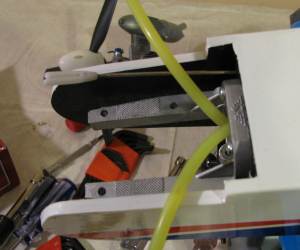
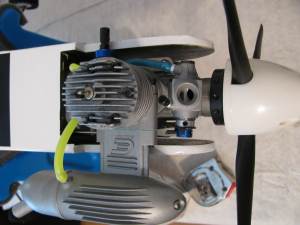
This picture gives you a real good look at whats going on inside here. You can see the metallic engine mount and it is pre-installed at the factory. You simply will bolt the engine down to this with four bolts. You can see three of the bolt holes and the fourth bolt hole is hidden by the fuel hose.
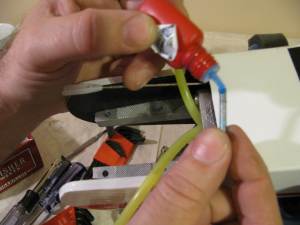
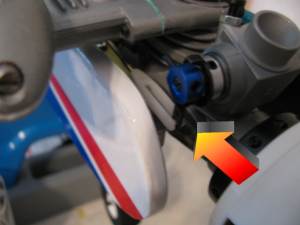
And after that you hook one hose up to the carb and the other hose to the muffler. And you can see the control rod with a white plastic piece on the end of it? This is our throttle that was hooked up to a servo. We just hook that up to the throttle of the engine.
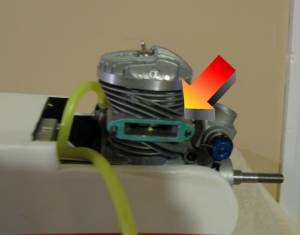
You will probably also have to connect the muffler to the engine. Just two screws. But there is a little gasket that goes on there so don't forget to put that on before attaching the muffler. The arrow shows the teal colored gasket.
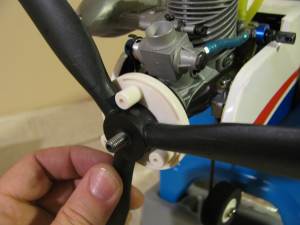
Now its a matter of installing the spinner and nose cone assembly. This is a pretty straight forward process and the engine will come with complete instructions. There are a few different parts and variations from engine to engine and spinner to spinner.
Now we connect the throttle linkage. The blue thing is the throttle and the arrow shows how our linkage connects toward the bottom. Easy to do this, it just snaps on.
And that's it. The engine installation is complete.
Not a whole lot to it.
Remember to always exactly follow the manufacturers assembly procedure.
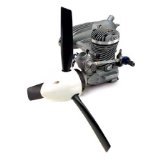
This is the exact engine that I purchased and use in my plane, and in this tutorial. It is available on Amazon.
If you're just getting started in the hobby or you're planning to teach a new pilot, count on Evolution's unique Trainer Power System for the most beginner-friendly starting on the planet. It's so convenient and easy to use that we include one in every Hangar 9 trainer. Everything you need comes in one convenient, affordable unit. Engine, spinner, prop, glow plug - it's all there and designed specifically to get a beginner pilot into the air quickly and easily. Just 2 or 3 flips of the prop, and it's running smoothly and quietly.
SAFE technology is a revolutionary leap forward in flight control and training. Key Features SAFE technology provides spatial awareness and flight envelope protection The ideal beginner's choice when learning to fly with an instructor Quick, easy assembly Lightweight and durable